
This module has three skills: kaper charts, cooking, and dishwashing. Campers learn progressive outdoor cooking techniques, such as no-cook meals, one-pot meals, foil cooking, cast-iron, and outdoor cooking.
Start at the beginning, and work until your grade level icon says, “CLICK HERE.”
Kaper Charts
Outdoor Cooking
dishwashing
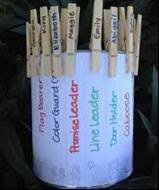
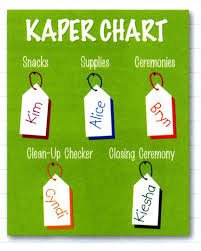
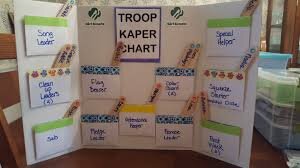
Kaper Chart

Kaper Charts
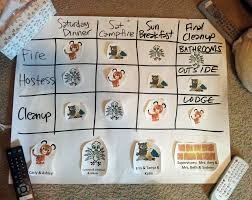
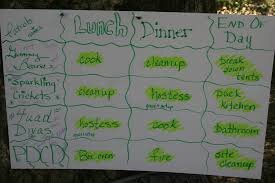
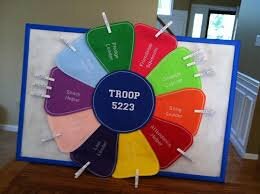
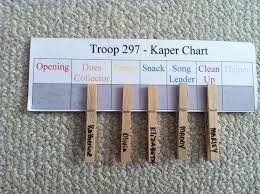
A Kaper Chart is a Girl Scout tradition for dividing up troop or group responsibilities. A kaper is a job or chore that must be done. At Girl Scout camp, kapers help us keep our unit clean, prepare for cooking a meal, and help each of us have a chance to help our group at camp. A kaper chart tells us all of the jobs that need to be done and who is responsible for each job.

practice
Make a kaper chart for your house! Here are some important things to think about:
What jobs need to be done?
Does your room need to be cleaned?
Do the dishes need to be washed or put into/unloaded from the dishwasher?
Do you have a pet that needs to be fed? Walked?
Does your house need to be vacuumed?
Does the trash need to be taken outside?
Who can help do these jobs?
You?
A parent?
A relative?
A brother or sister?
How will you decide who does what job?
As a family, assign each person in your home at least one kaper for a day or a week at a time. Switch the kapers the following week so everyone has a chance to do each job.
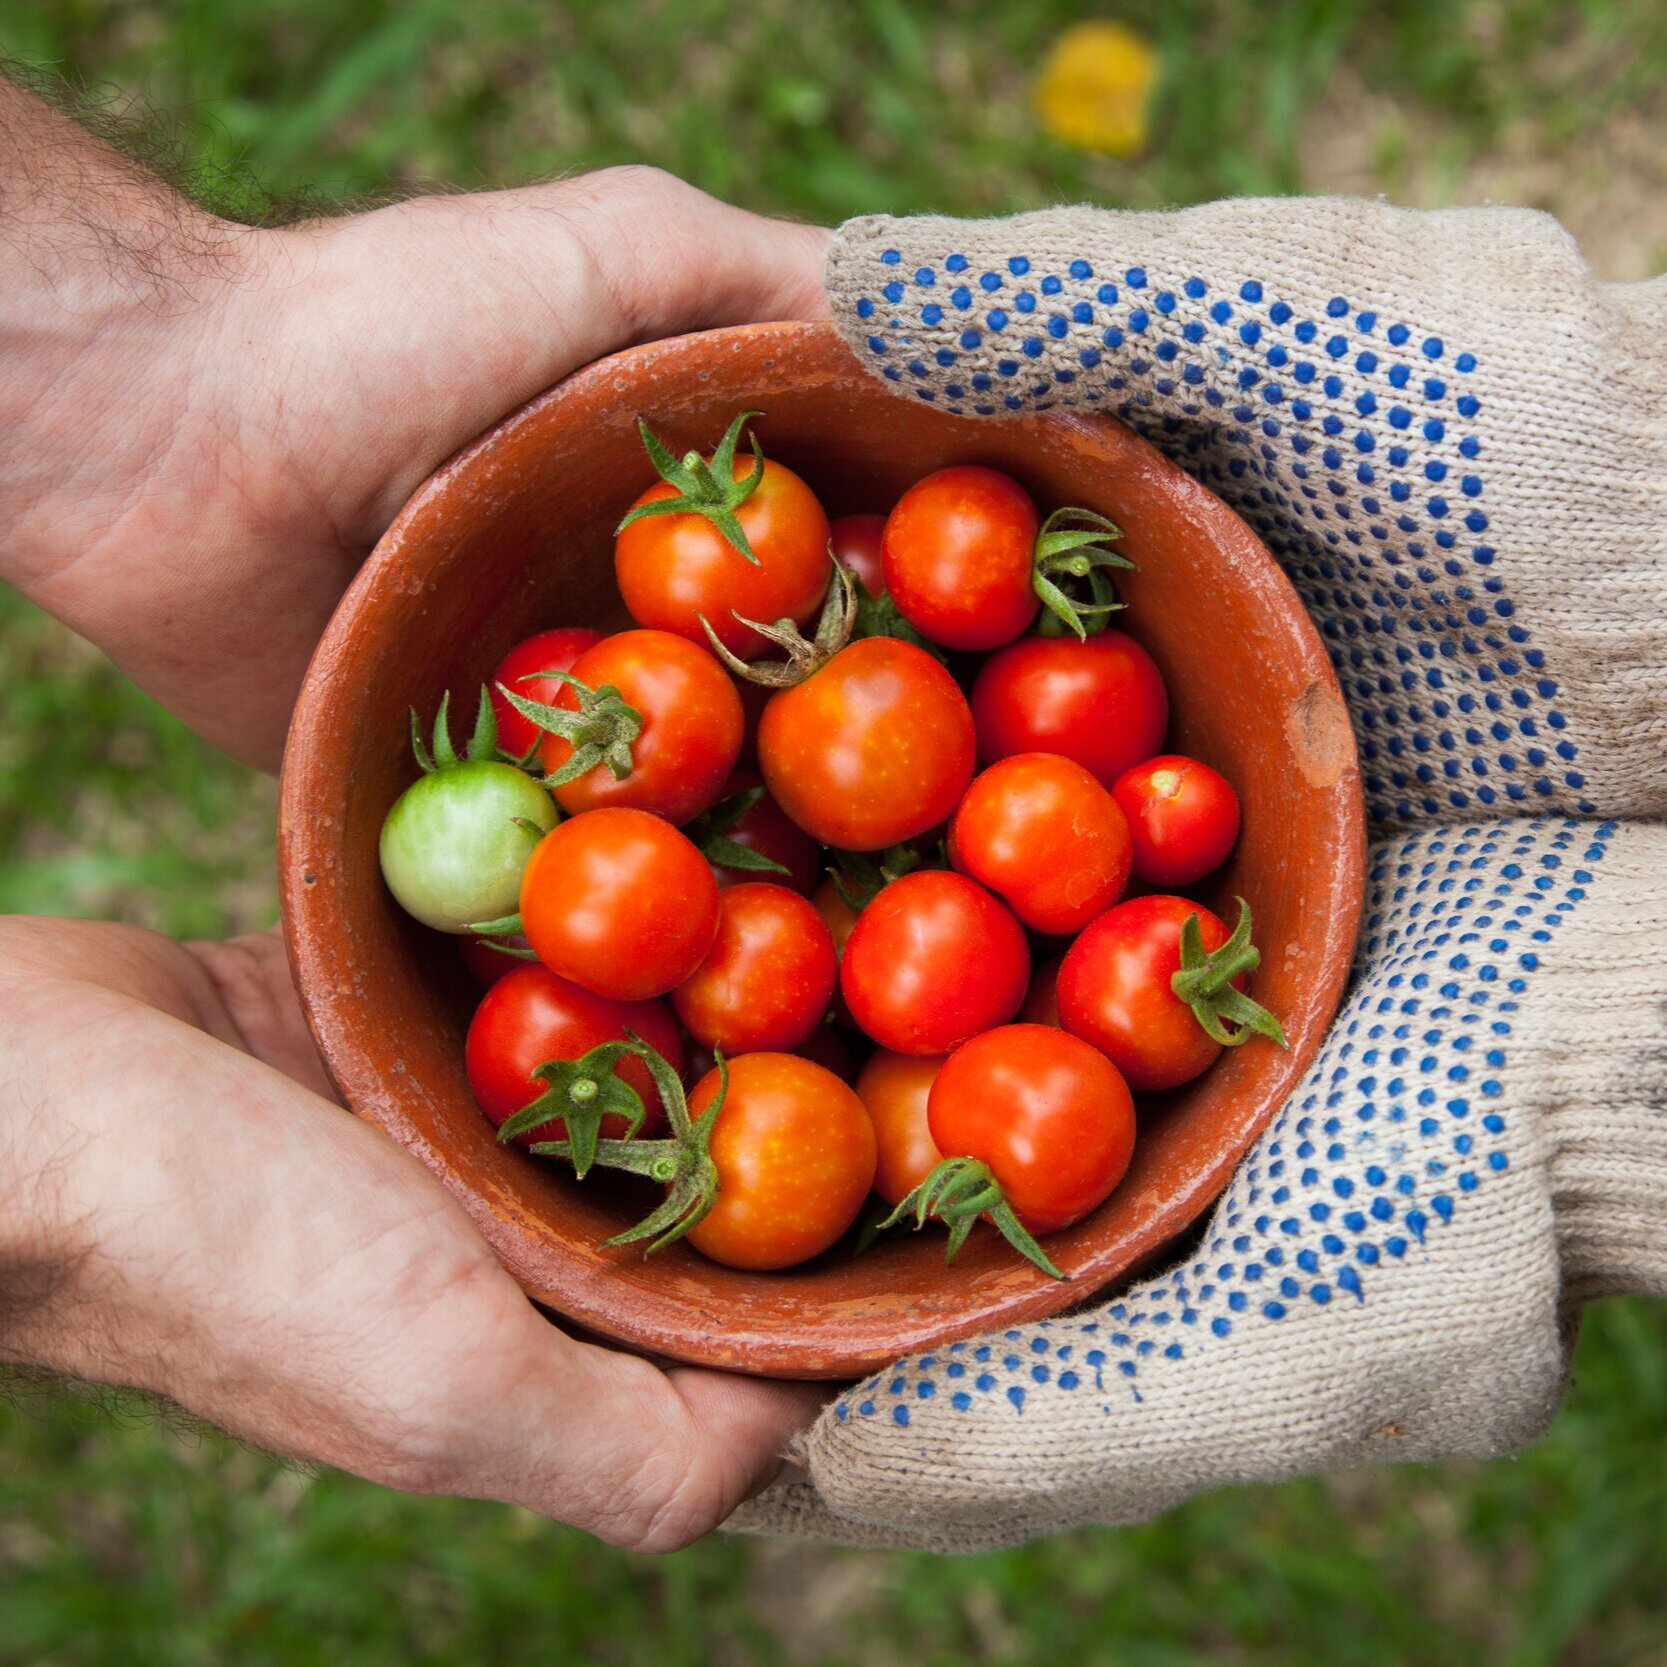
Outdoor Cooking

Storing Food Safely
Hiking and camping are so much fun, but food storage can be tricky if you’re not familiar with how to do it. Let’s review some quick tips and tricks for storing food to keep you safe, healthy and having a great trip!
Research Local Rules and Regulations
Research the food regulations and requirements at the campgrounds where you will be staying. Some campgrounds always require bear-proof containers, while others have a separate locker area specifically for food so that it is never in your tent. Others will not require you to have specific food containers, but they will ask that you dispose of waste properly.

Be Bear Aware
If you’re camping in a region inhabited by bears, purchase bear-proof containers for your campground and backpacking bear bags if you’re going to carry food along the trail. These are available at camping and sporting goods stores. Many campgrounds provide bear-proof storage lockers, which you should always use, along with bear-proof trash cans when provided. Talk to campground staff or park rangers about the safest ways to store food in bear country if you’re at all unsure about it.

Keep it Cool
Obtain a cooler and ice packs to keep cold foods refrigerated from the time you pack them until you arrive at your destination, where you should be able to stock up on more ice. Depending on weather conditions and the quality of the ice packs, these items will keep your cooler refrigerated for several days, but for no more than a week. For long trips with a lot of food, keep drinks in one cooler and food that needs to be refrigerated in another.
Freeze or refrigerate food overnight that is supposed to be kept cold. Freeze juice boxes to use as ice packs to keep your food cold as the boxes thaw out. Keep fruits and vegetables refrigerated before putting them into the cooler. Freeze any meats such as burgers, hot dogs and shish kabobs that you are going to cook within a couple of days so they can thaw out slowly in the cooler. Always keep perishable foods stored in the cooler while on a camping trip. Wrap containers that hold things such as dips and sauces in plastic bags to ensure they don’t leak.
Perishable Versus Non-Perishable Foods
Cook any food that needs it before leaving for your trip and keep it stored in the cooler until you reheat it on a grill or cook stove. This helps reduce the possibility that foods will perish, because the items will already have been cooked and just need a little more heat before eating. This applies to meats, vegetables and fully prepared meals that you choose not to freeze, as well as items like rice and pasta that you’d prefer to have pre-cooked for convenience.
Keep non-perishable foods out of the cooler and in a canvas, paper or plastic bag, or if necessary a bear- proof container. This includes trail mix, crackers, bread, peanut butter, and canned fruits and vegetables. Bring chip clips, twist-ties or similar items to keep opened bags of food fresh.

Storing Fresh Water
Store water in large plastic or metal jugs if your campsite will not provide fresh water. Bring smaller water bottles to refill from the larger jugs. You also can buy a special hiking backpack with a built-in water container and hose for drinking on the trail. The packs are lightweight and can be worn on the back, making them particularly helpful to avid hikers. Water purification tablets or devices are also indispensable if you plan to go backpacking.
View this video for additional information and a demonstration of how to store food safely away from our animal friends while camping.

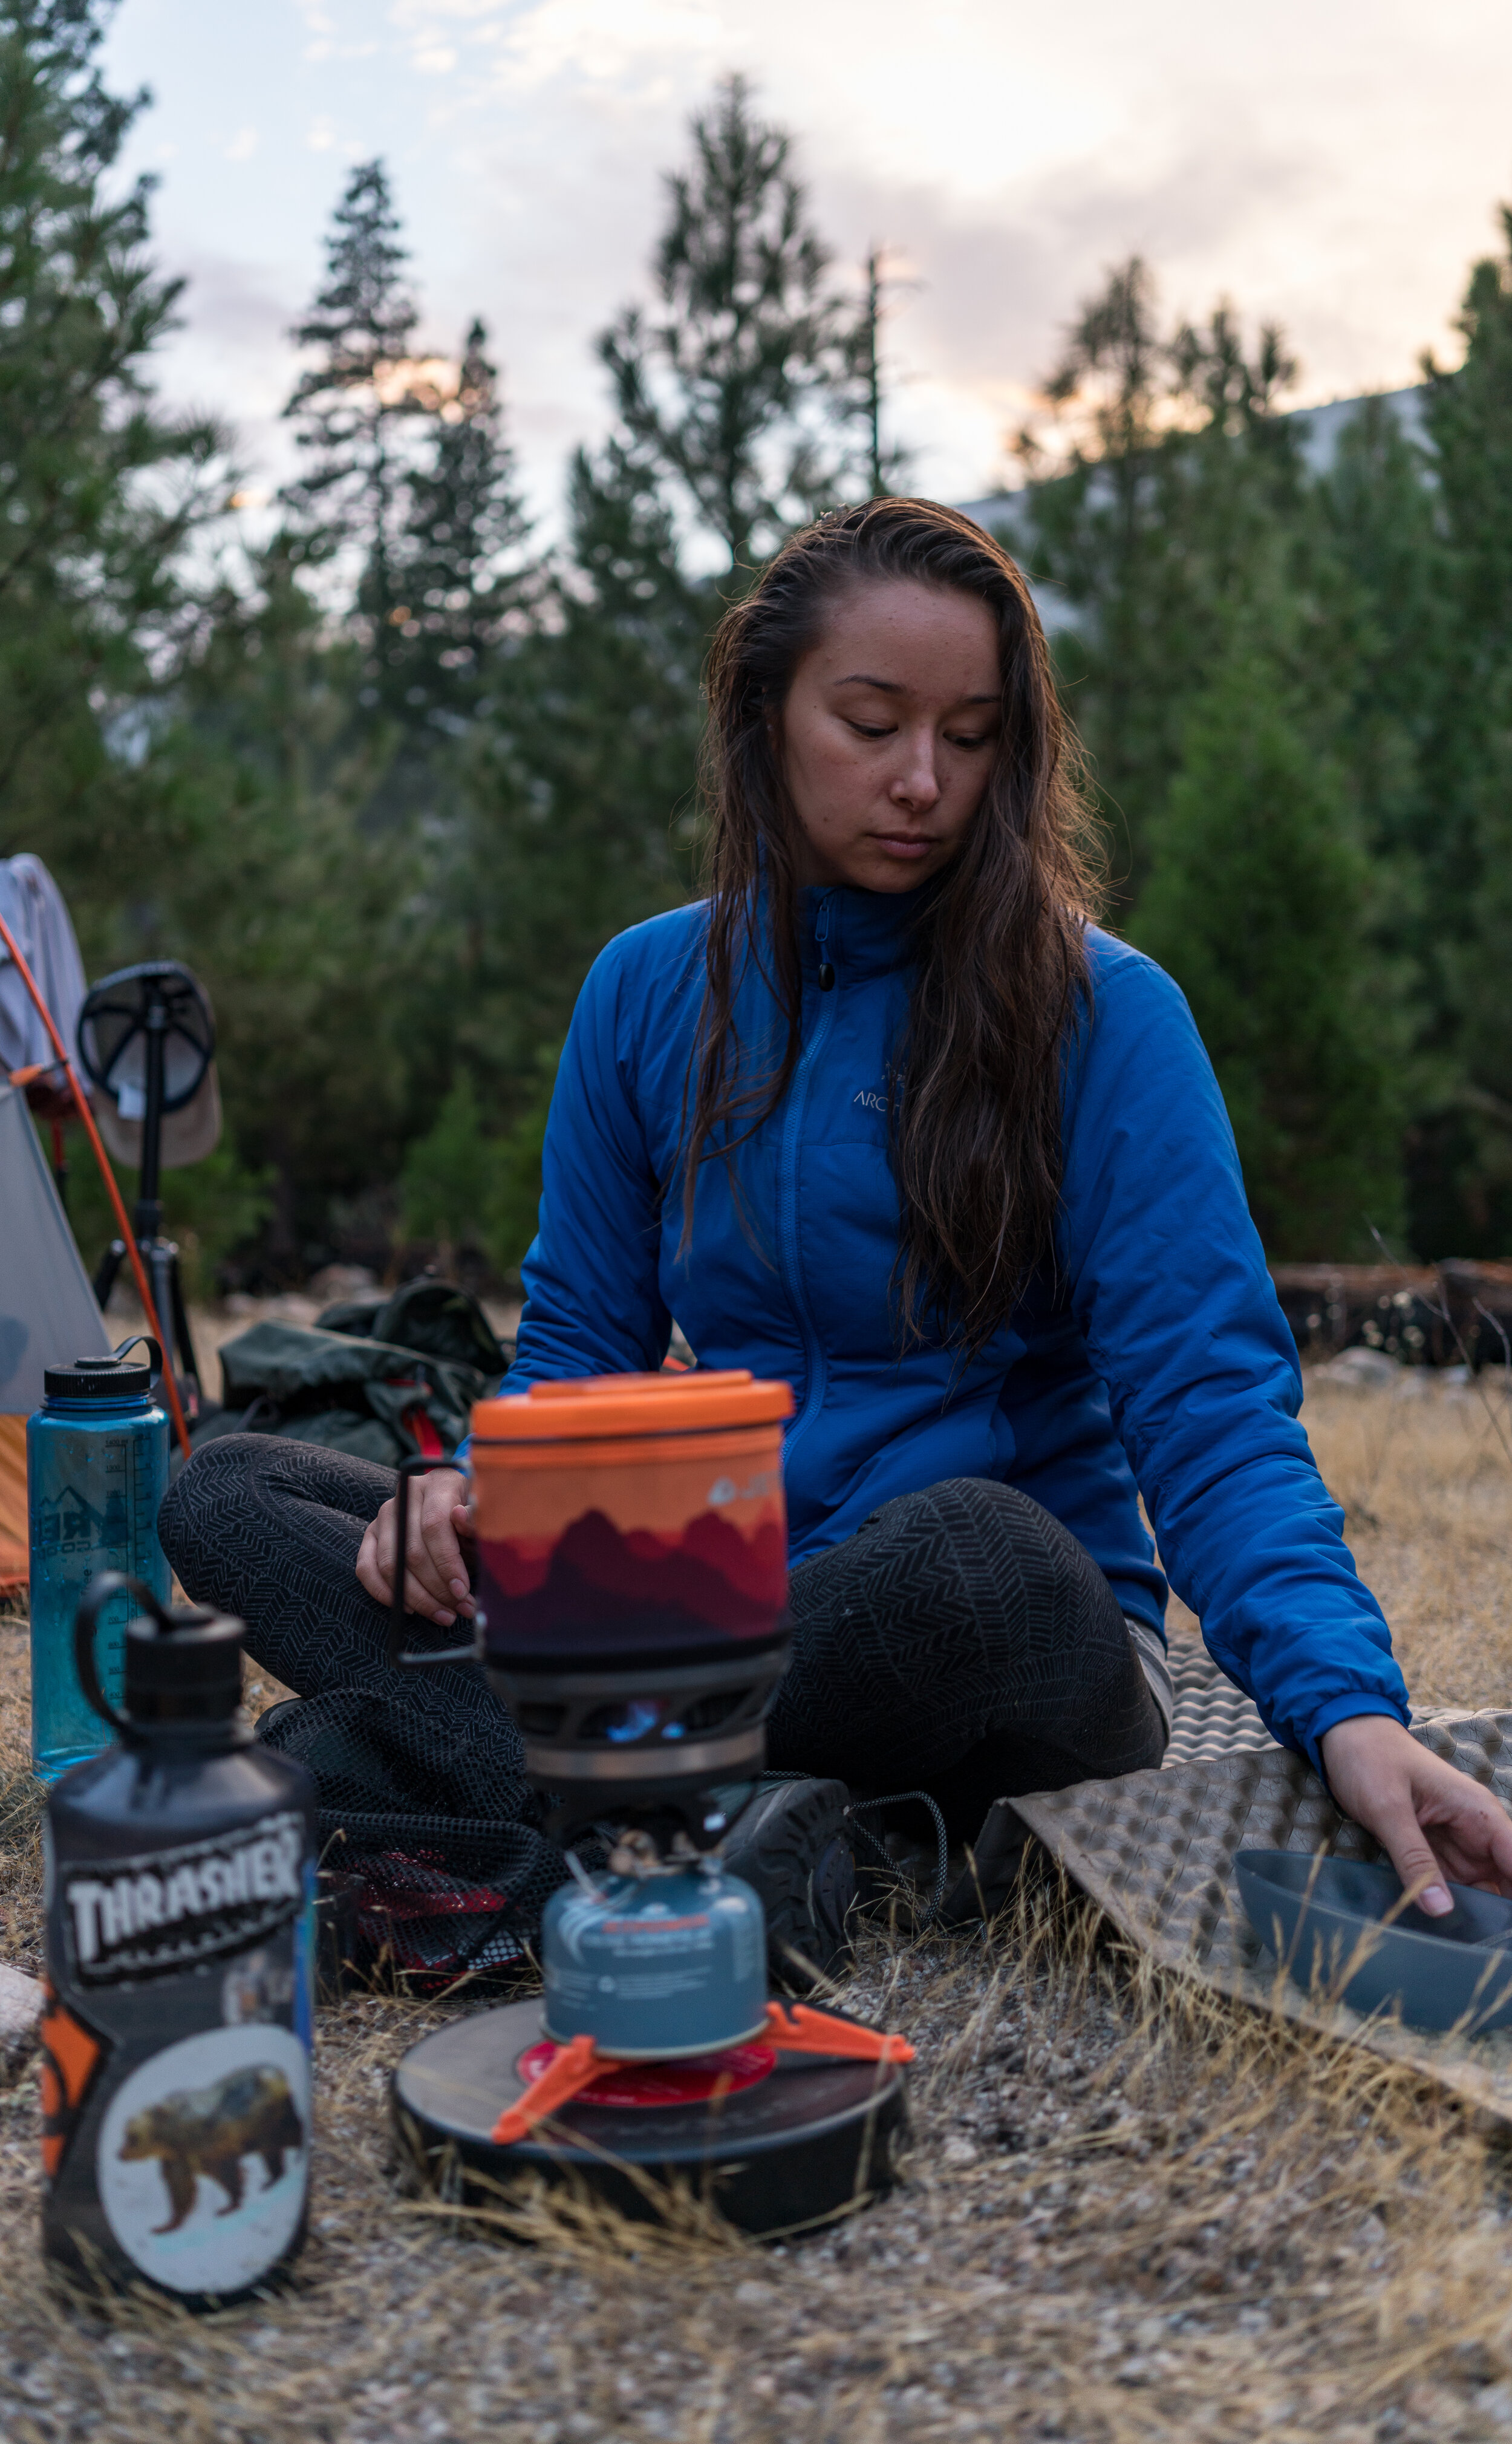
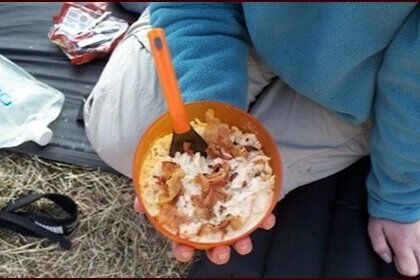
No-Cook Meals
Cooking can be so much fun! When we are at Girl Scout Camp, we love to try new recipes to take on hikes or eat for dinner. The first step in learning to make a meal is to try your hand at making a meal that you do not have to cook!
Learn how to make at least two no-cook meals or snacks:
Snacks
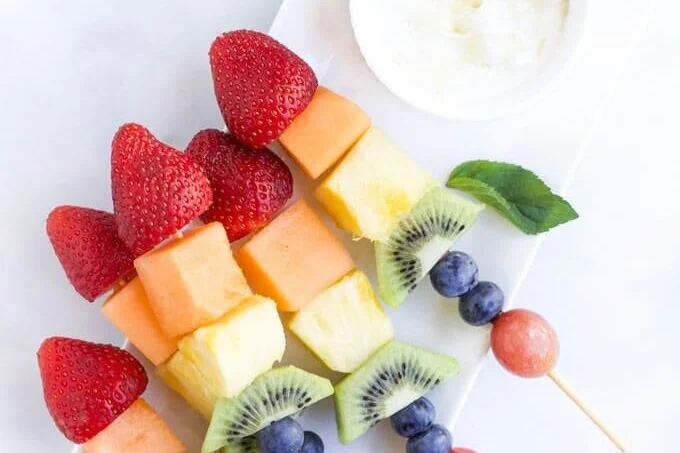
Fruit Kabobs

GORP (Trail Mix)

Caterpillar Veggies

Ants on a Log

Apple Wiches

Ice Cream in a Bag
Meals

Campsite PB&J

Chicken Enchilada Roll Ups

Rotisserie Chicken Tacos

Personal Pizzas
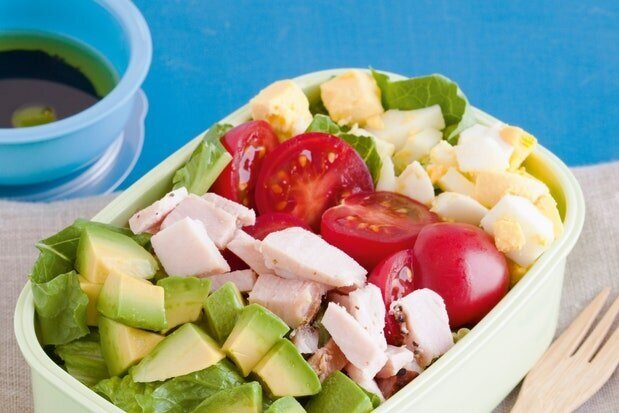
Cobb Salad

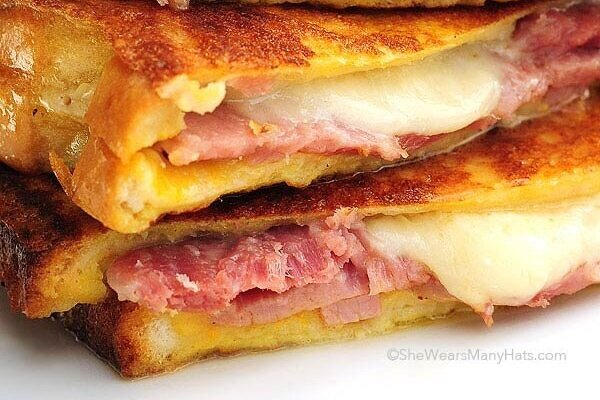
Ham and Bagel Sandwich

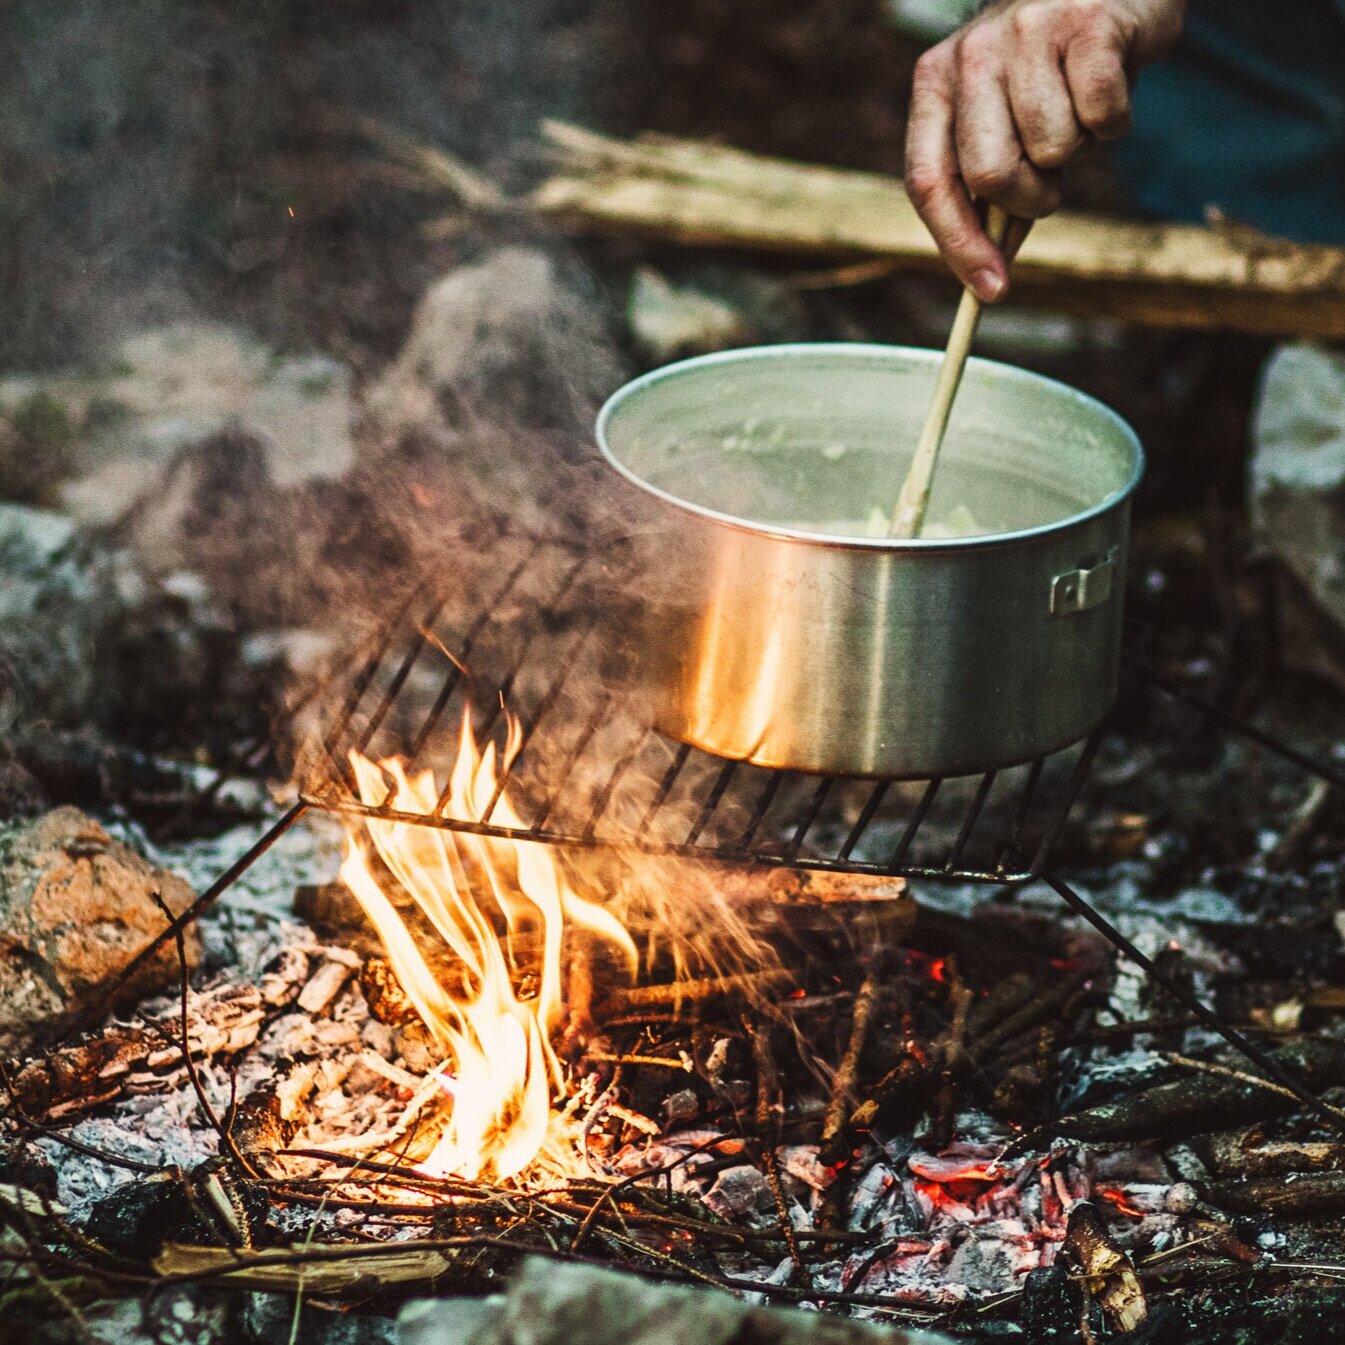
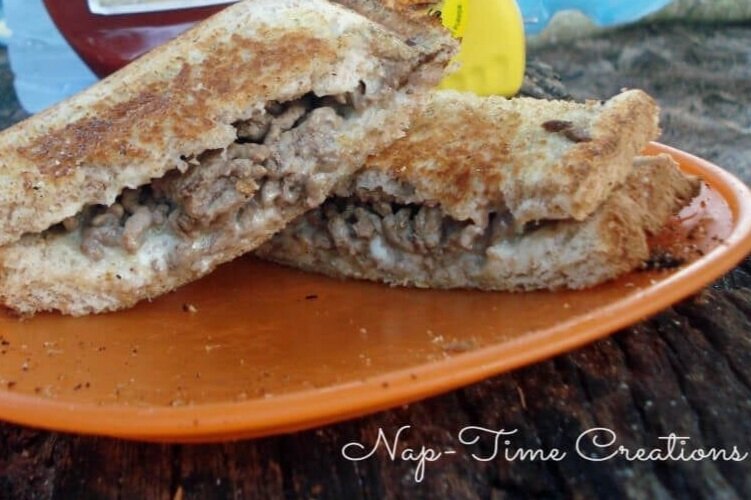
One-Pot Meals
The next step in cooking is learning to make a meal using just one pot or pan. While we typically use propane stoves to cook meals like this at camp, you can use your kitchen stove or a camping propane stove!
Learn how to make at least two one-pot meals:

Teriyaki Chicken Rice Bowls

Sloppy Joes

Hay and Straw

Walking Tacos

Cookie Bars

Chicken Mashed Potato Bowl

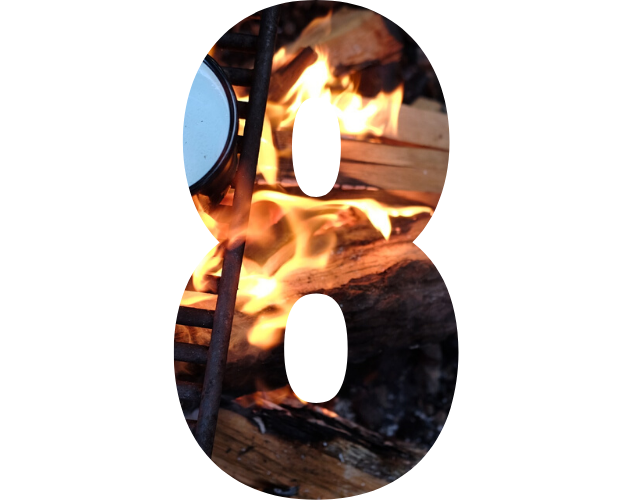
Foil Cooking
Once you’re comfortable with charcoal and wood fires, the next step in outdoor cooking is learning to make a meal using foil and hot coals. While we typically use charcoal to cook meals like this a camp, you can use your kitchen oven, grill, or campfire stove! Here are some tips for a great foil cooking experience:
Learn how to make at least two meals using foil:
Tex Mex Foil Packets
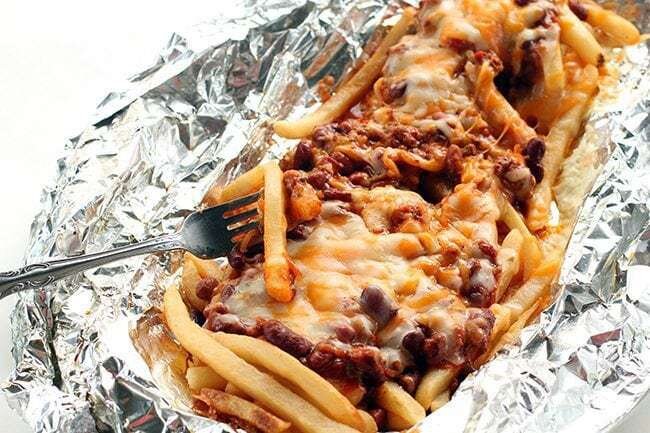
Chili Cheese Fries
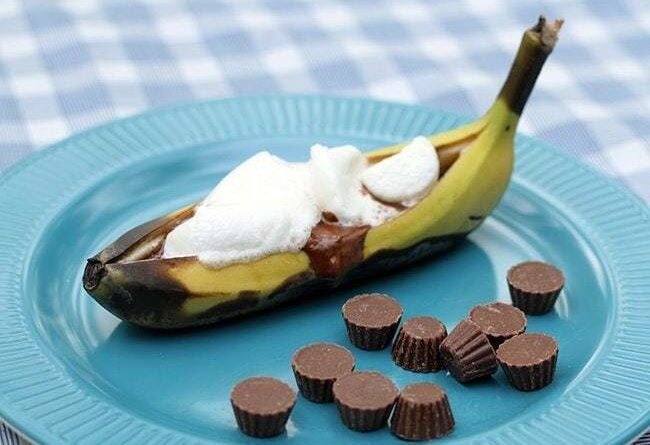
Banana Boats
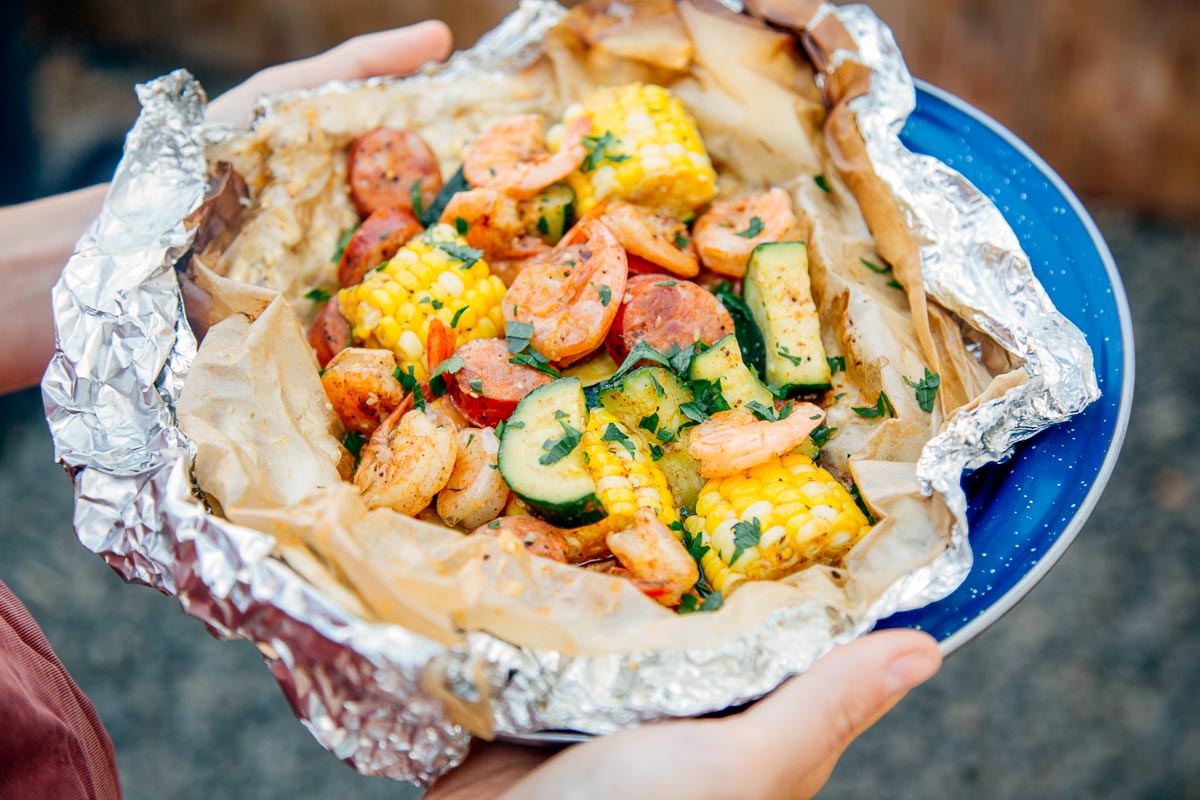
Shrimp Boil
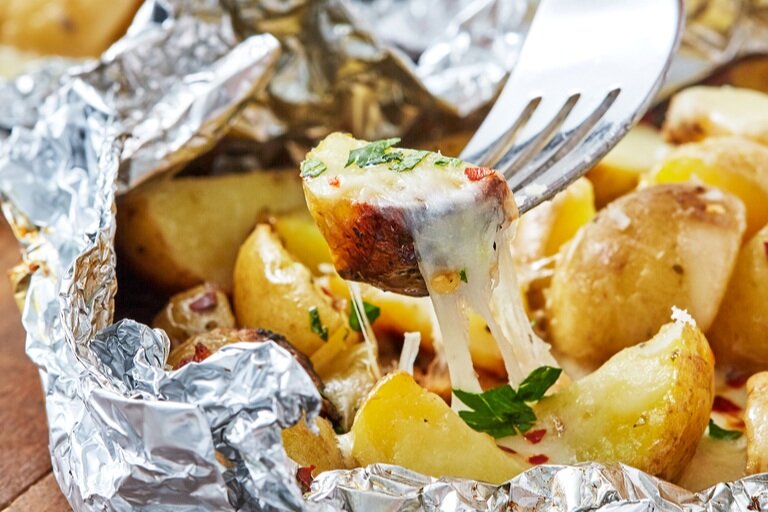
Cheesy Potatoes

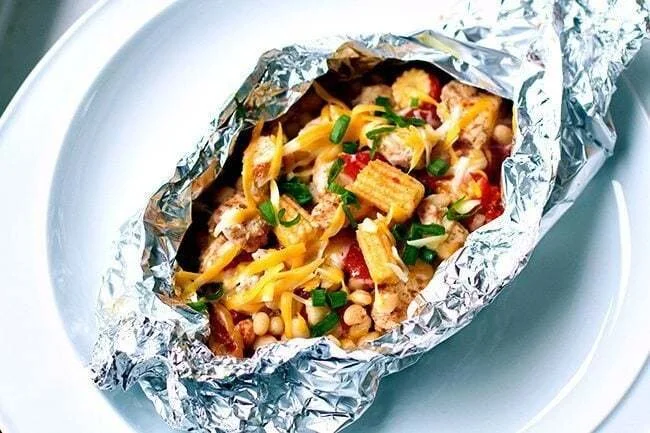
Chicken, Tomatoes, and Corn Foil Packs
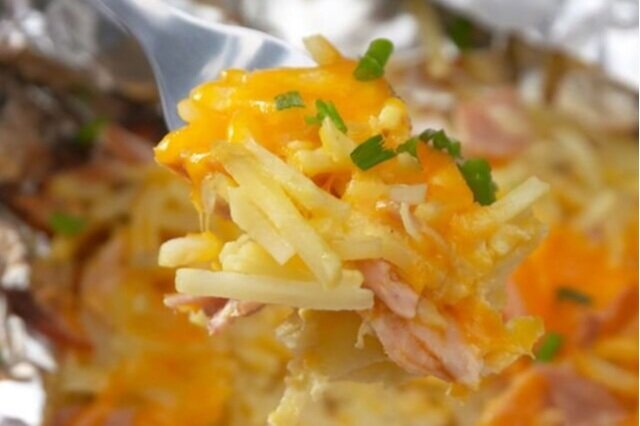
Breakfast Foil Pack

Reese’s Cones

Popcorn

Chicken Nachos

Grilled Pizza

Fresh Toast

Berry Crisp

Sausage and Peppers Foil Pack

Stuffed Orange Brownies


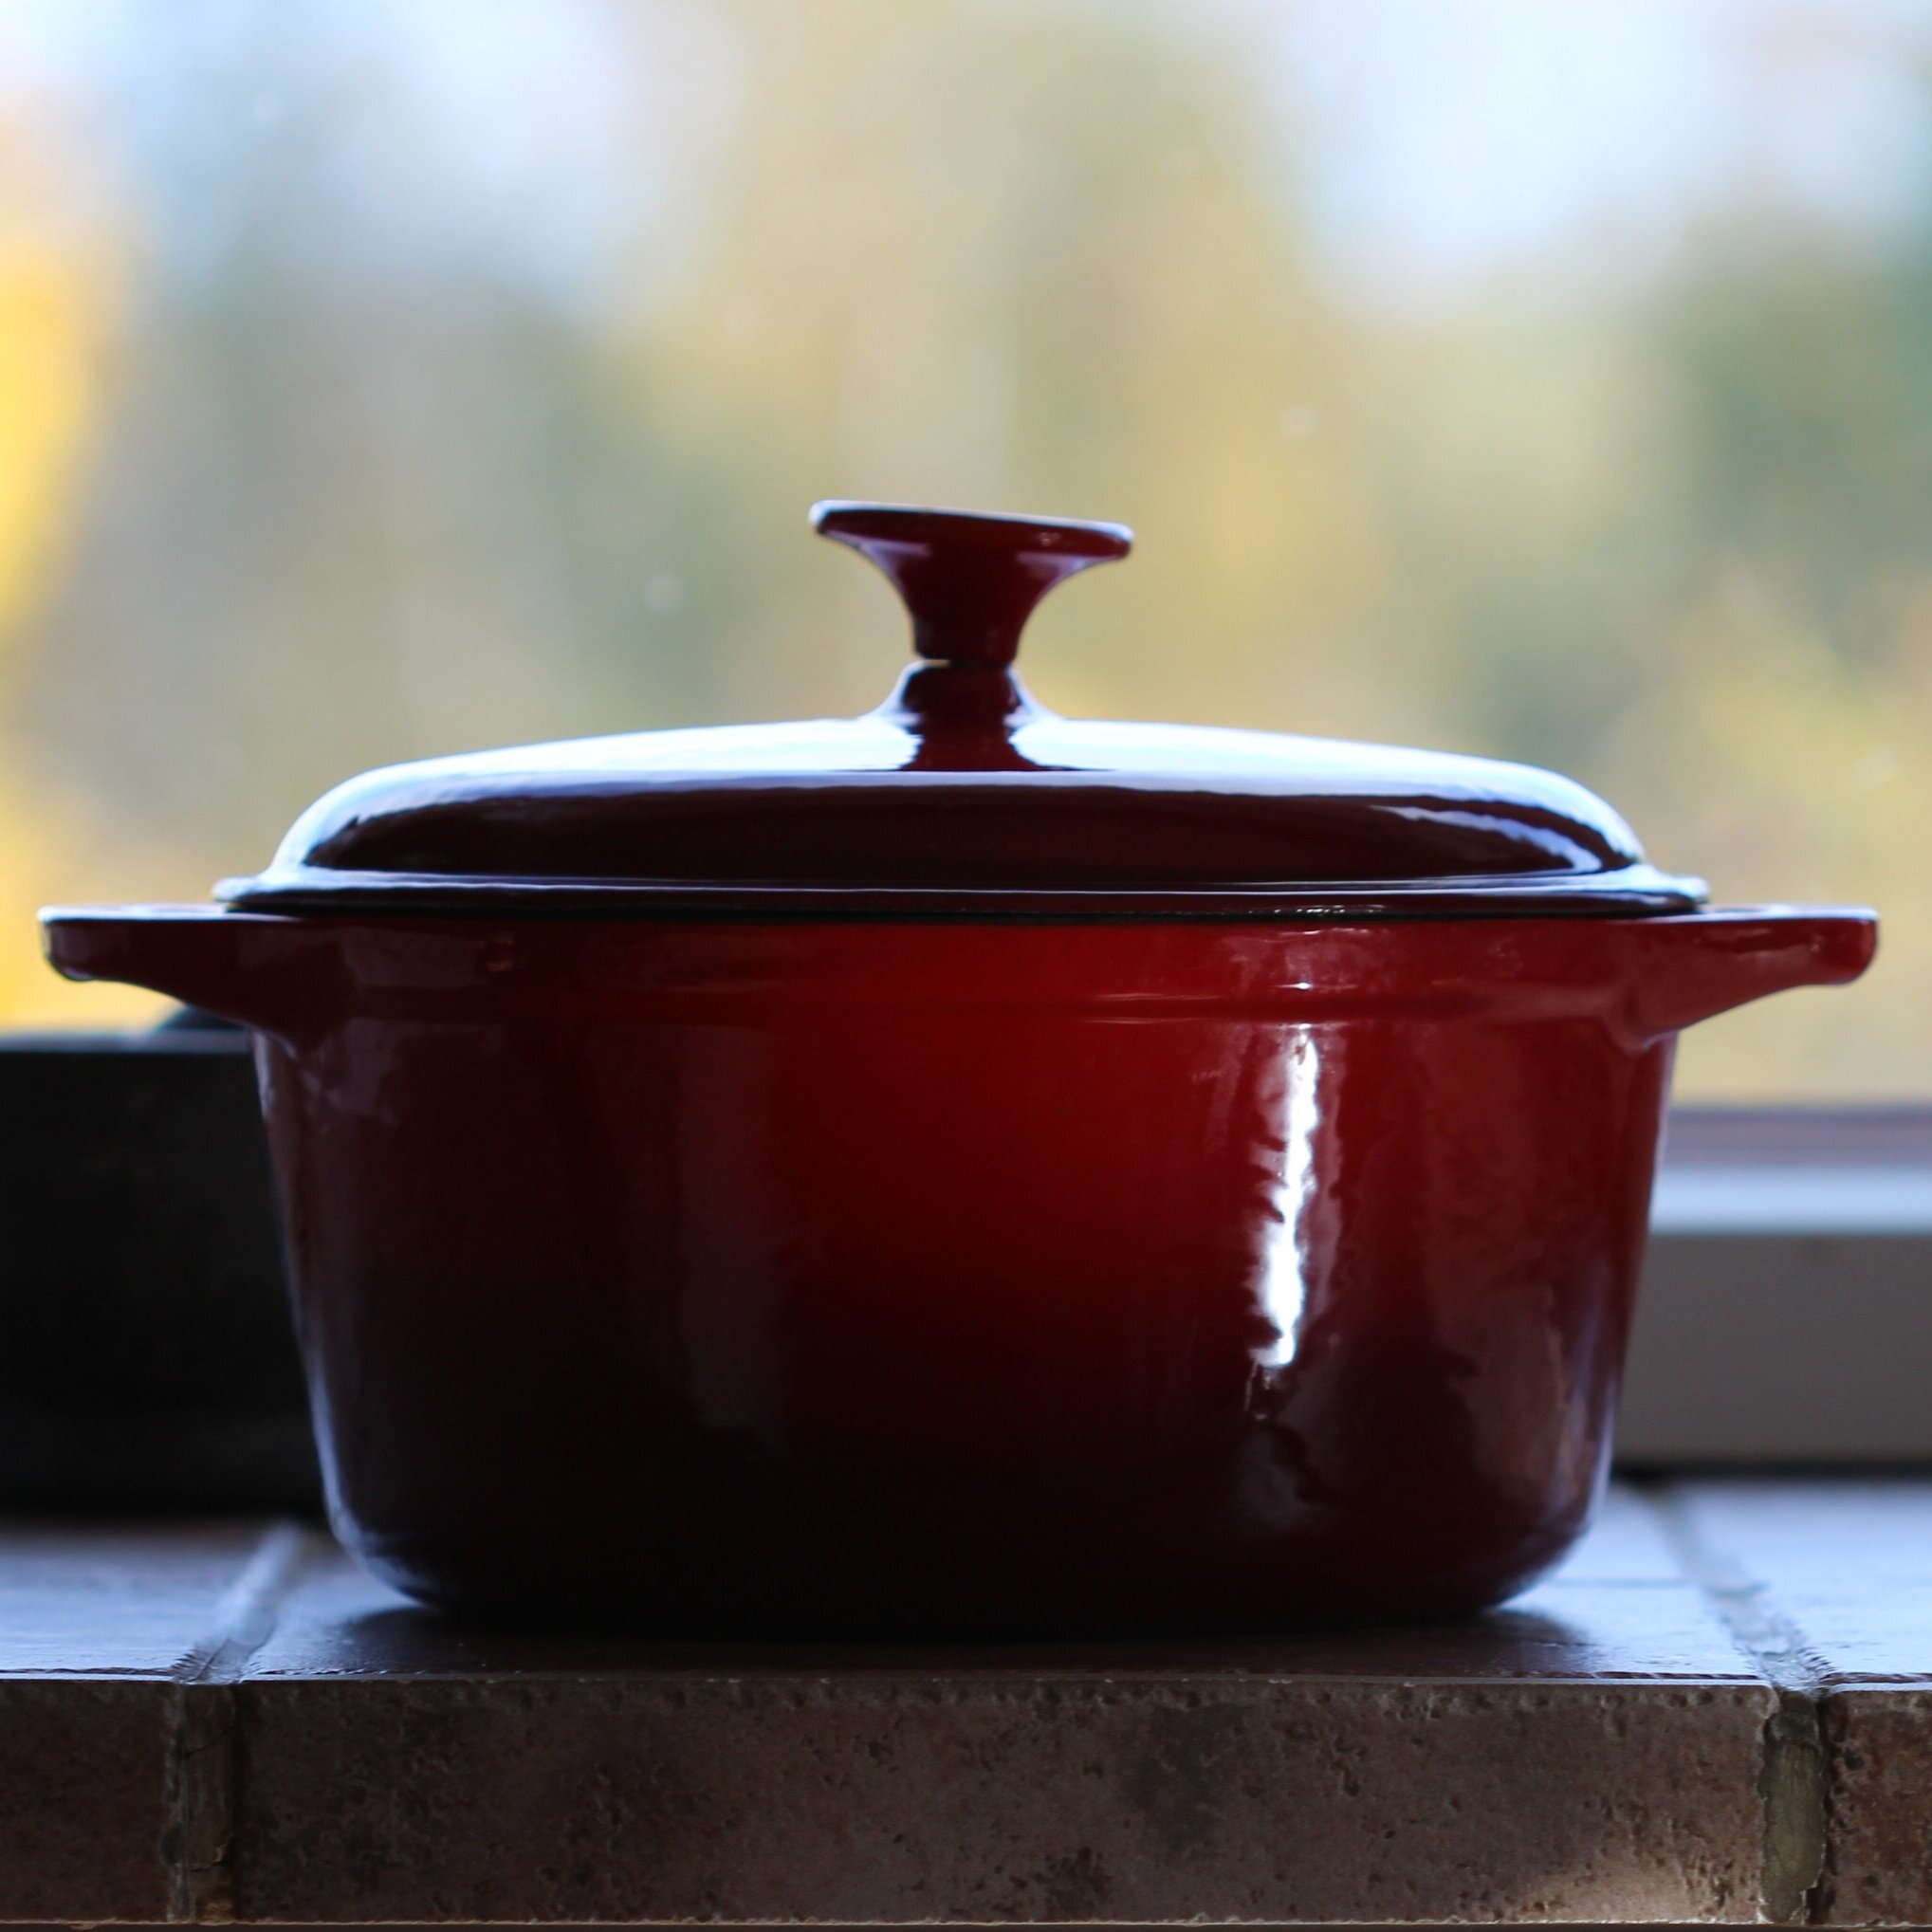
Cast-Iron Cookware
Cast iron cookware is a great camping tool, but it does take a little extra love and care! Here’s an overview of how cast iron works and how to take care of these tools:
Common Cast Iron Cookware for Camping
dutch oven
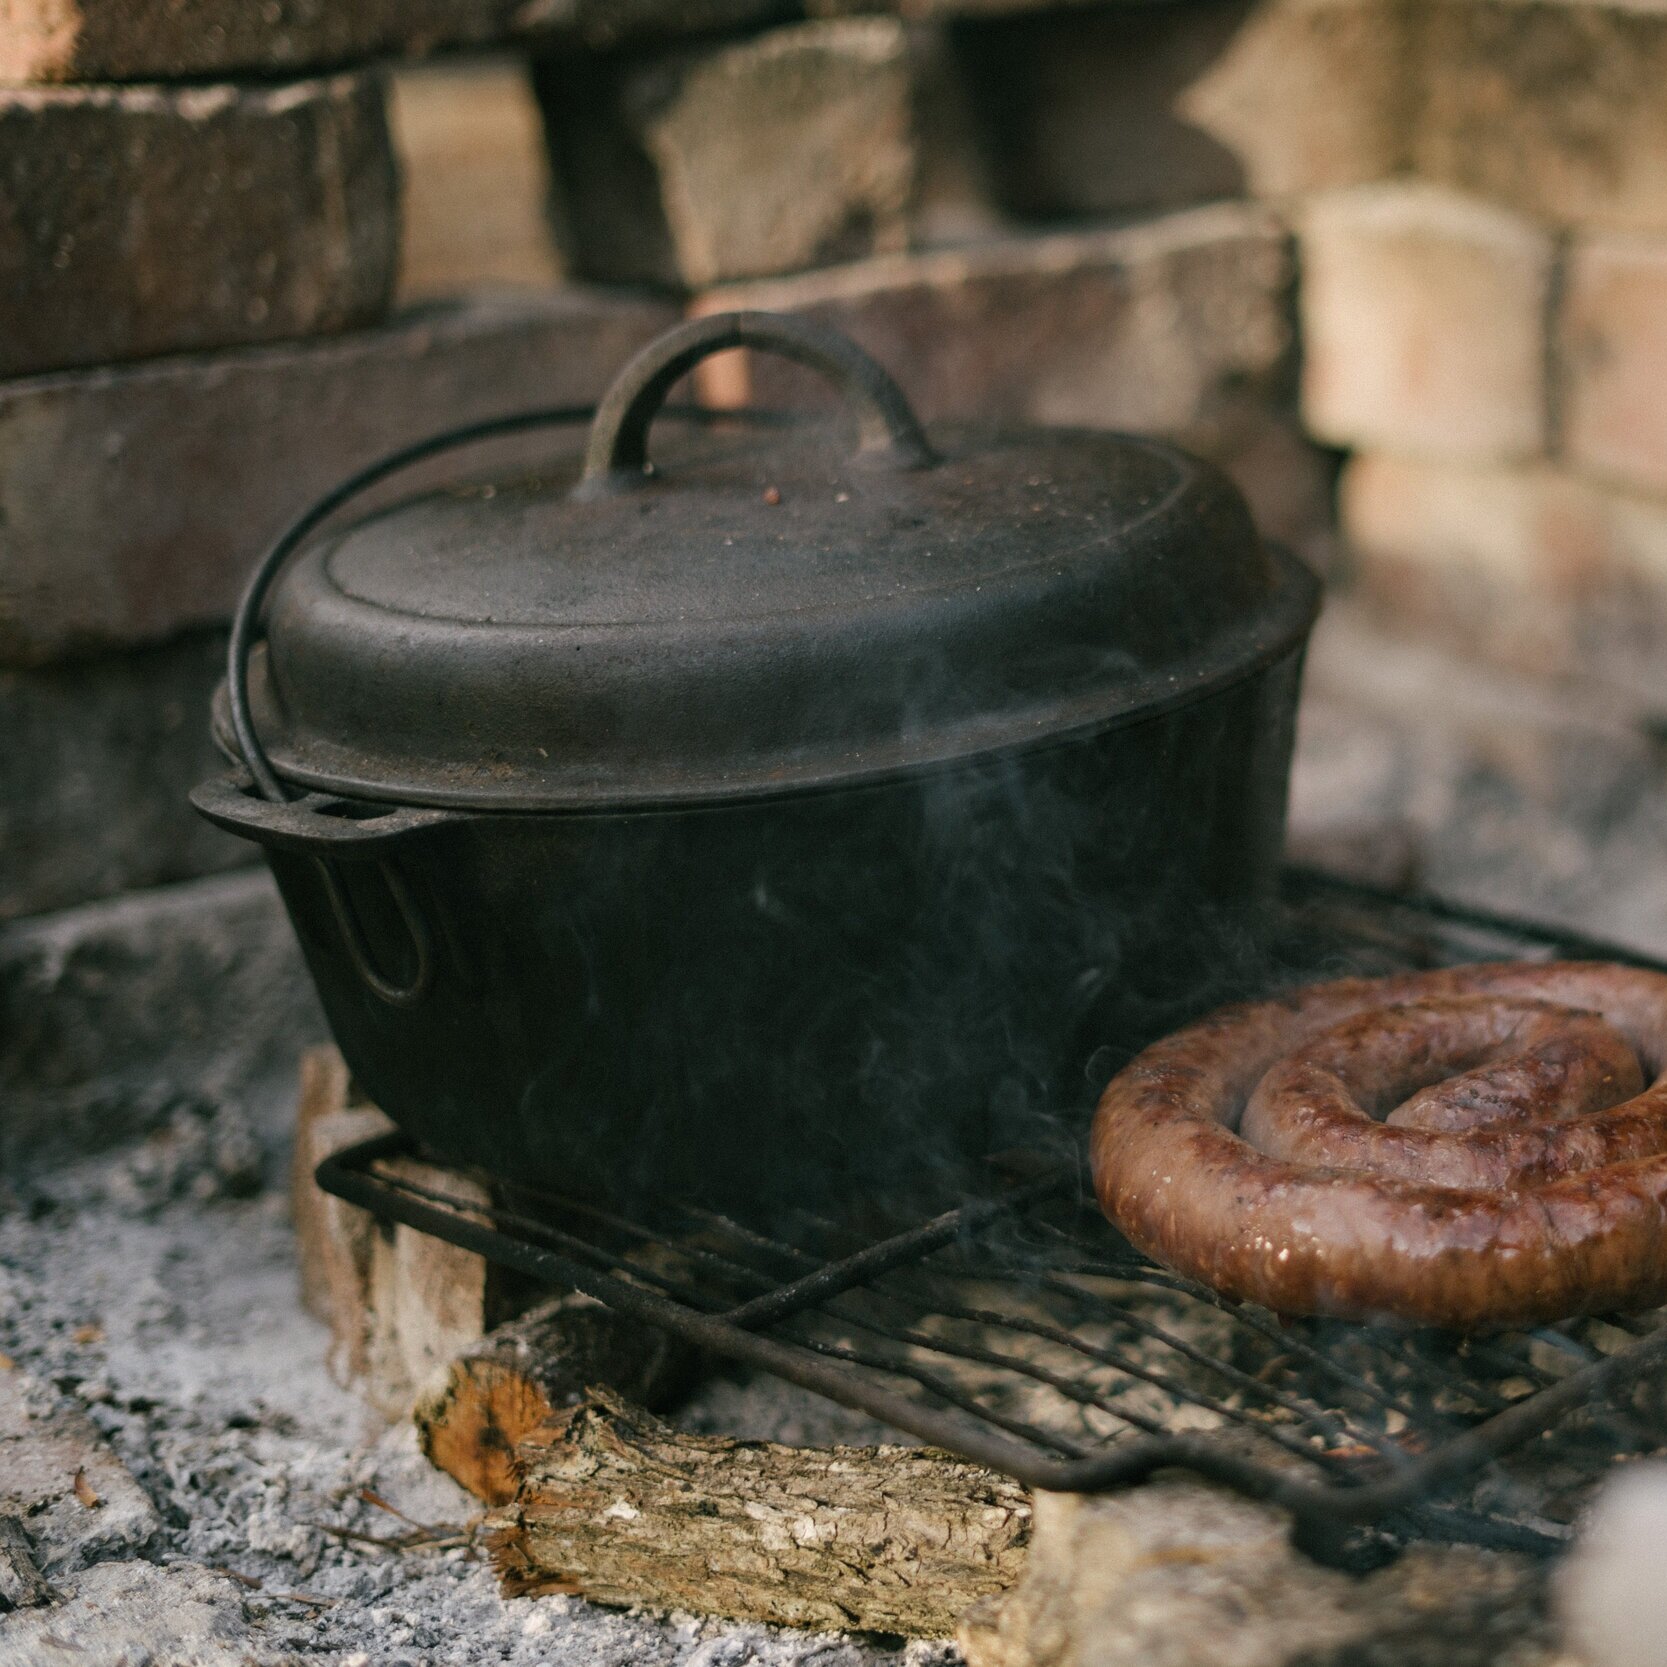
skillet

pie iron

If you’ve never used one before, here’s how to cook in a Dutch Oven:
Pie irons are incredibly popular at Sugar Hollow Day Camp! If you’ve never used one, here’s an intro:
Cast Iron Cooking
The next step in outdoor cooking is using various cast iron cooking tools. While we typically use charcoal to cook meals like this a camp, you can use your kitchen stove or oven, your grill, or a campfire!
Learn how to make at least two meals using cast iron:
Dutch Ovens

Chili

Dump Cake

Chicken and Rice
Apple Cobbler

BBQ Chicken and Potatoes

Lasagna
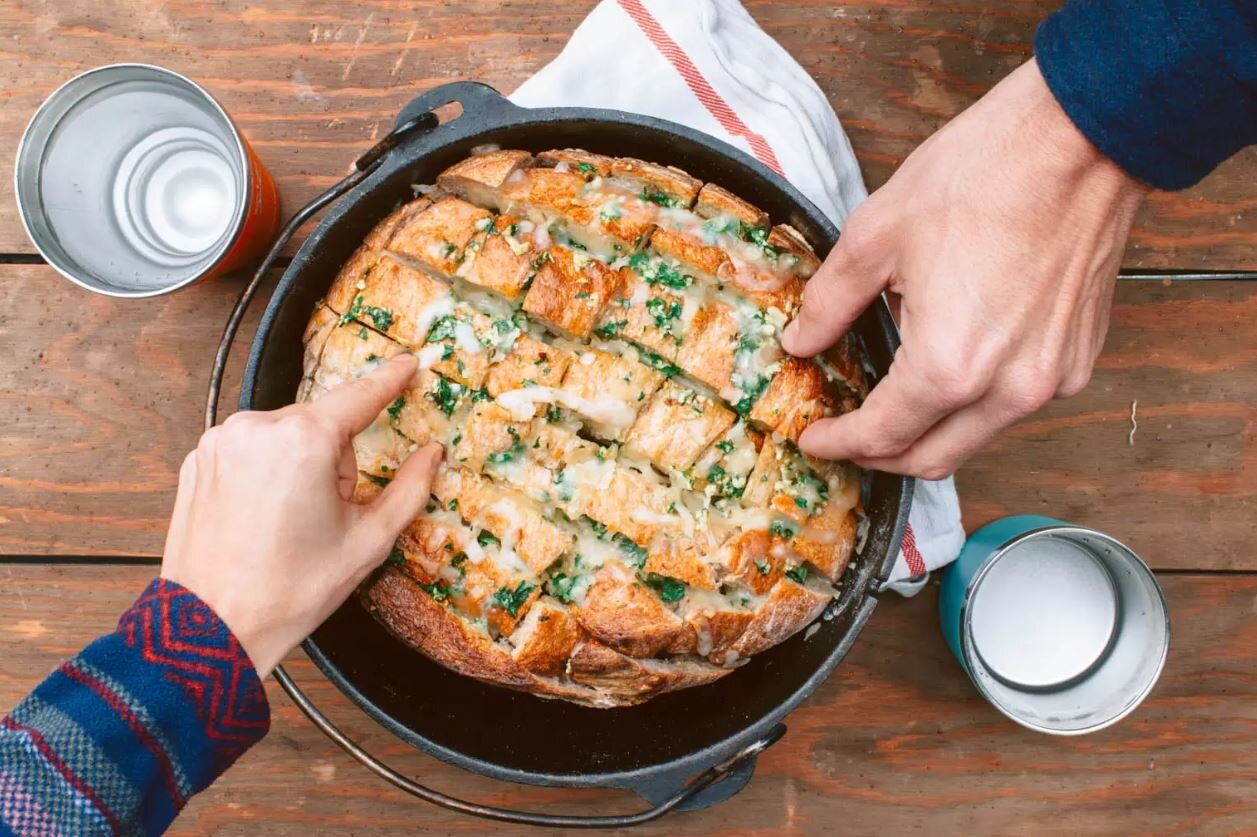
Garlic Bread
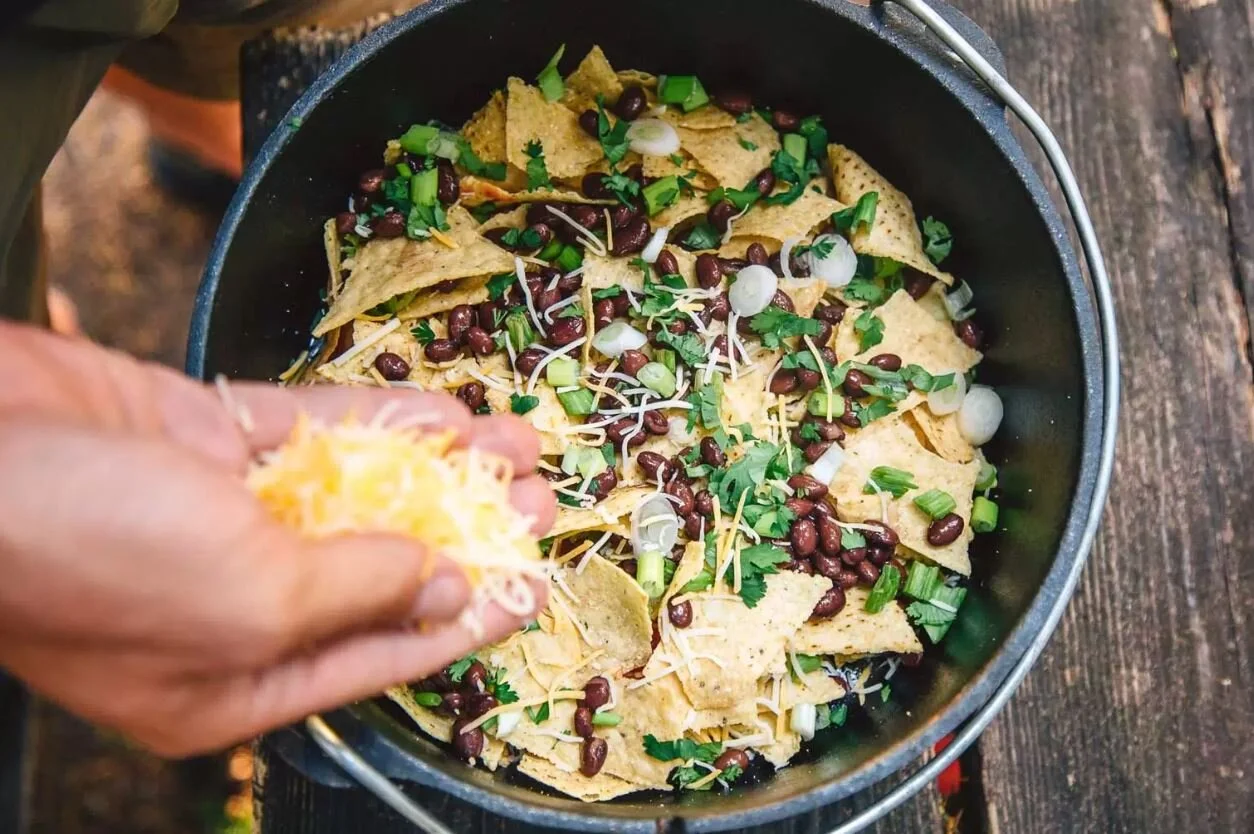
Nachos
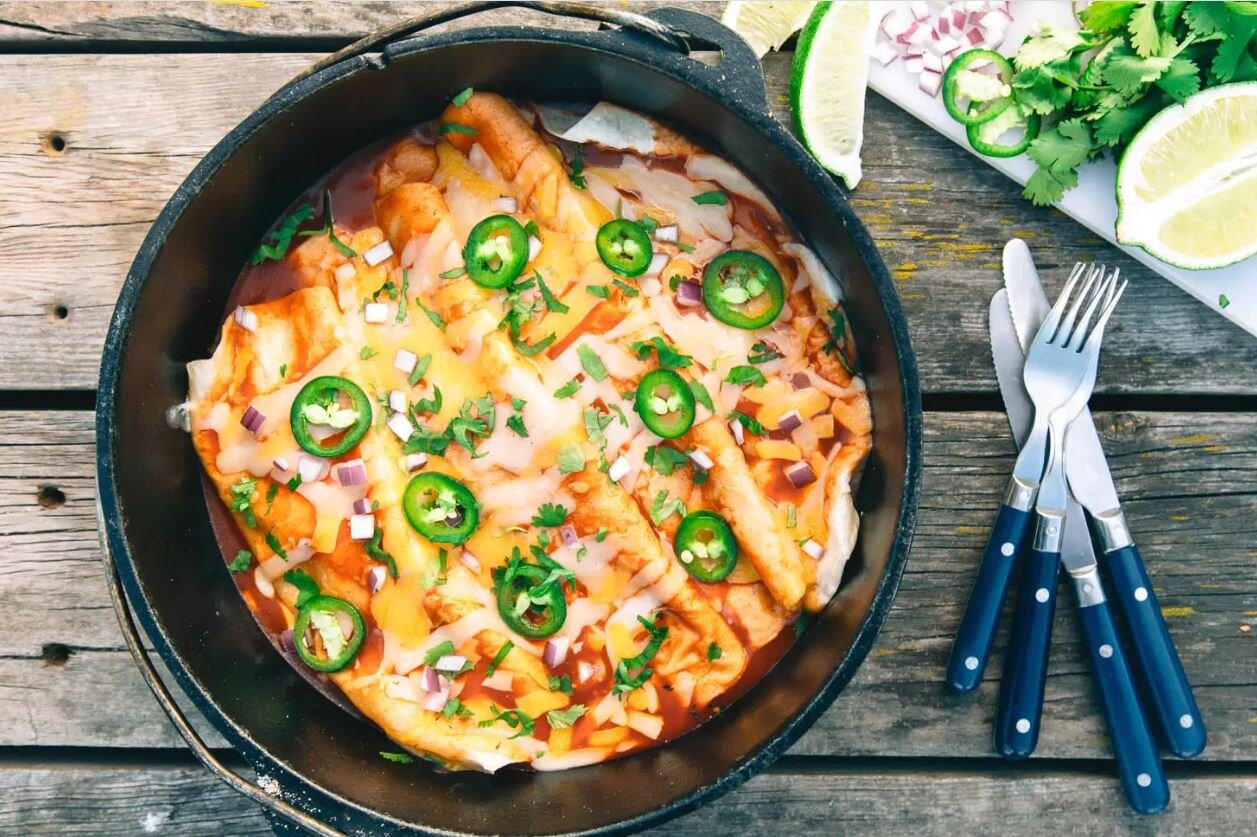
Enchiladas
Skillets

Pork & Beans Cowboy Casserole

Chili Mac Skillet

Giant Oreo Skillet Cookie

Pizza

Beef Stroganoff

Veggie Frittata

Pesto Pasta with Bacon
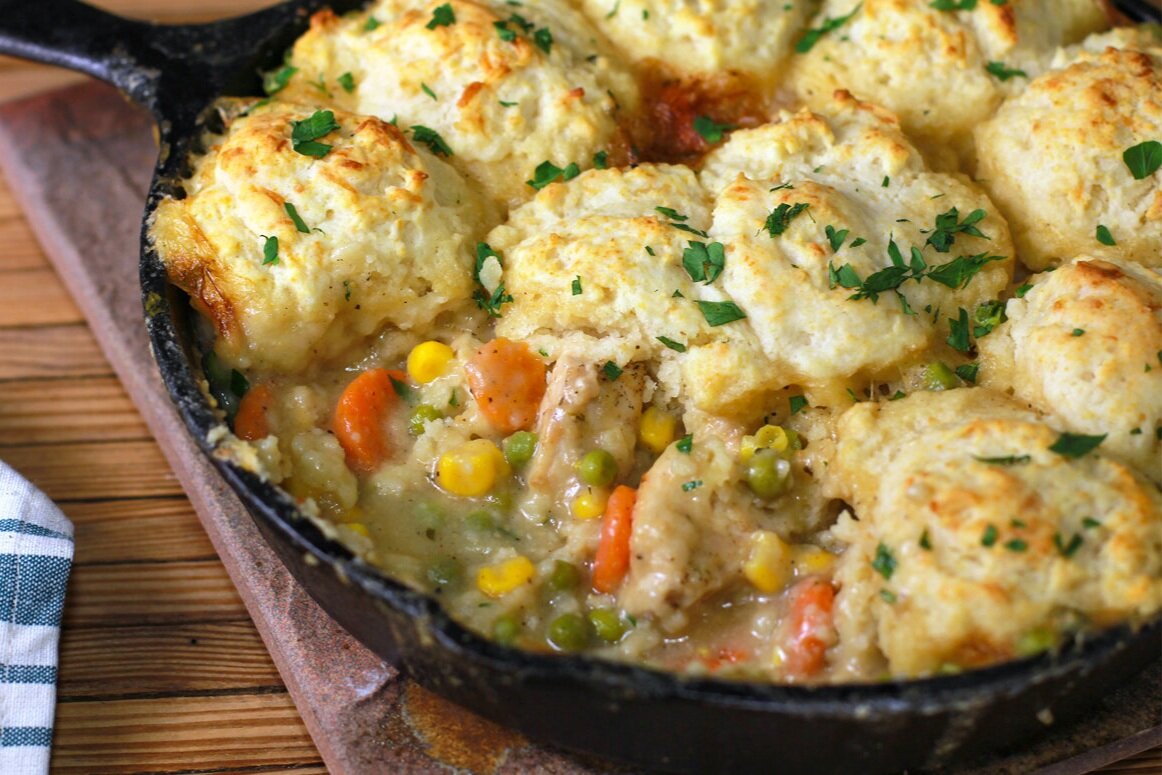
Chicken Pot Pie

Loaded Cornbread
Pie Irons

Pizza Pockets

Nutella Banana Sandwiches

Cherry Pies
Monte Cristo Sandwich

Blueberry Cream Cheese Stuffed French Toast

Chicken Pot Pie
Cheeseburger Pie

Egg in a Nest

Pecan Pie

Outdoor Baking
As you get older in Girl Scouting, you have the opportunity to try new types of outdoor cooking! Check out the websites below demonstrating how to use a box oven and solar oven. These outdoor baking techniques can be used to bake anything you make at home, including nachos, bread, cookies, and cakes!
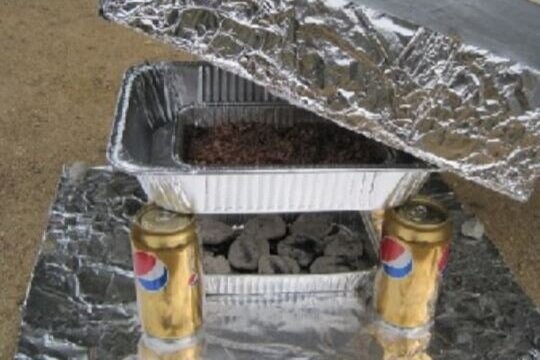
Box Oven Cooking
Check out Girl Scouts of Palo Alto’s directions for creating a box oven:
Solar Oven Cooking
Check our Home Science Tools’ directions for creating a solar oven:

Here’s how to make a solar oven by reusing a pizza box:
Bonus Resource from our friend, Mason!
To learn even more about solar cooking, this page includes information on how solar cooking works, different cooker designs, and delicious recipes:


Backpacking Cooking Techniques
Going backpacking, canoeing or camping does not mean that you have to sacrifice great food for easy, portable food. Use the instructions and recipes below to try out a recipe at home. Find your favorite and use it on your next trip! Use the link for the attached Backpackers Cookbook for even more recipe options!
Backpacking ‘Gourmet’
This is an introduction to backpacking meals that can be used by campers, beginner backpackers, and wilderness hikers. The meals are simple and, in most cases, require only boiling water to prepare, minimize fuel requirements, and dishwashing. These recipes and ideas have been collected from local backpacking leaders and are given as part of our regular backpacking class. Hope you have fun. Thanks for sharing your ideas and enthusiasm.
Be creative and have fun with your meals.
Observe ‘Leave No Trace” principles for meal preparation, resource conservation, sanitation, respect for the environment, etc.
Balance your meals with carbohydrates, protein, fruits/veggies.
Be sure to try out new meal ideas at home before taking out on the trail.
Be sure to label all meals with date/ingredients/preparation instructions before storage.
Include a mid-morning snack with your breakfast meal package and a mid-afternoon snack with the lunch meal package. Include a dessert with the dinner meal package.
Review prepackaged meals to ensure you have all ingredients and cooking utensils.
Be aware of packaged weight of your meals. Breakfast for 4 at about 1lb with snack, lunch and snack at about 1.5 lb, dinner and dessert at about 2 lbs.
Meals can be spiced up using “free” condiment or ingredient packets.
Many more ingredients are being packaged as “no refrigeration required” or in individual serving options. Some hard and wax-covered cheeses pack very well and give a good calcium as well as protein source. Uncut salami/summer sausage can be packed without refrigeration.
You can dehydrate many of your own meals from regular at-home meals.
The same basic method of dehydration for meats can be used on homemade soups, sauces, even scrambled eggs.
Fats/oils will go rancid in storage, so limit the amount of oil used in meal preparation for best long- term results.
All moisture must be removed from food in order to store well over time. Sample taste test, especially on meats, to be sure all moisture has been evaporated off.
Repackage ingredients to decrease waste and bulk.
Remember, if you pack it in, you pack it out, including uneaten food. A gallon Ziploc bag for packaging a meal will also package the waste.
Some repackaging may be necessary to protect foods for the duration of your backpacking trip.
Packaging may be different for transport in a backpack vs. a bear canister.

How to Dehydrate Meats
Meats can be dried for adding to any recipe.
Ingredients: Canned or foil pouch lean meats: chicken, tuna, ham, or any lean, fresh meat
Take care when processing high fat meats, like sausage and bacon. The fat in these meats cause it to go rancid more quickly than low-fat meats. Cook these meats first, and then drain off excess fat. While still warm from the dehydrator, place on a paper towel to absorb additional fat. Package as with any other meat.
Directions:
Meat can be pre-seasoned and cooked before dehydrating.
In a food processor or by hand, mince meat into very small pieces.
Cut foil into small rectangles & fold up the edges to make small “boat”.
Place meat in foil boats & into dehydrator for 24 hours or until completely dry.
Store dry, no need to refrigerate. Keeps for months.
Number Of Servings: keep track of how many tbls = 1 can
Preparation Time: 8-24 hrs
Tips: If using a conventional oven to dehydrate, place meat on foil or in glass baking dish. Set oven to 250 degrees and process until dry. Remember to prop oven door open slightly during processing.

Backpack Cooking
Learn how to make at least two meals using backpacking gear:
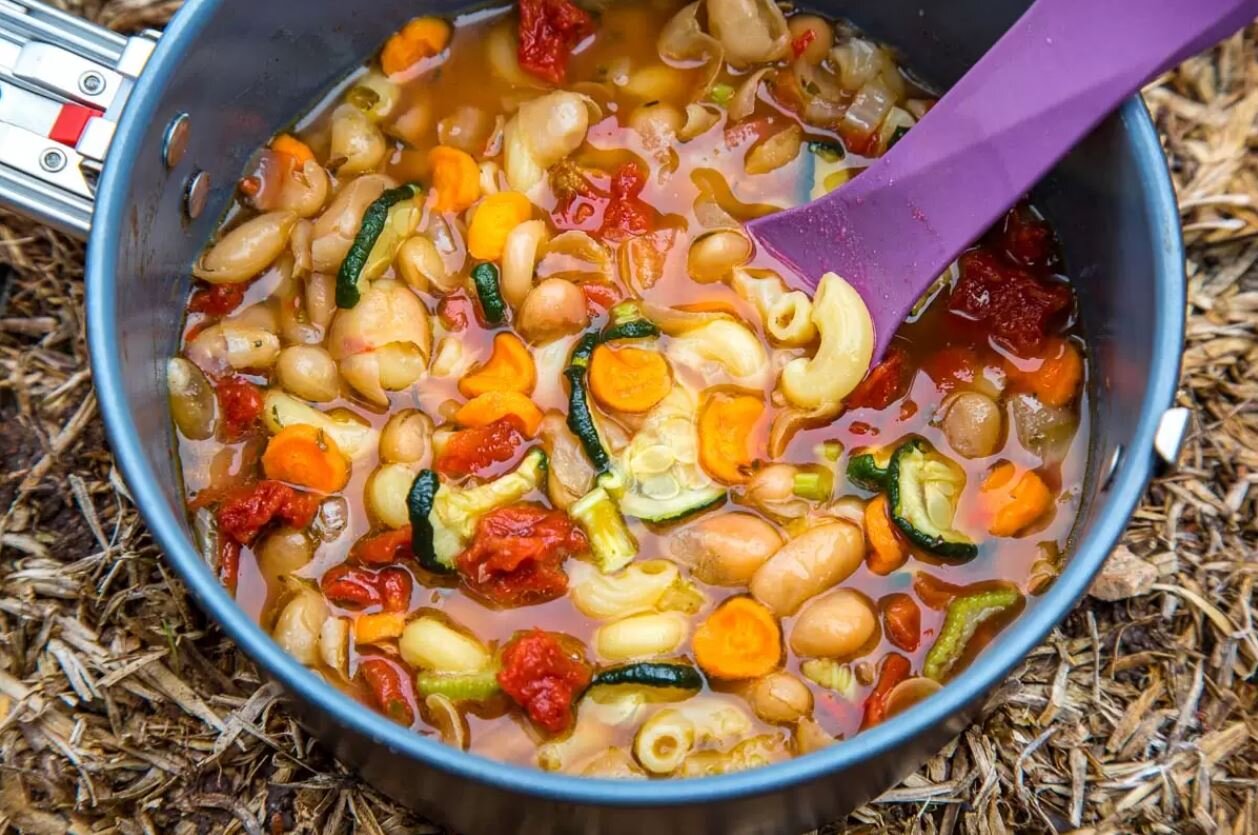
Dehydrated Minestrone Soup
Chicken Carbonara

Jambalaya with Orzo
For even more backpacking recipes, check out these sites:

Outdoor Cooking Practice
Using the skills you’ve learned today, try out a recipe at home! Recipes can come from our links above, scouting recipe books like the one below, or by searching the internet. Use your creativity, and enjoy!
Pick a recipe based on the appropriate cooking technique for your age level using the chart below:

Dishwashing
Dishwashing
At camp, each girl takes care of her own dishes and silverware. Pots, pans, and cooking utensils are cleaned by the group as a whole or by a small group based on a kaper chart.
In order to keep cooking gear sanitized, minimize water resources, and minimize environmental impact, Girl Scouts wash dishes using a three tub process and hang their dishes from drip-lines to dry. Here’s what that process looks like:

http://stephanieklein.com/


Celebrate! Send us a picture or video of you completing a outdoor cooking activity.
Let us know what you loved about the outdoor cooking activities and what we can improve.
Return to the main Virtual Camp page to complete Thursday’s closing activity.