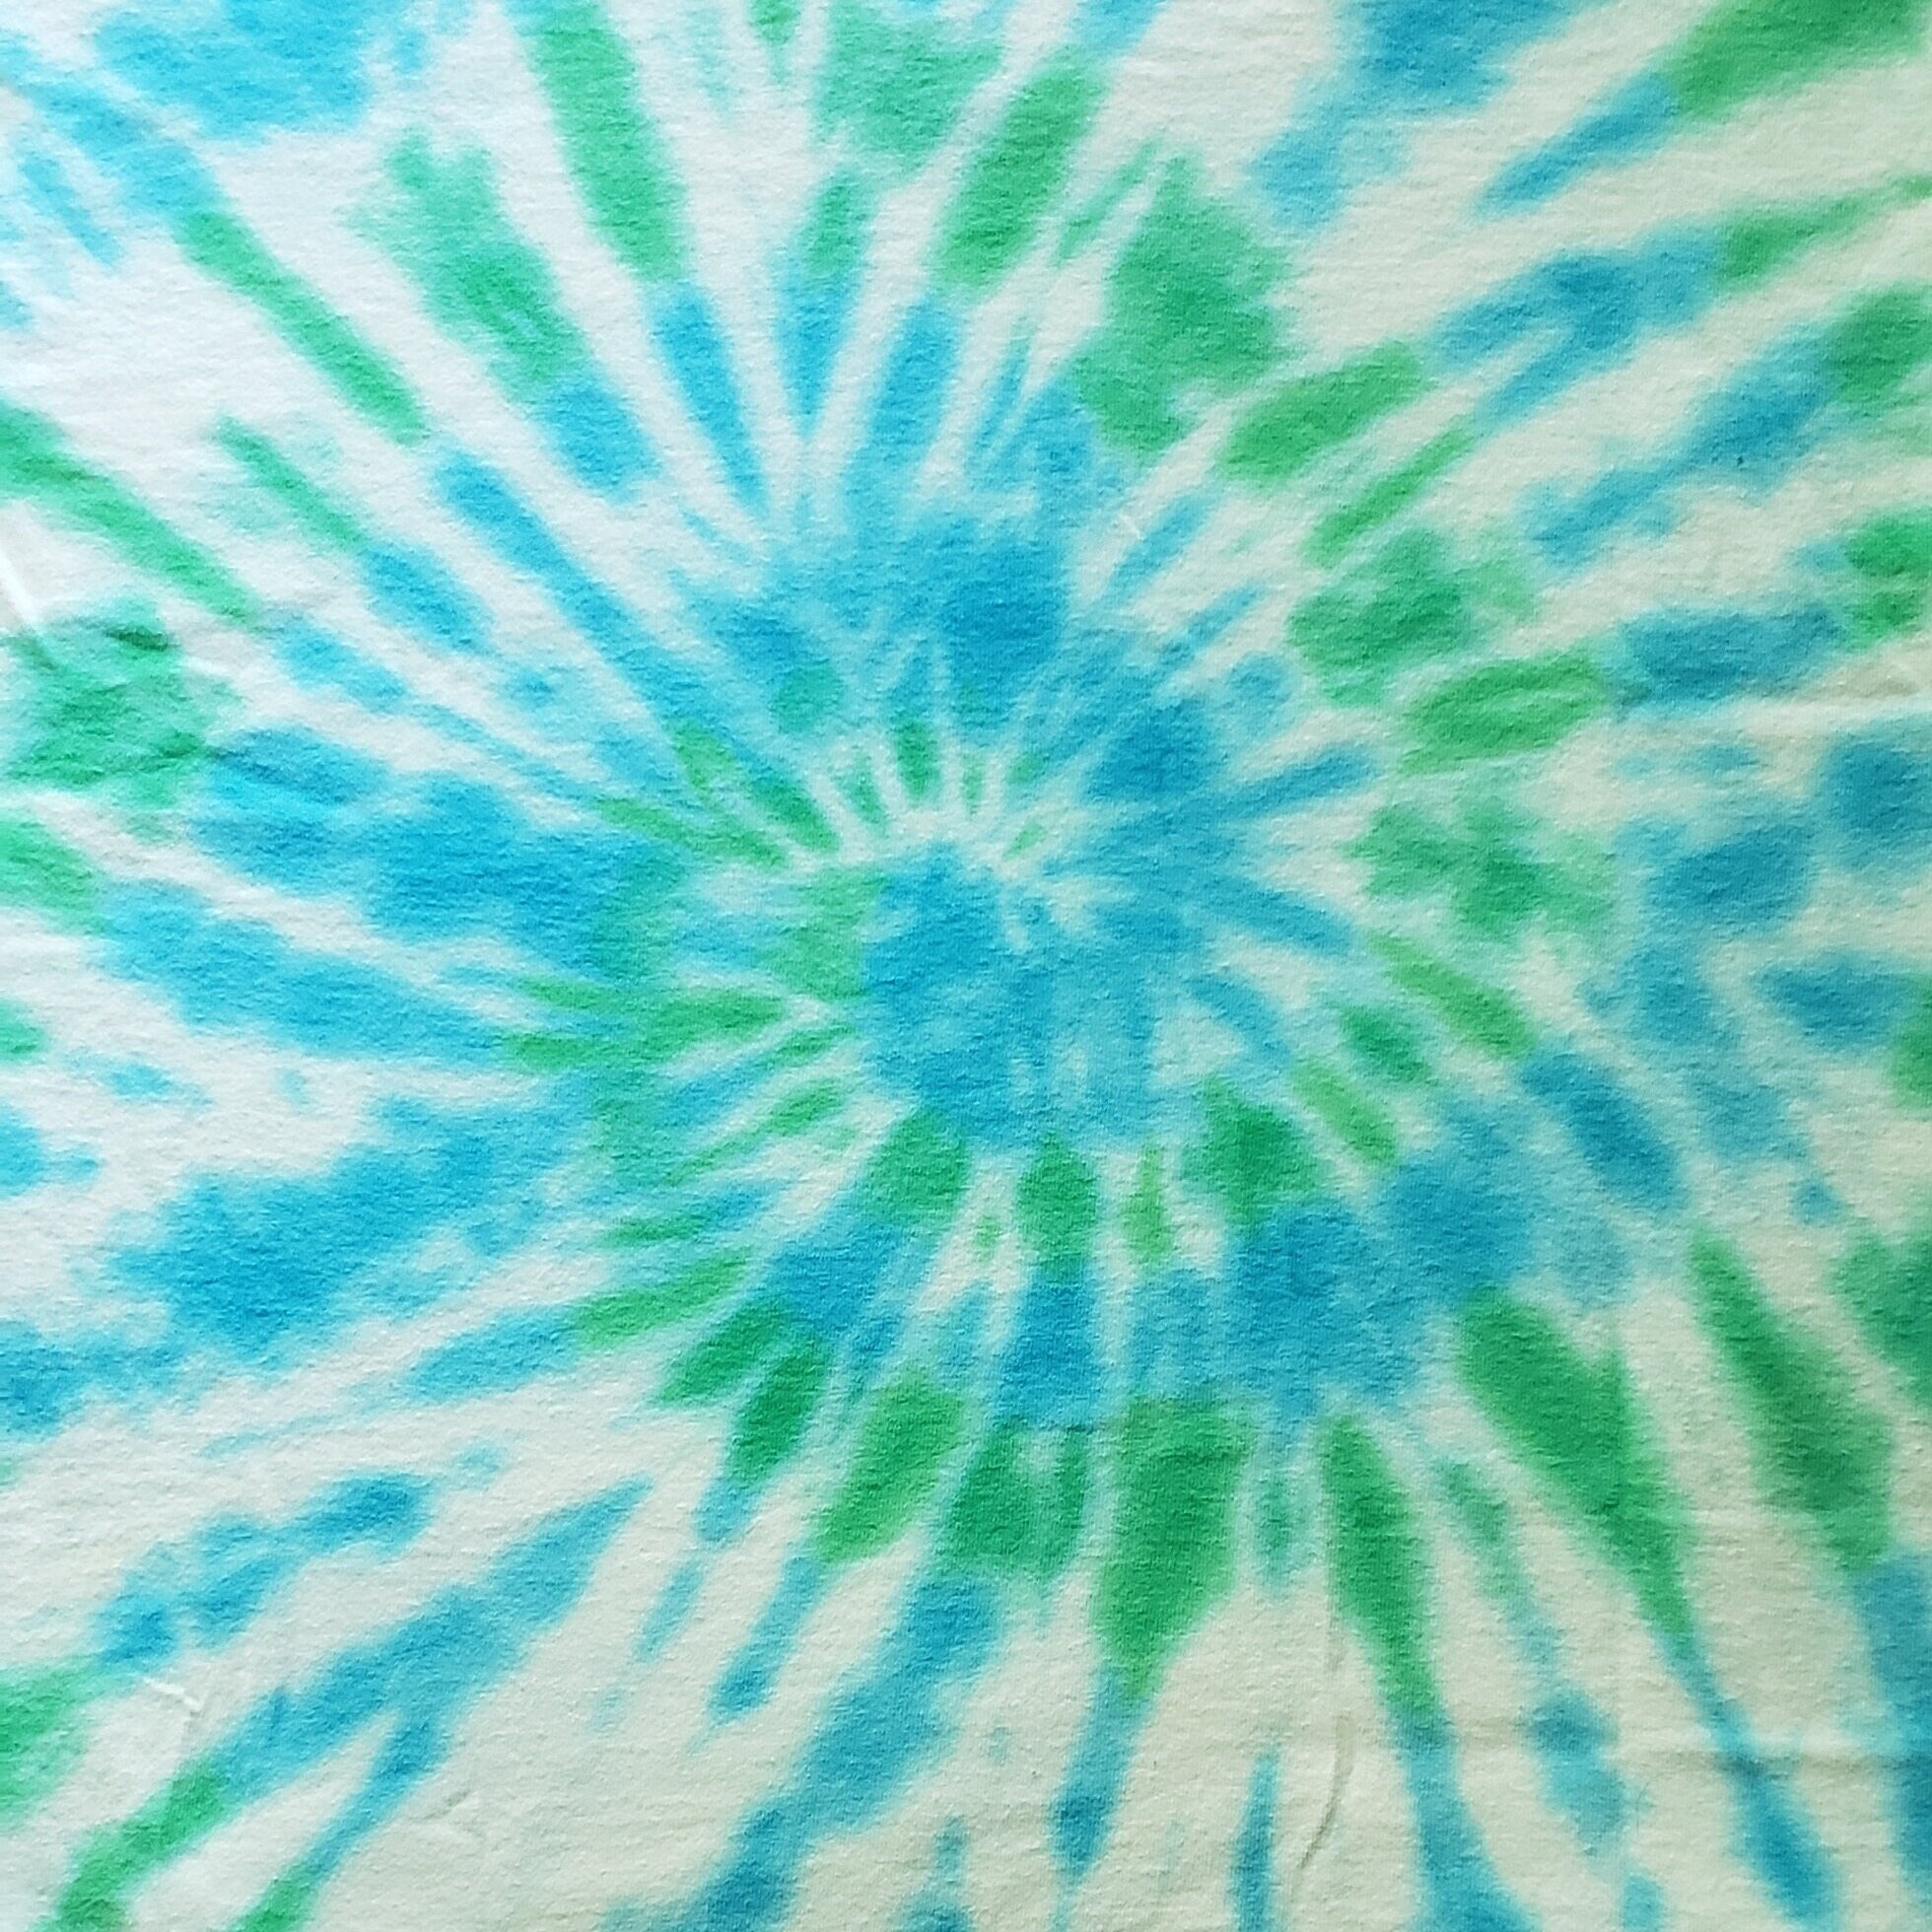
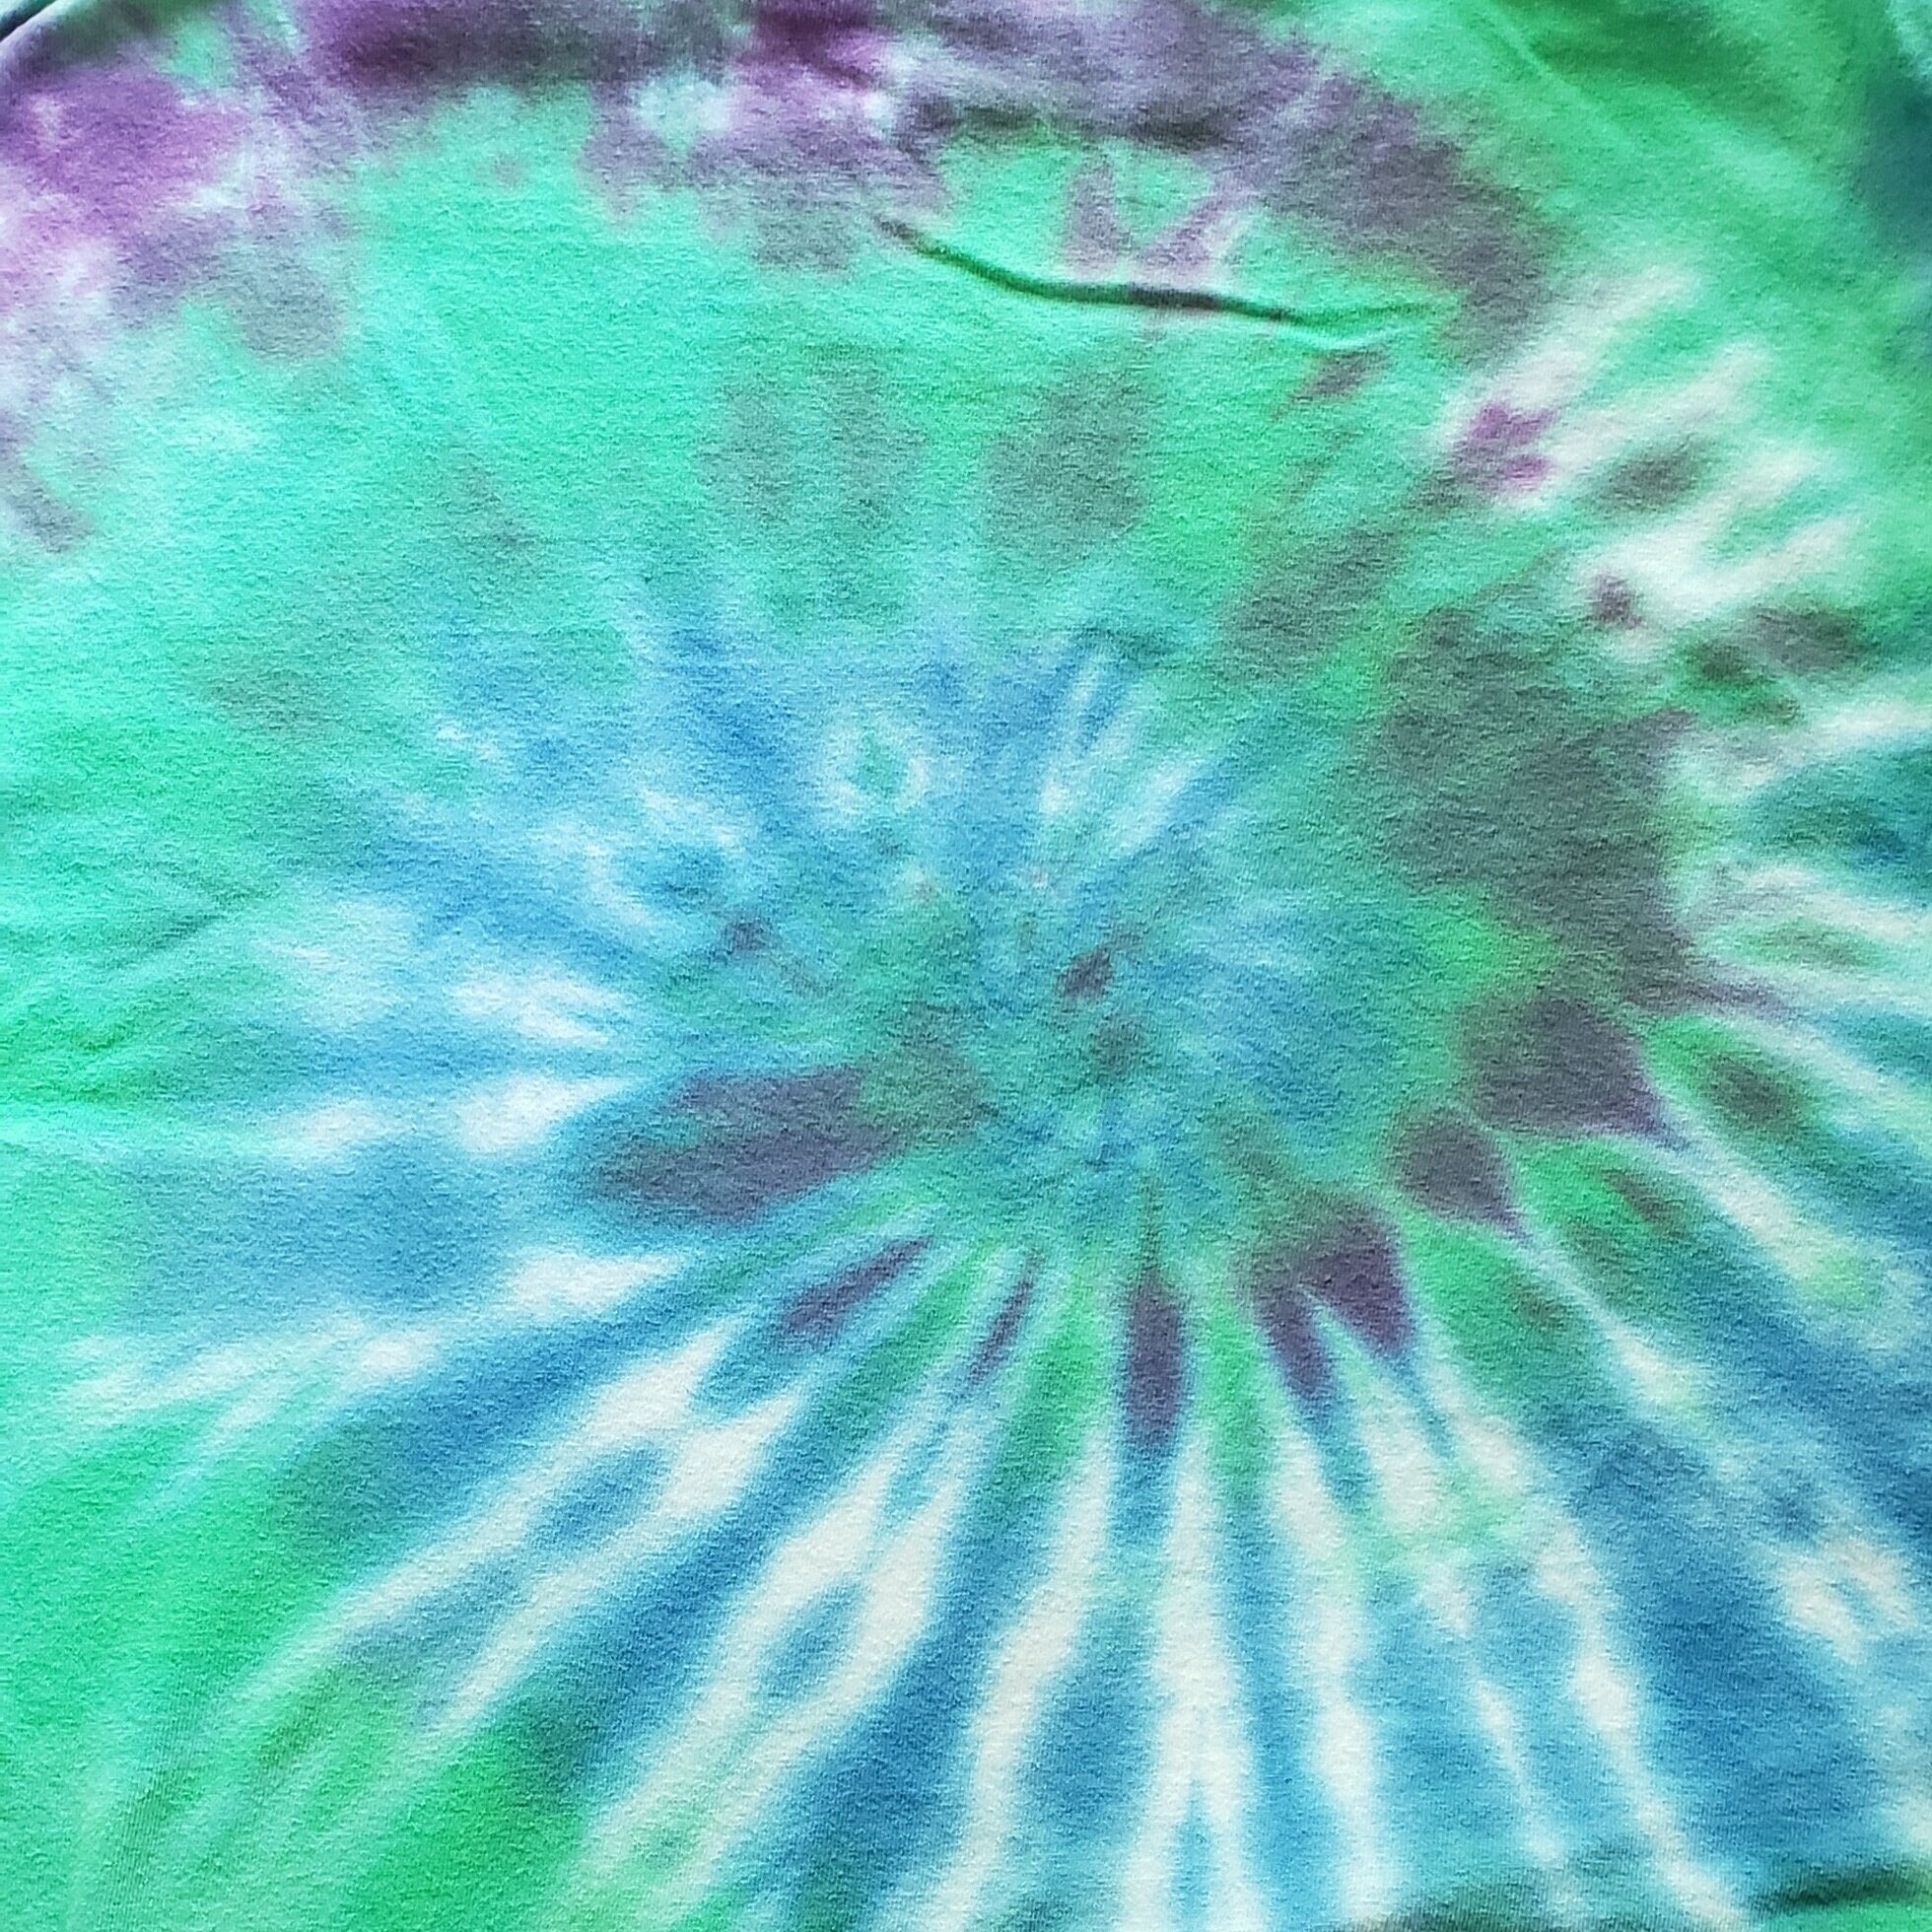
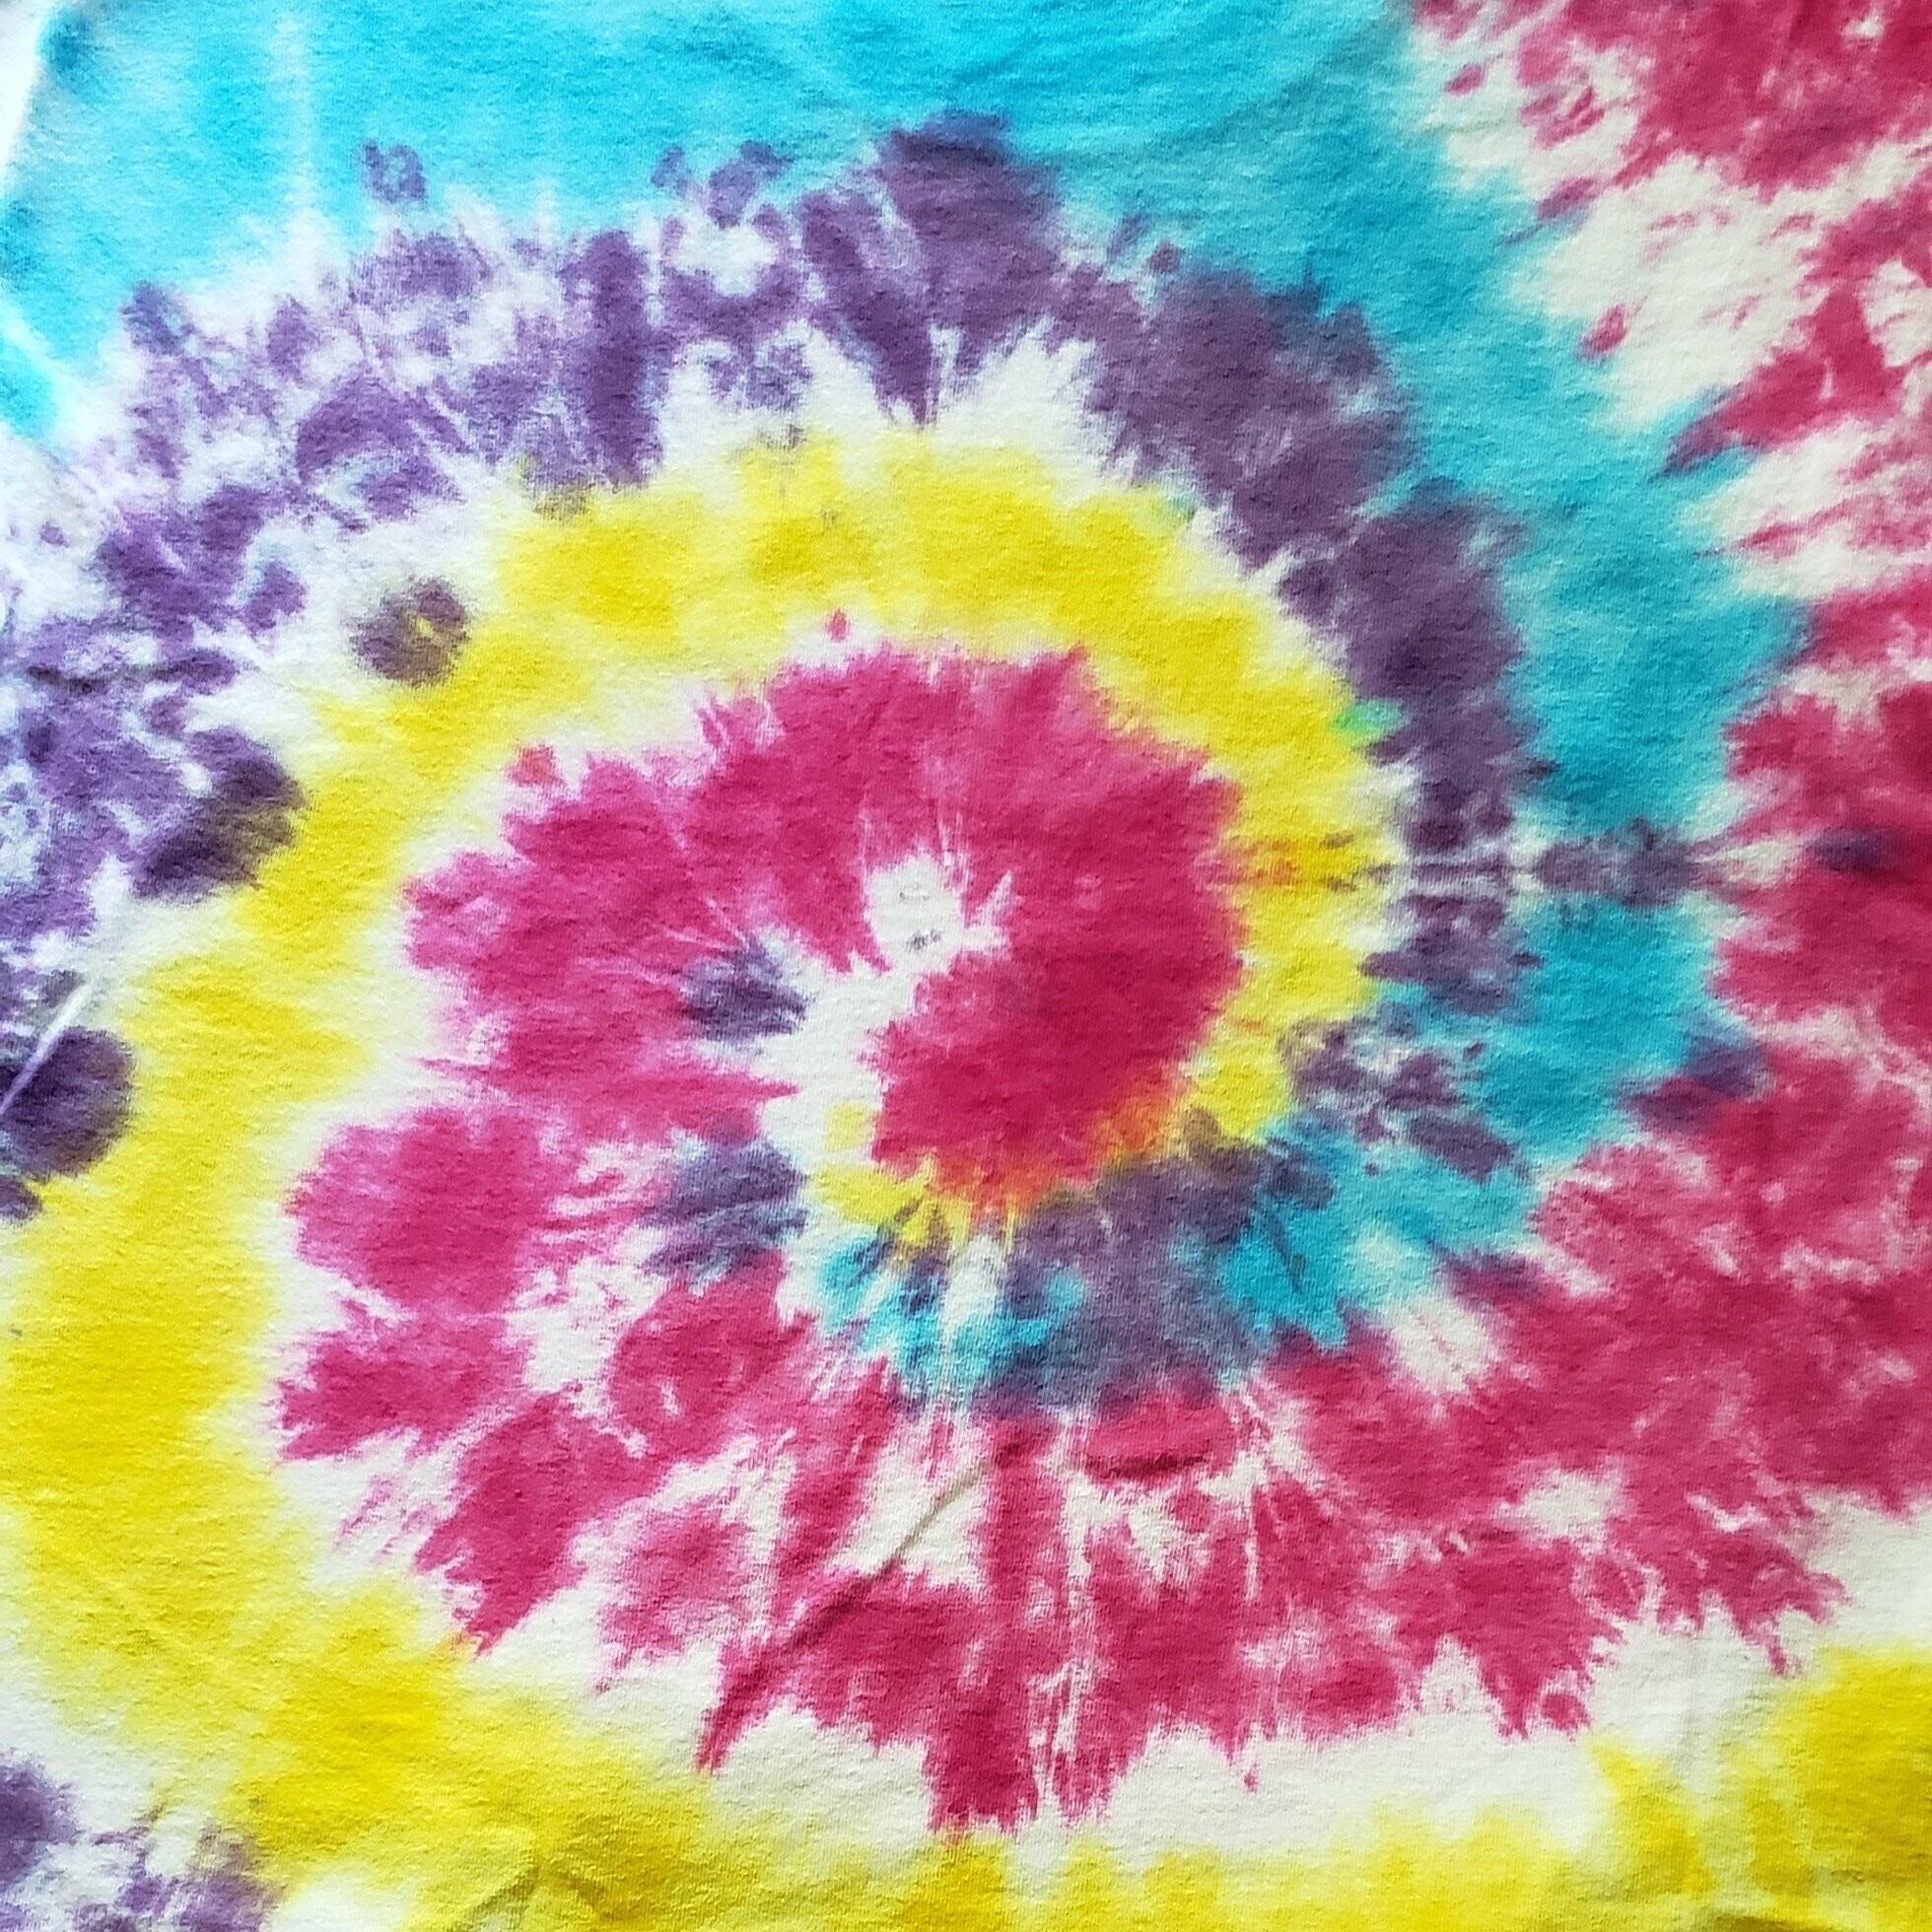
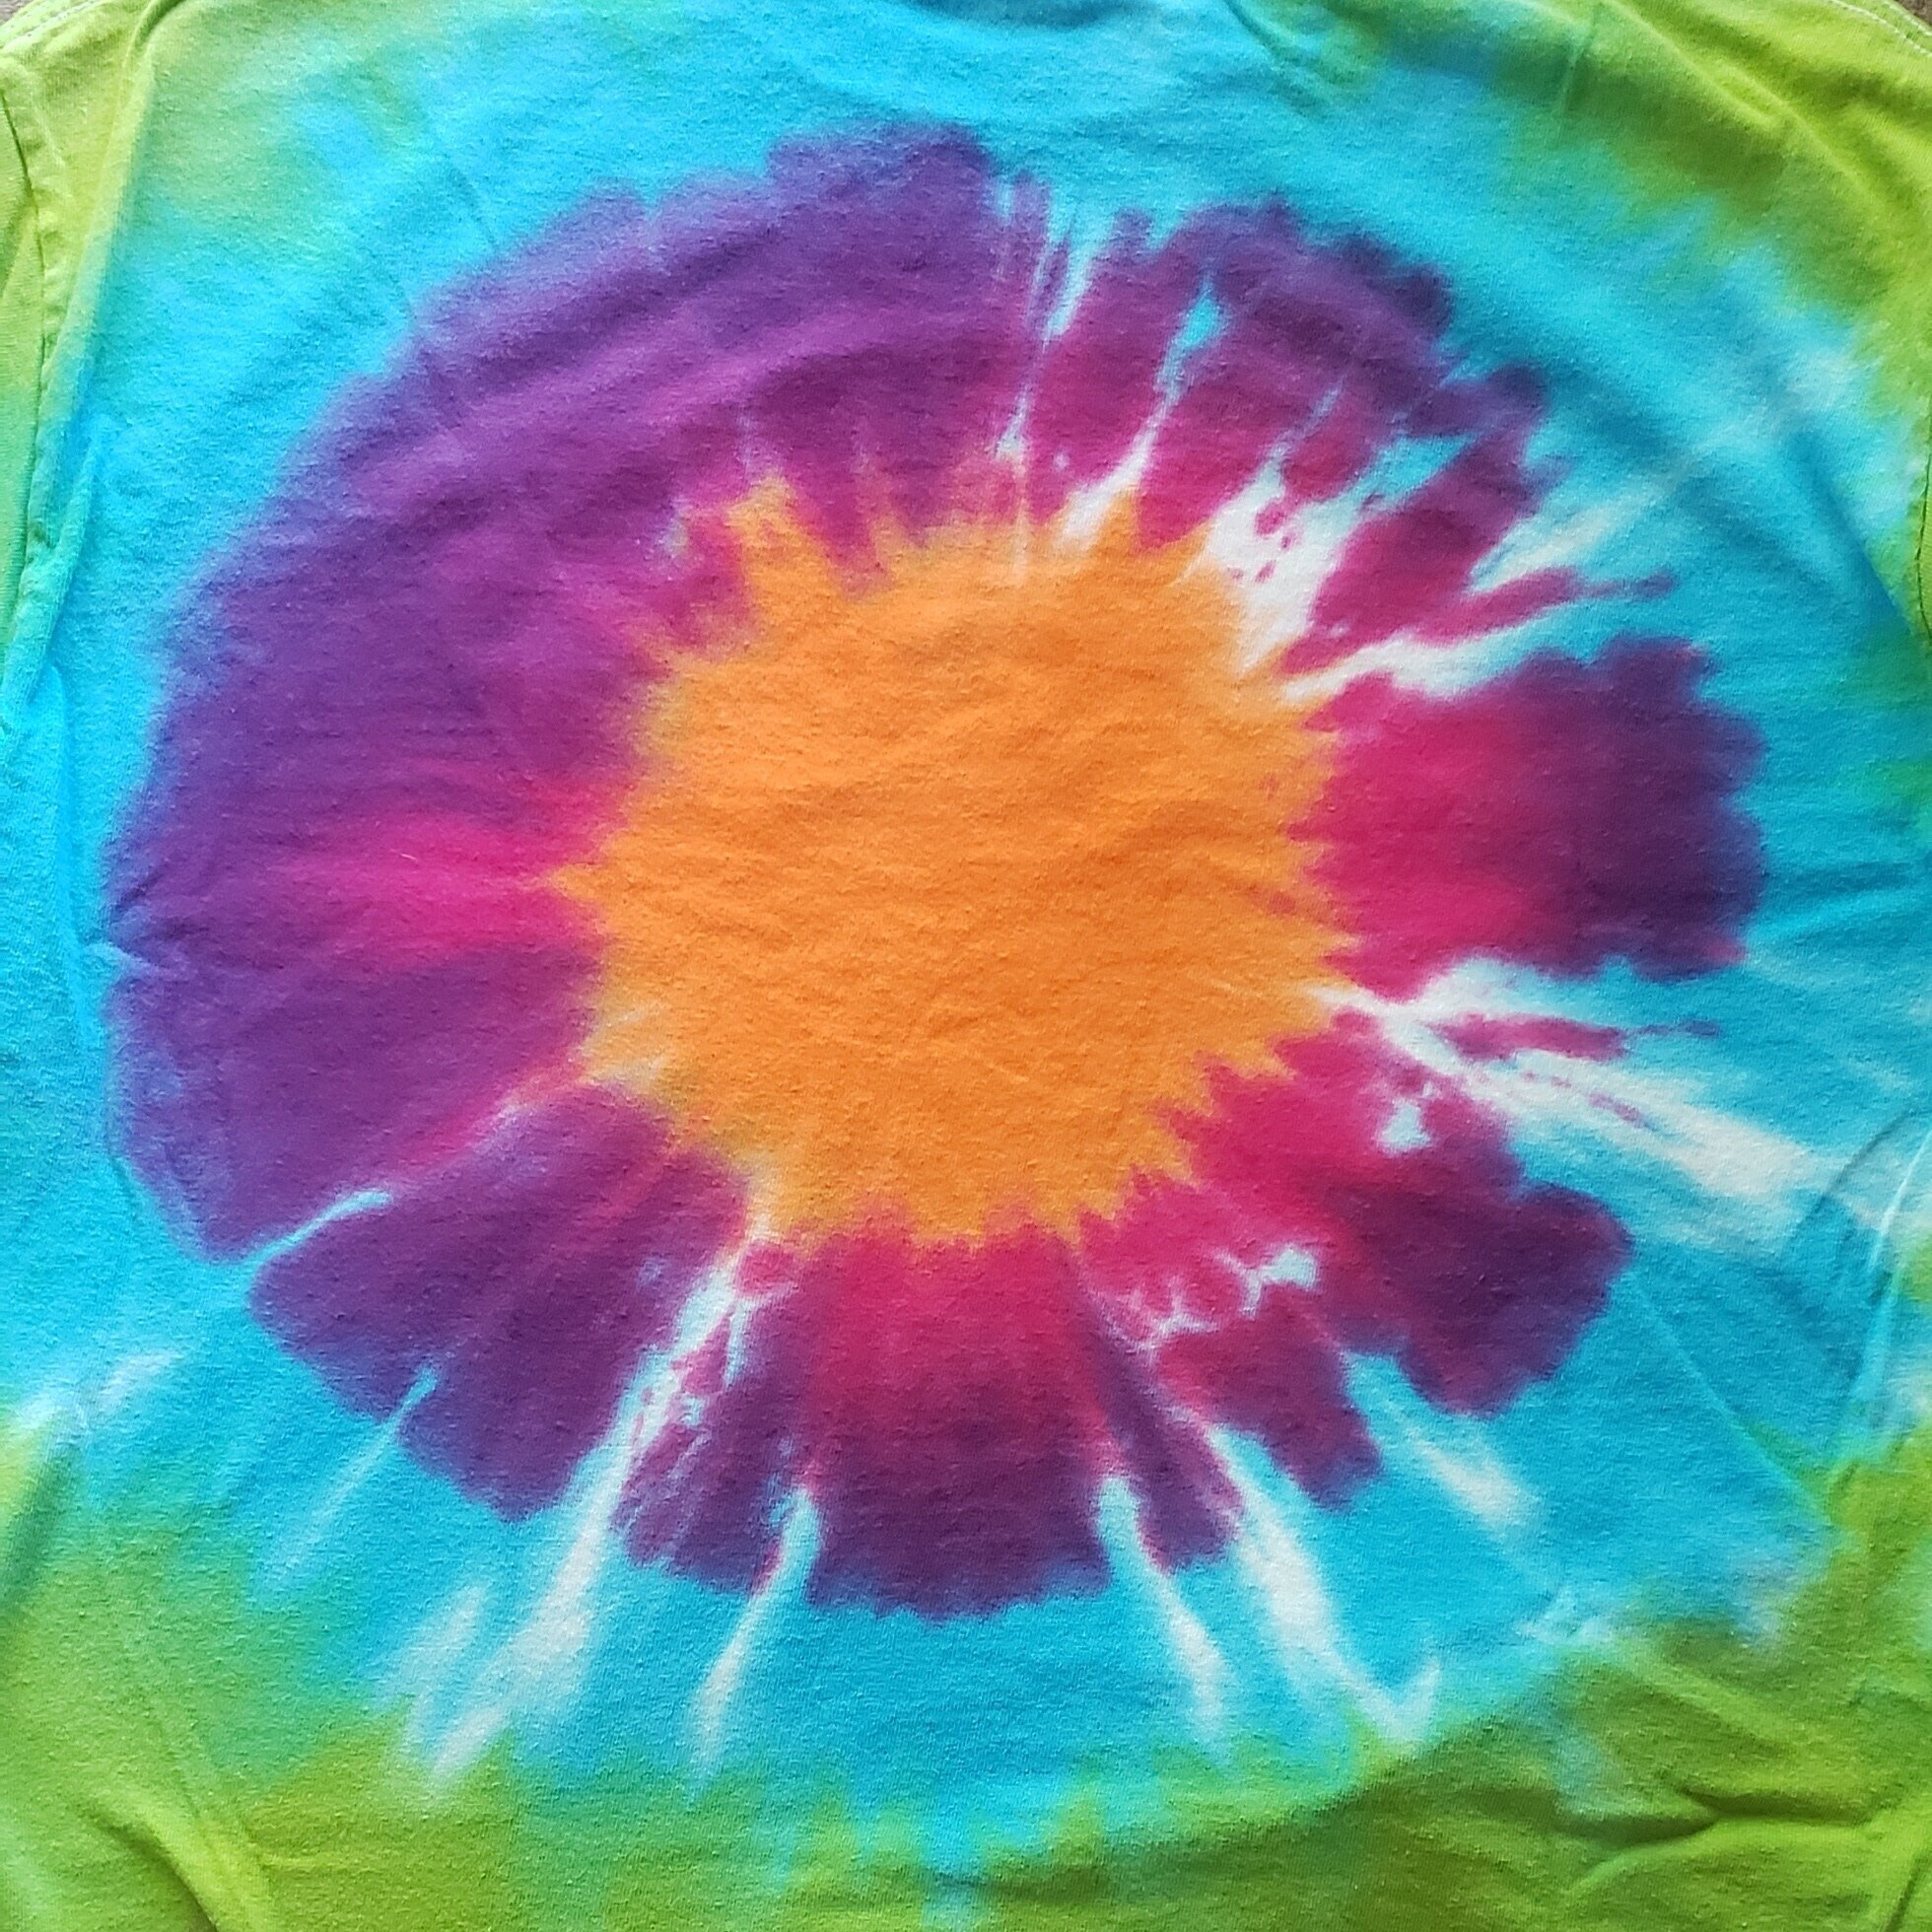
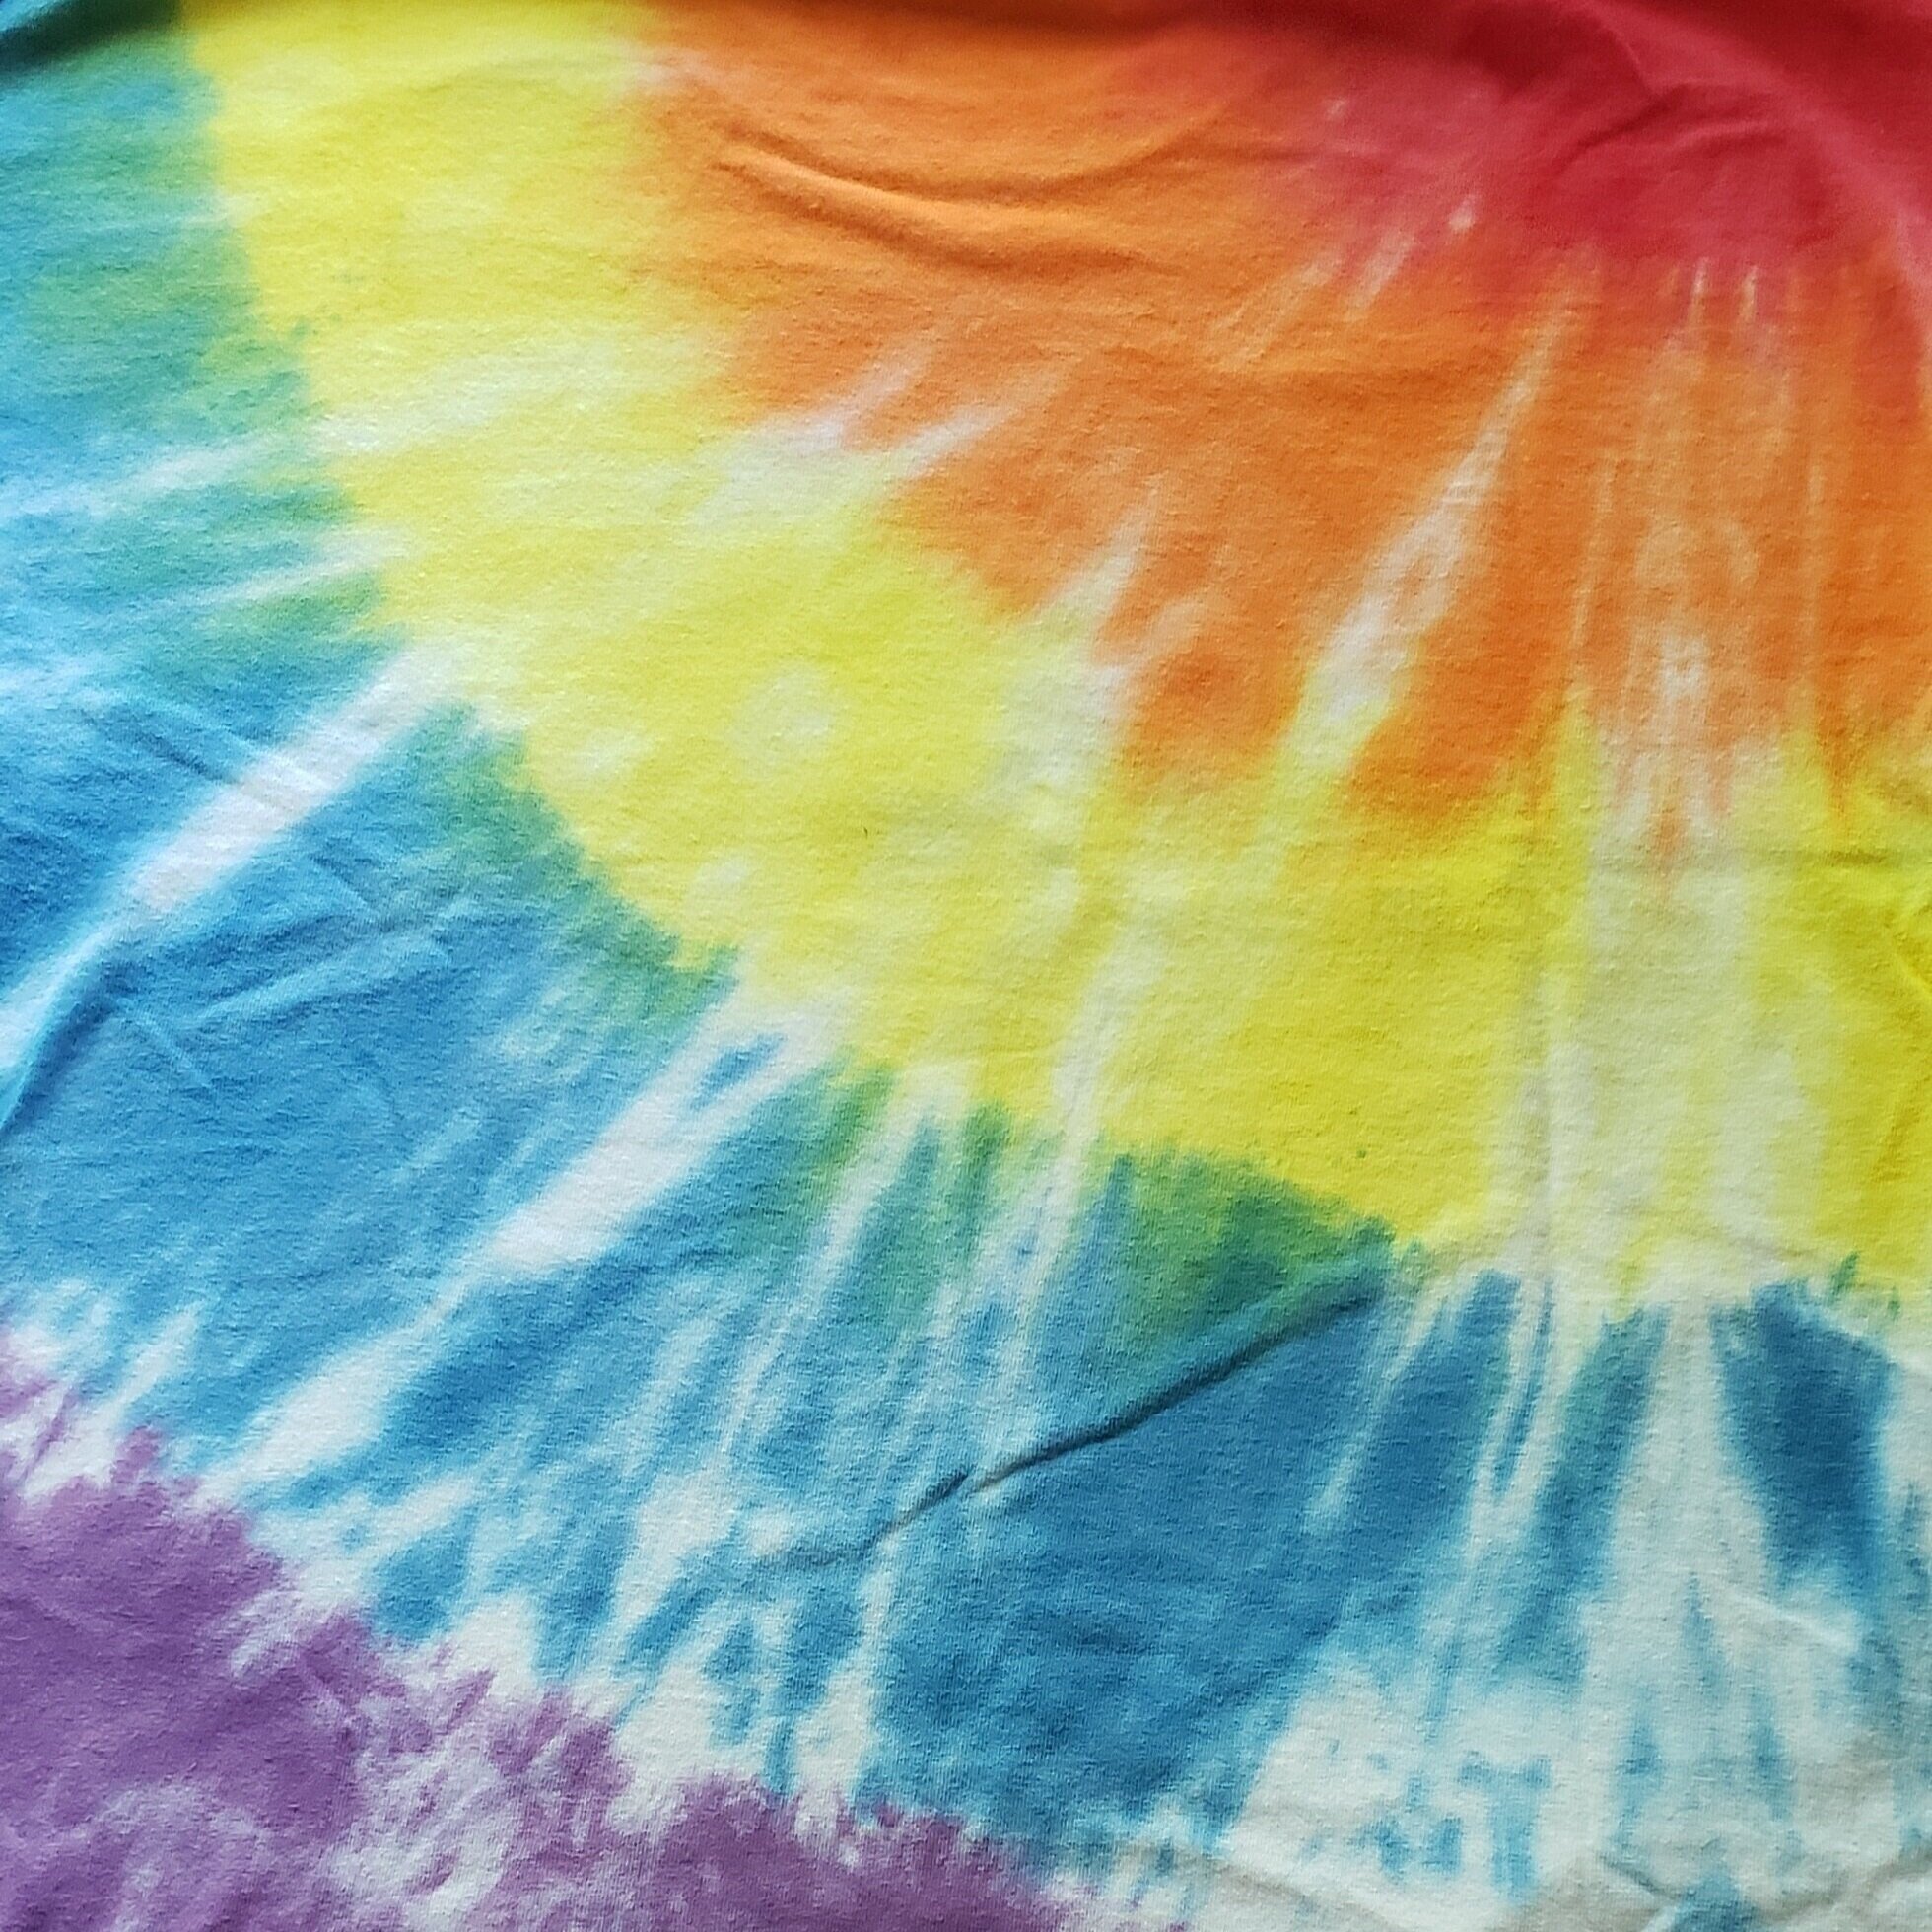
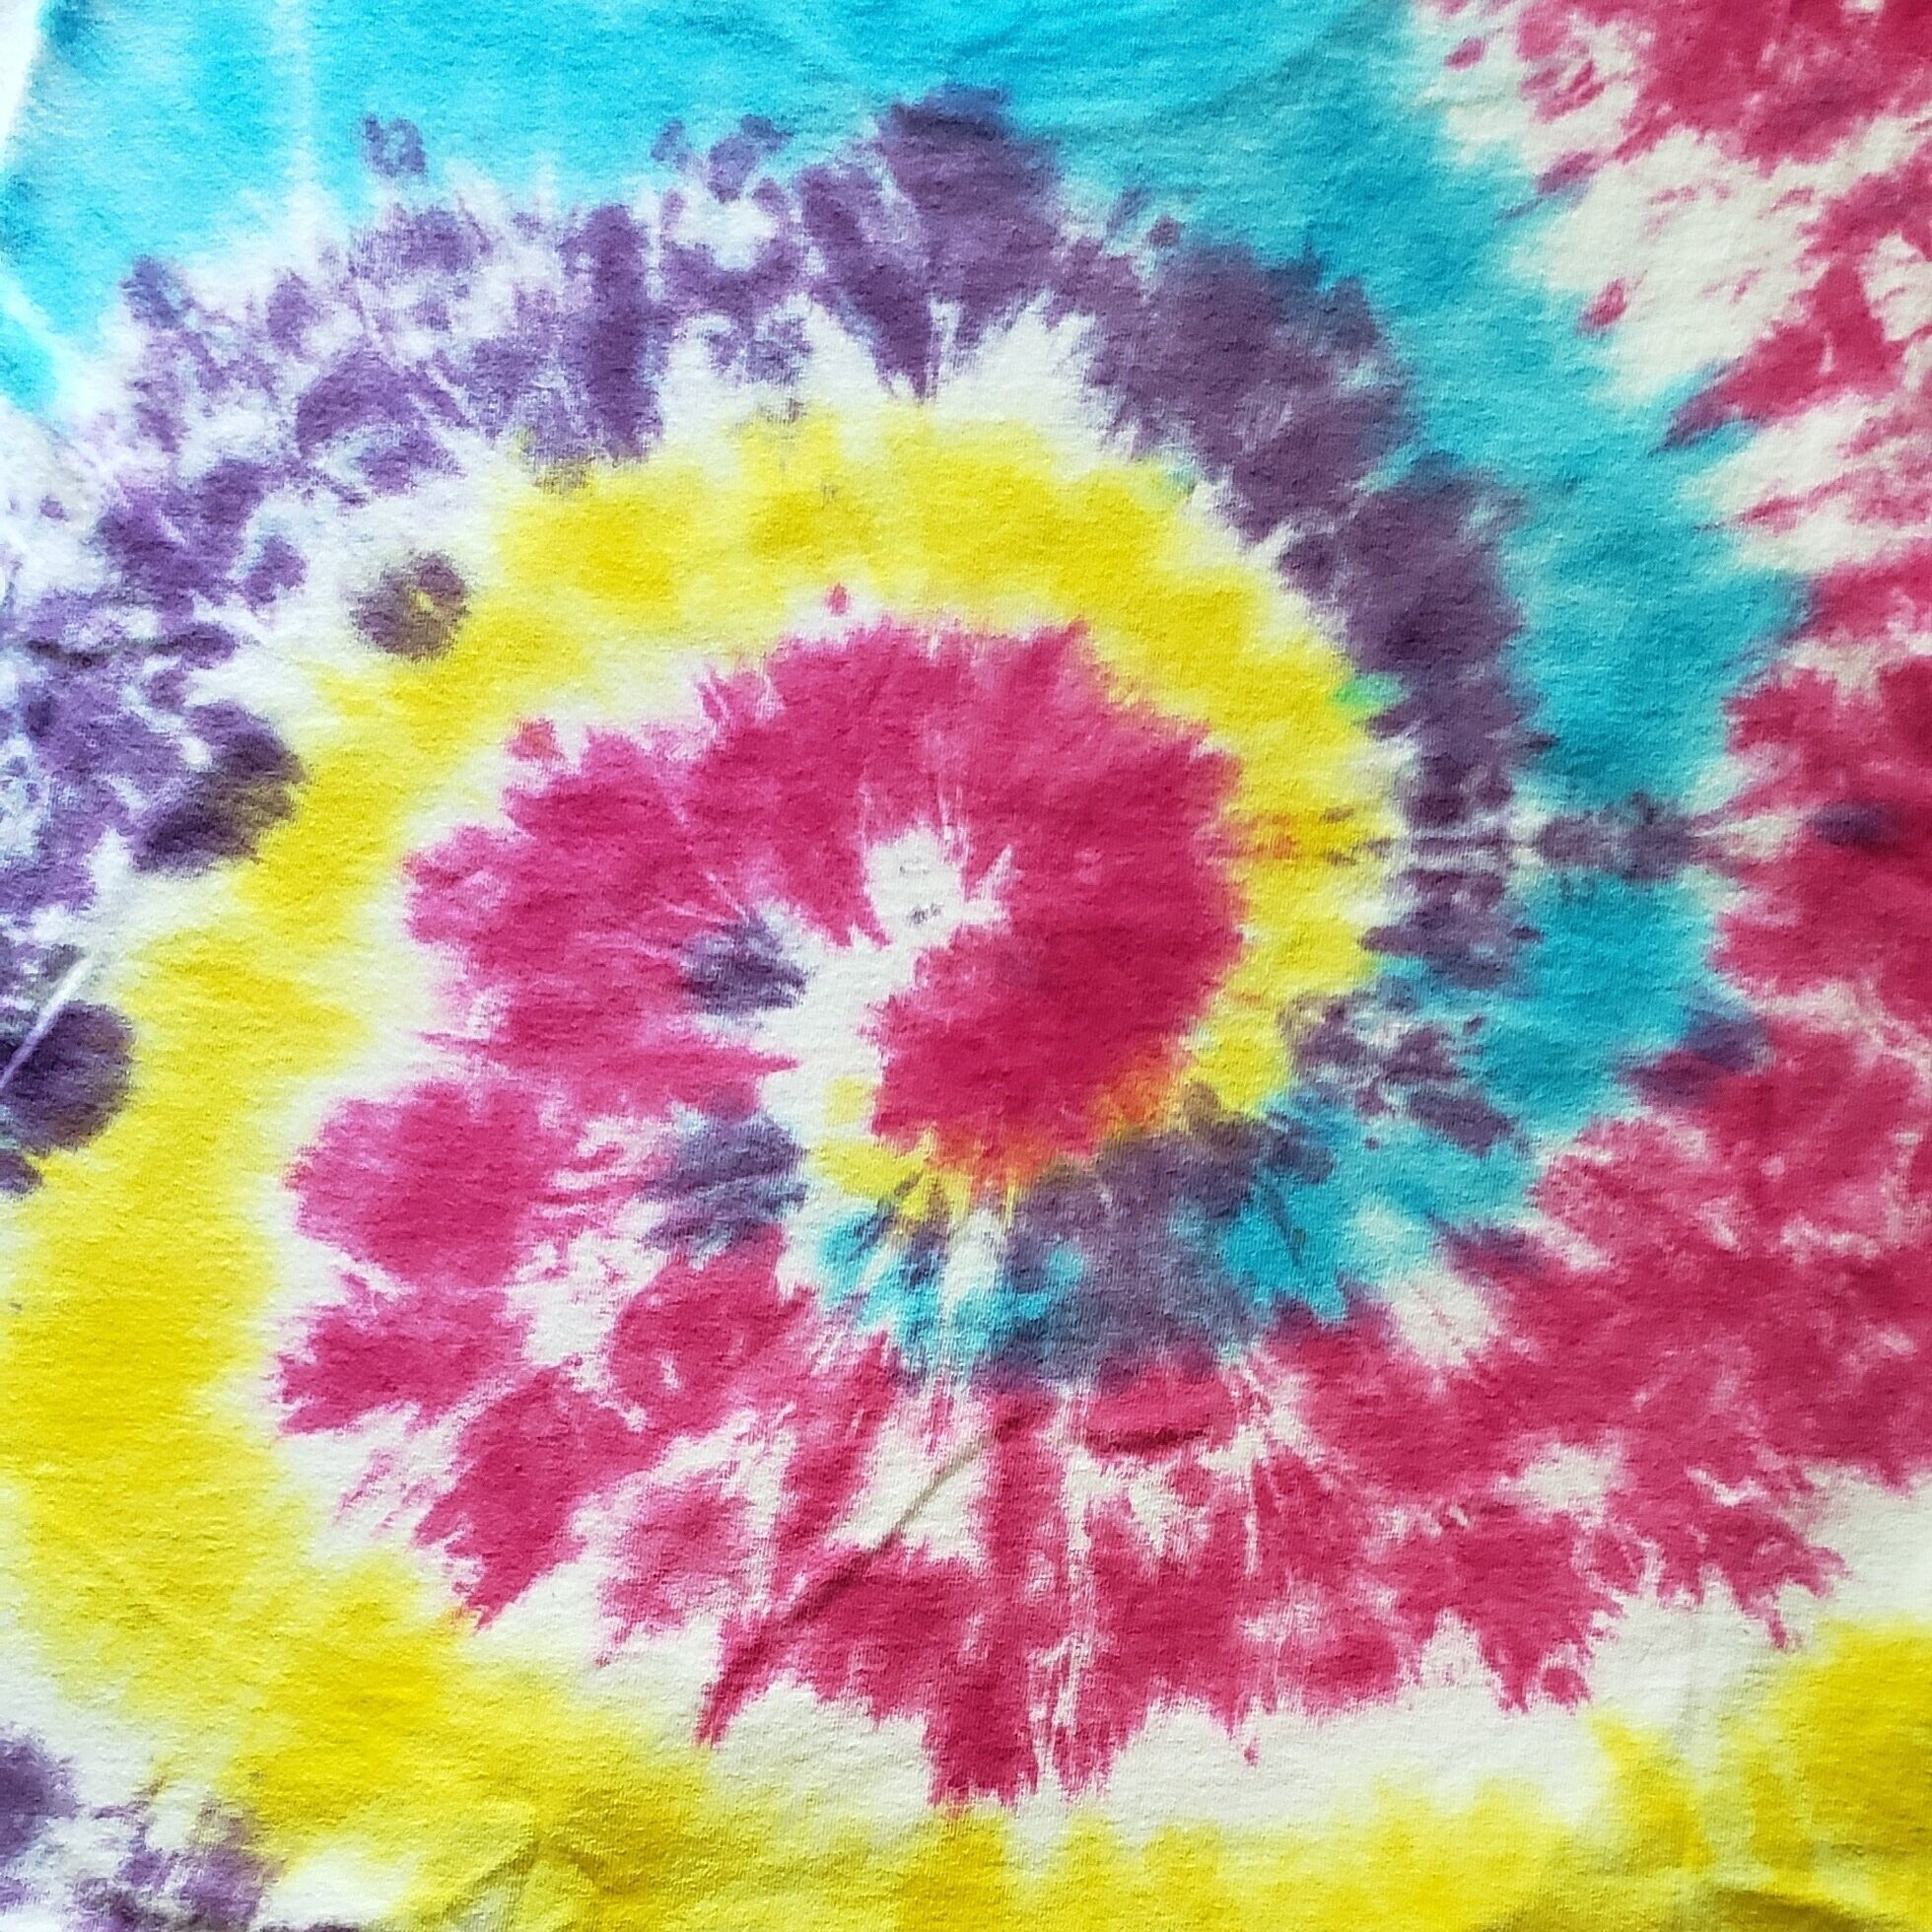
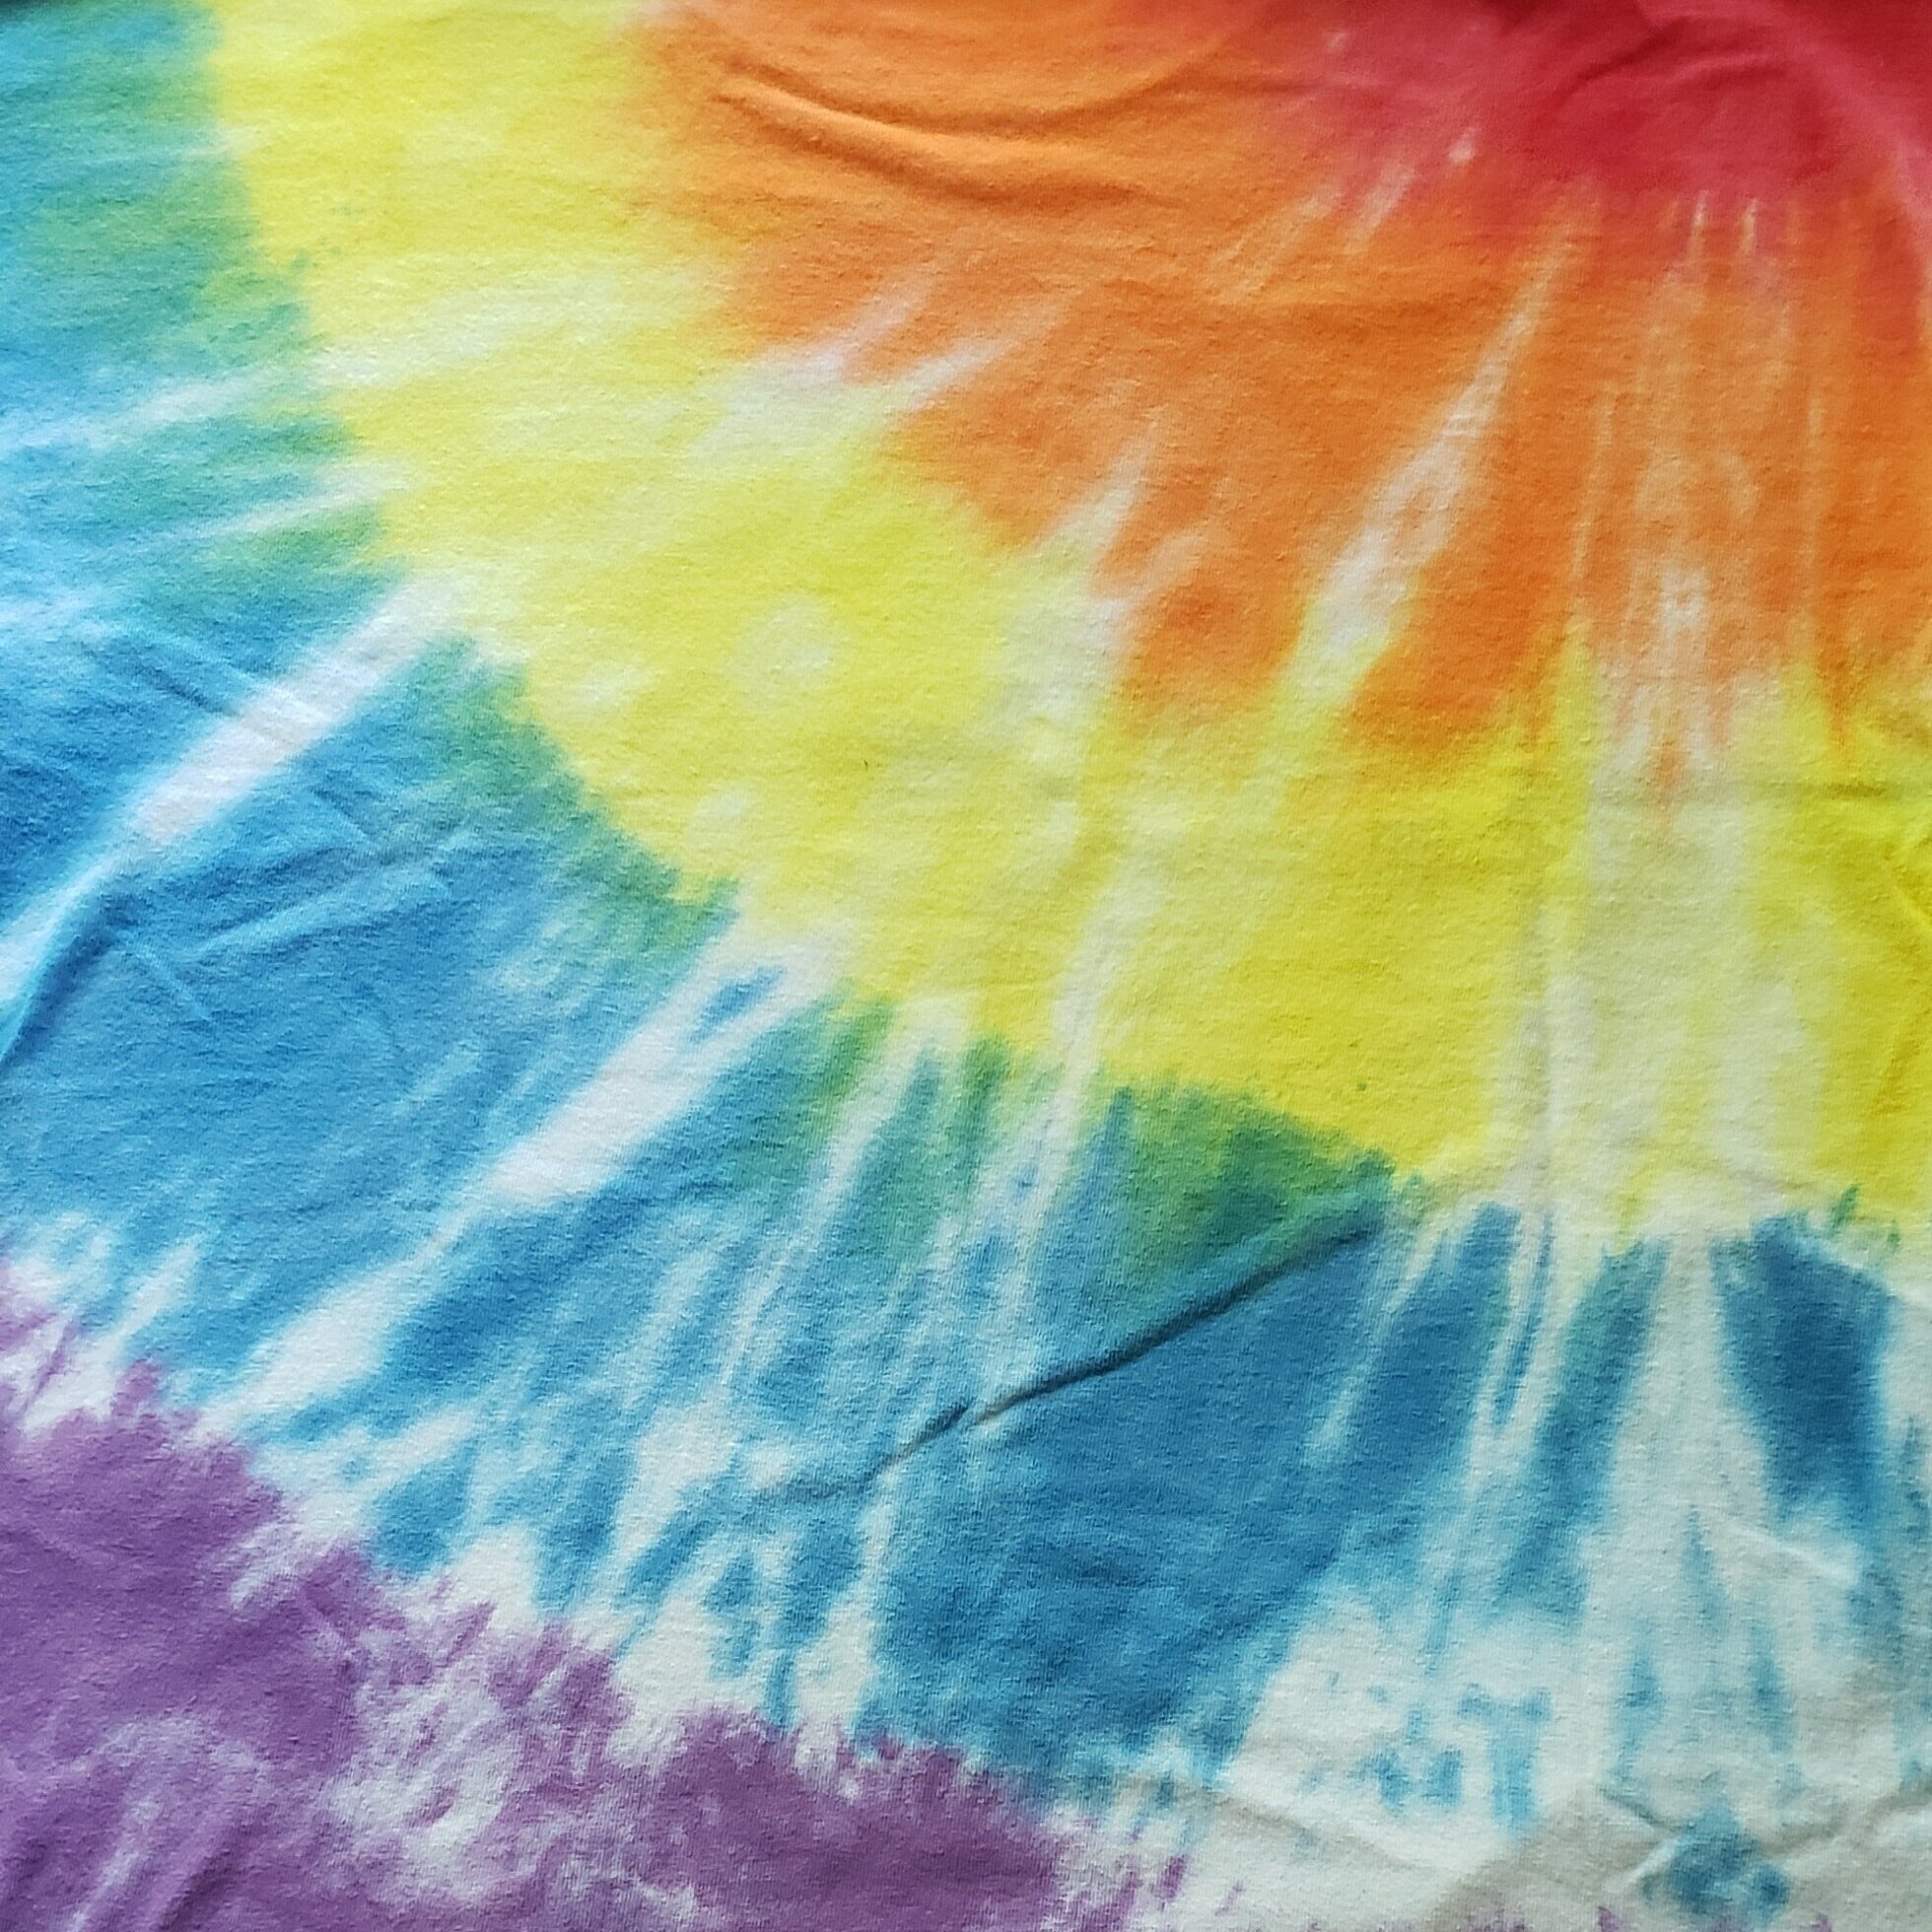
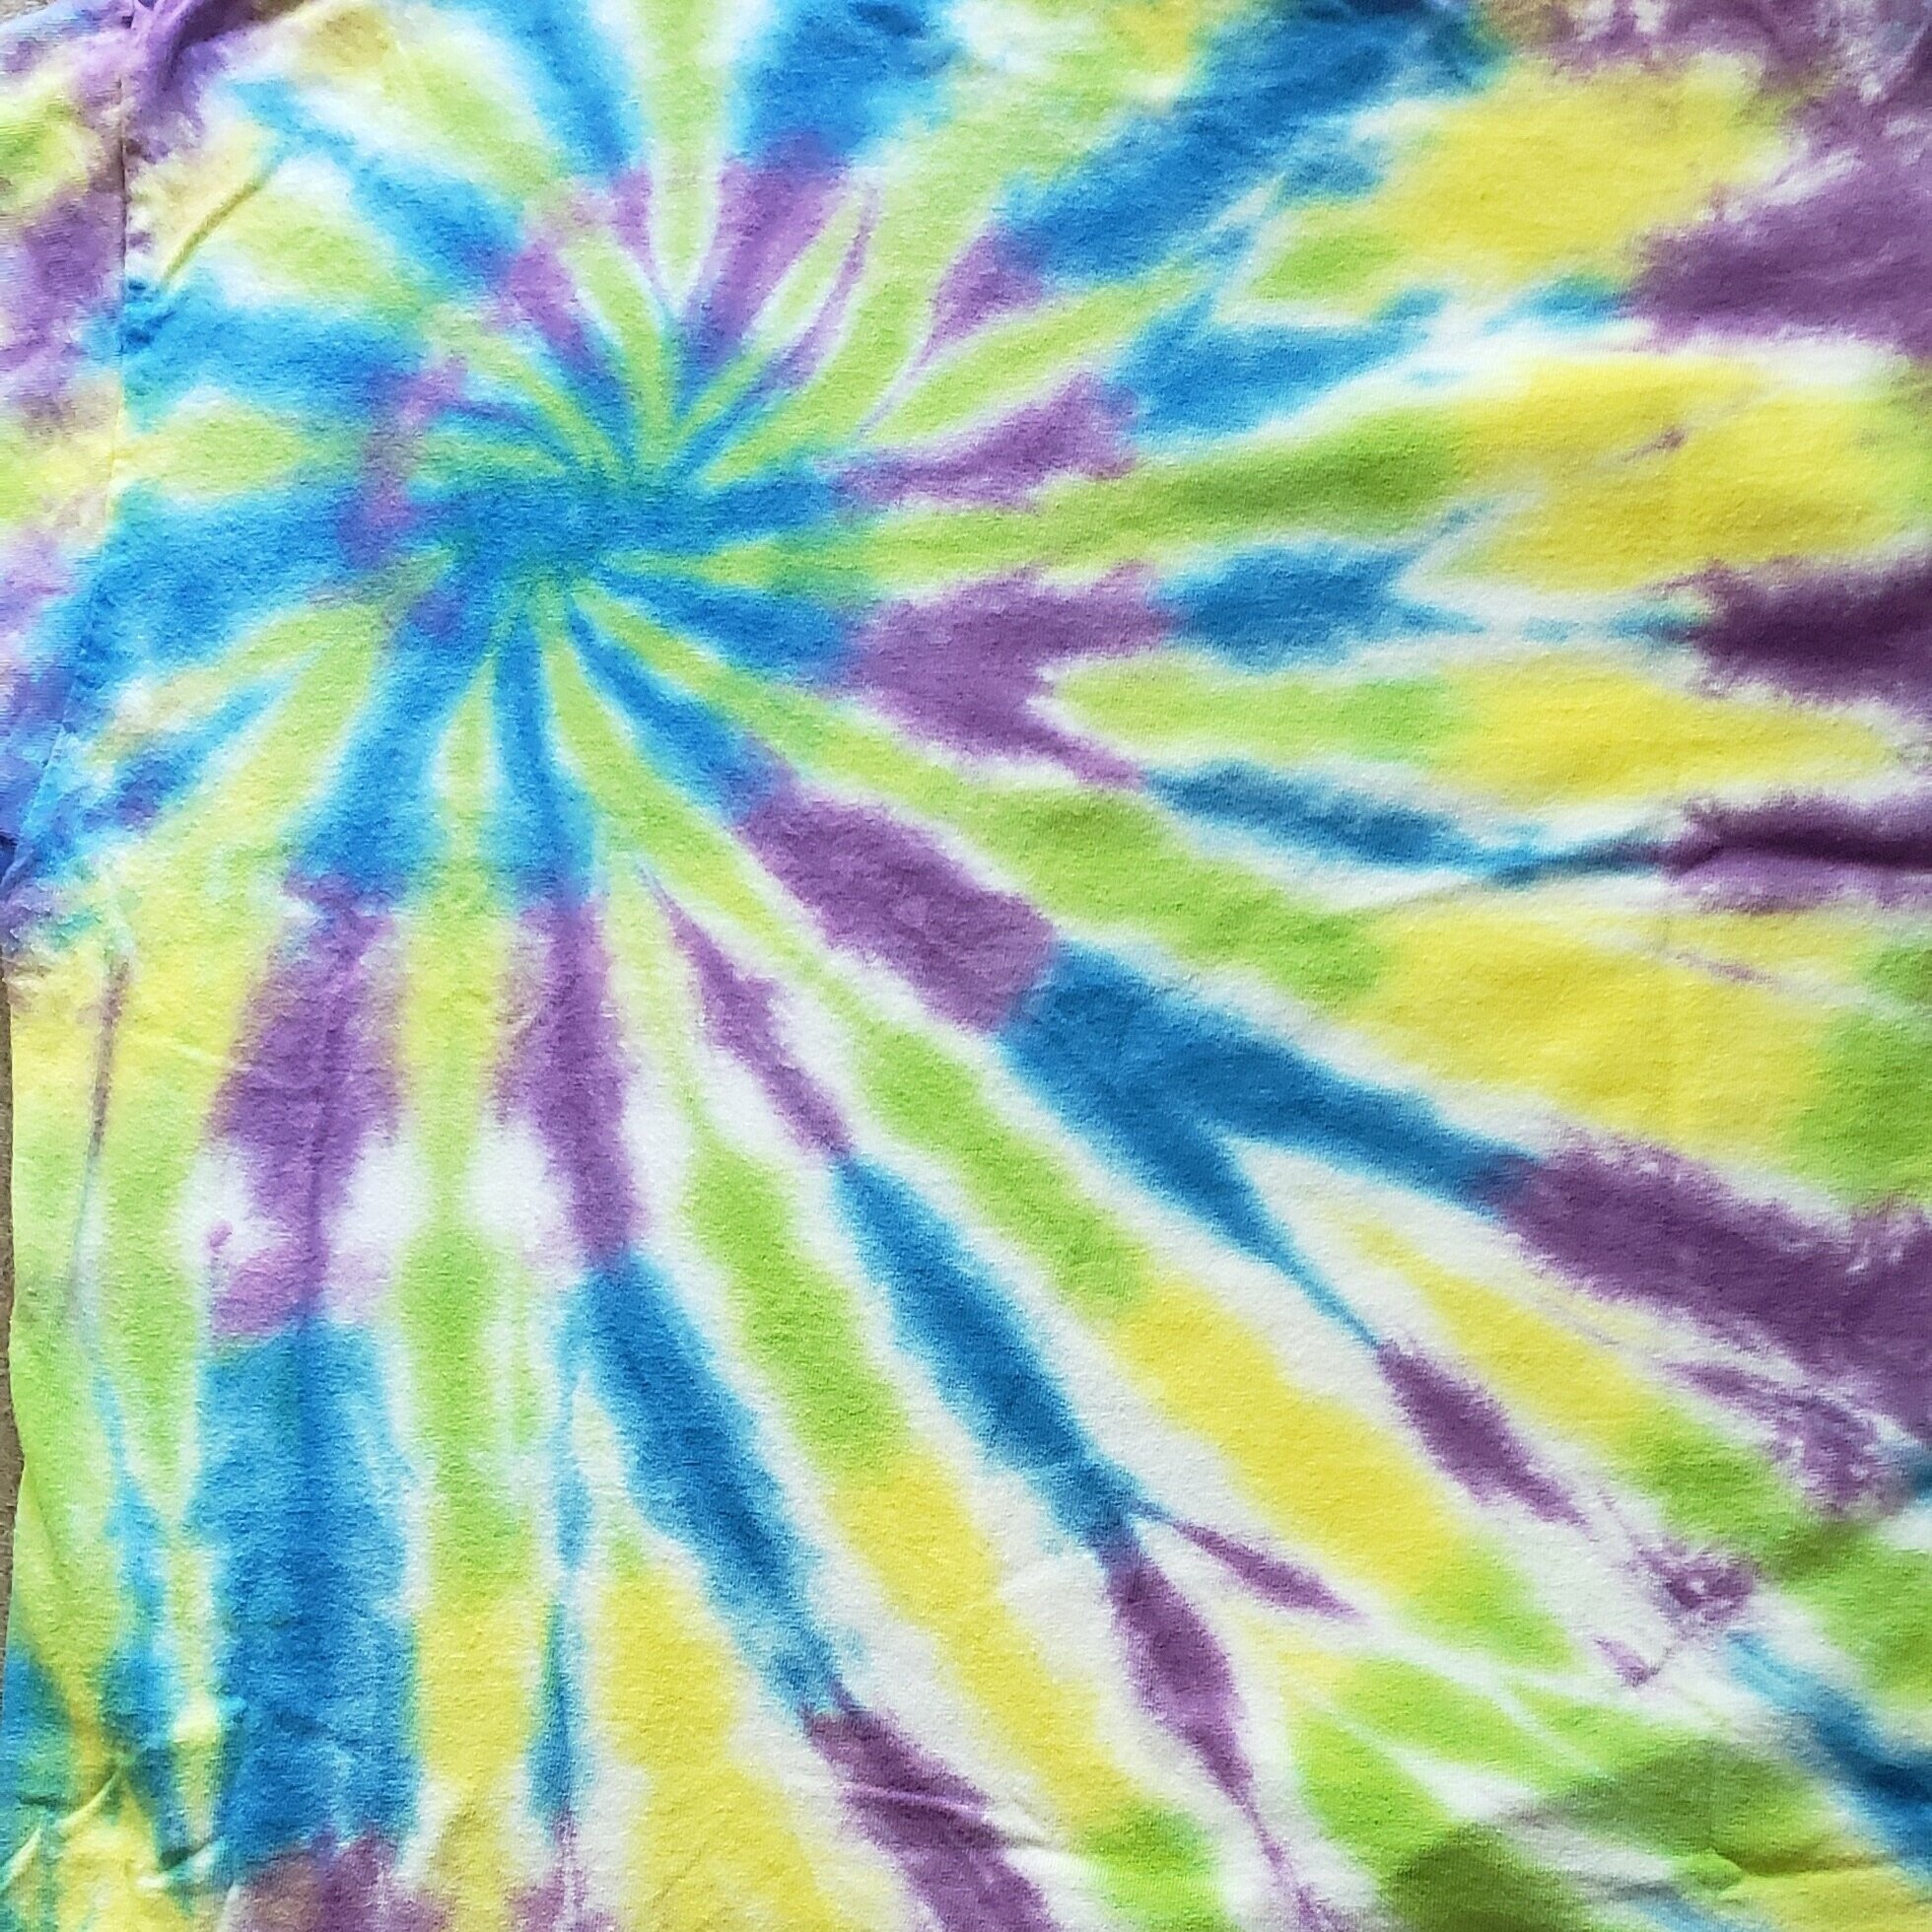
It’s time for a camp favorite! Learn how to tie-dye shirts, other clothing, or craft paper.
Start at the beginning and work until your grade level icon or the all camper icon says, “CLICK HERE.”
Prep
Let’s first talk about tie-dye safety and what you’ll need for dying clothes! You will learn how to prep your shirt using traditional dying and reverse tie-dying methods, and then you can pick a design you want to try.
traditional tie-dye
using white shirts and tie-dye kits
Reverse Tie-dye
using colored shirts and bleach
Choose a Tie-Dye Design
Choose a Tie-Dye Design
Bullseye
Here is an overview of how to create a bullseye tie-dye pattern, followed by variations:
Color Variation Patterns:
Location Variations:
Try starting your bullseye design by pinching and pulling at the following locations:
Center
Bottom
Shoulder
Spiral
Here is an overview of how to create a spiral tie-dye pattern, followed by variations:
Color Variation Patterns:
Location Variations:
Try starting your spiral design by pinching and twisting at the following locations:
Center
Bottom
Shoulder
Back Wash
Here is an overview of how to create a back wash (aka spider) tie-dye pattern, followed by variations:
Color Variation Patterns
Location Variations:
Try starting your spiral design by pinching and twisting at the following locations:
Center
Bottom
Shoulder
Lightning Bolt
Here is an overview of how to create a lightning bolt tie-dye pattern:
V
Here is an overview of how to create a V tie-dye pattern:
X
Here is an overview of how to create an X tie-dye pattern:
Stripes
Here is an overview of how to create a striped tie-dye pattern:
Finishing Tie-Dye
Finishing your tie-dye has just five easy steps:
Wrap shirt in newspaper (optional), and place in plastic bag.
Let shirt rest in bag for 24 hours.
Take out of bag, remove newspaper, leave strings on and rinse for 2 or 3 minutes.
Take strings off carefully and rinse for 2 or 3 minutes.
Wash in machine with a non-bleach detergent by itself or with a pair of old jeans and dry.
Celebrate! Send us a picture or video of you completing a tie-dye activity.
Let us know what you loved about the tie-dye activities and what we can improve.
Return to the main Virtual Camp page to complete the next skill station, Knots.


