
This module has seven sections. First, we’ll practice the buddy system and safety drills. Then, we’ll talk about camping safety rules, weather, first aid, and poison ivy. Then, older girls will learn about purifying water safely.
Start at the beginning and work until your grade level icon says, “CLICK HERE.”
Buddy System
safety drills
camping safety rules

weather

first aid

poison ivy
purifying water
Buddy System
Buddy System
At camp, campers never go anywhere without a buddy. In fact, it’s one of our most important camp rules. Buddies are also important when not at camp. When traveling with your family around the neighborhood, at the park, at the store, and the beach, choose a buddy so that somebody always knows where you are and that you’re safe.
practice
Before your next family outing, pair up in groups of two or three. Make sure everybody knows who their buddy is. Throughout the activity, stay within arms reach of your buddy and make sure they are safe the entire time.


What To Do If You Get Lost
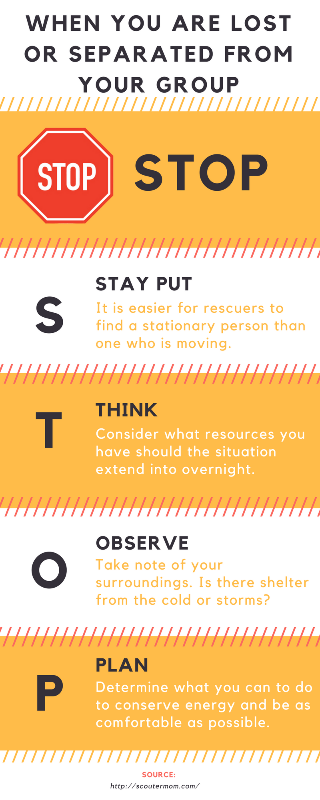
It can be really scary to be lost and separated from your group or family. It is really important to think about the word STOP whenever you get lost! Review STOP and it’s meaning before every trip, hike or camping trip.
Camping Tip
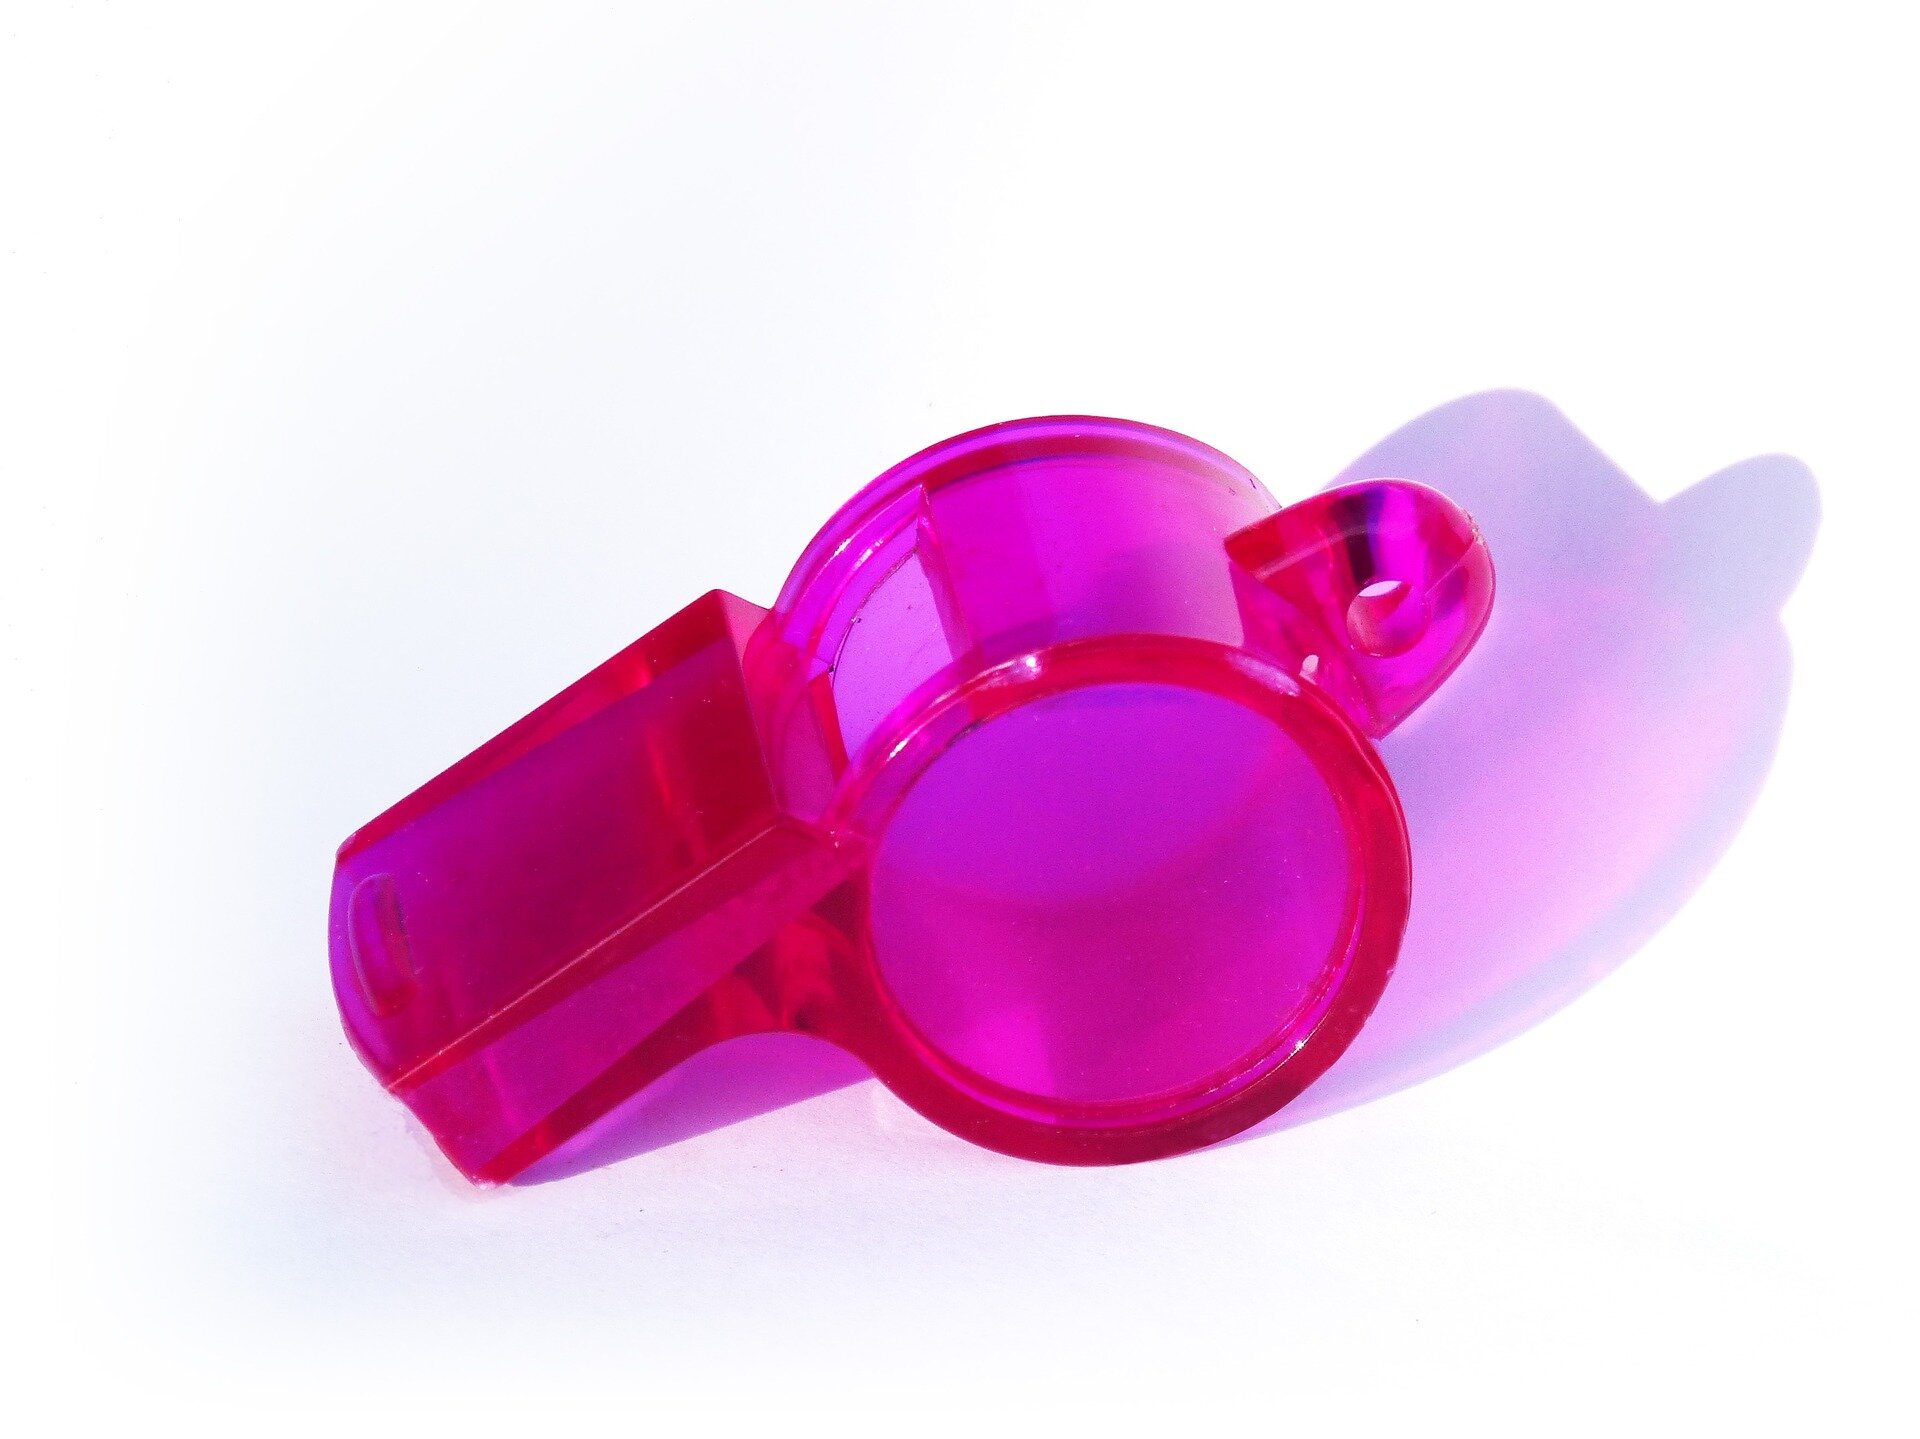
Another safety tool when hiking and camping is a whistle. If lost or separated from your group, you can blow your whistle to get people’s attention and help them find your location. Tie a whistle to your jacket, lanyard, water bottle, or backpack whenever you go for a hike.
Safety Drills

Emergency Drills
We have emergency drills at camp just like you do at school. While school has different drills for fires, tornadoes, and lock-downs, Sugar Hollow Day Camp mostly uses one drill. This helps us quickly gather all campers together and make sure everybody is safe. Staff usually use walkie-talkies to communicate, but gathering together also allows camp directors to give directions or information to the whole camp.
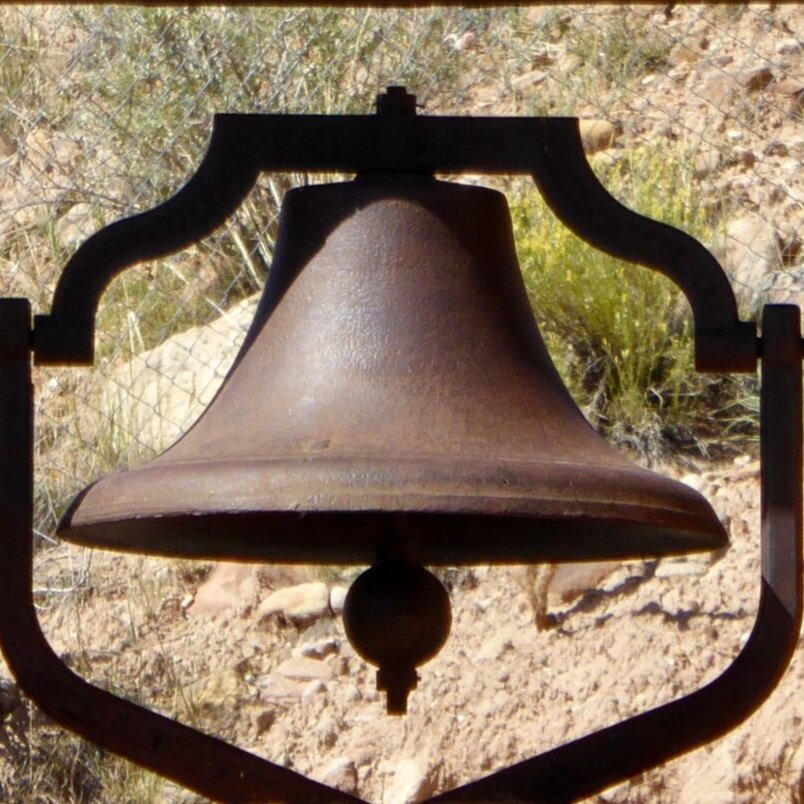
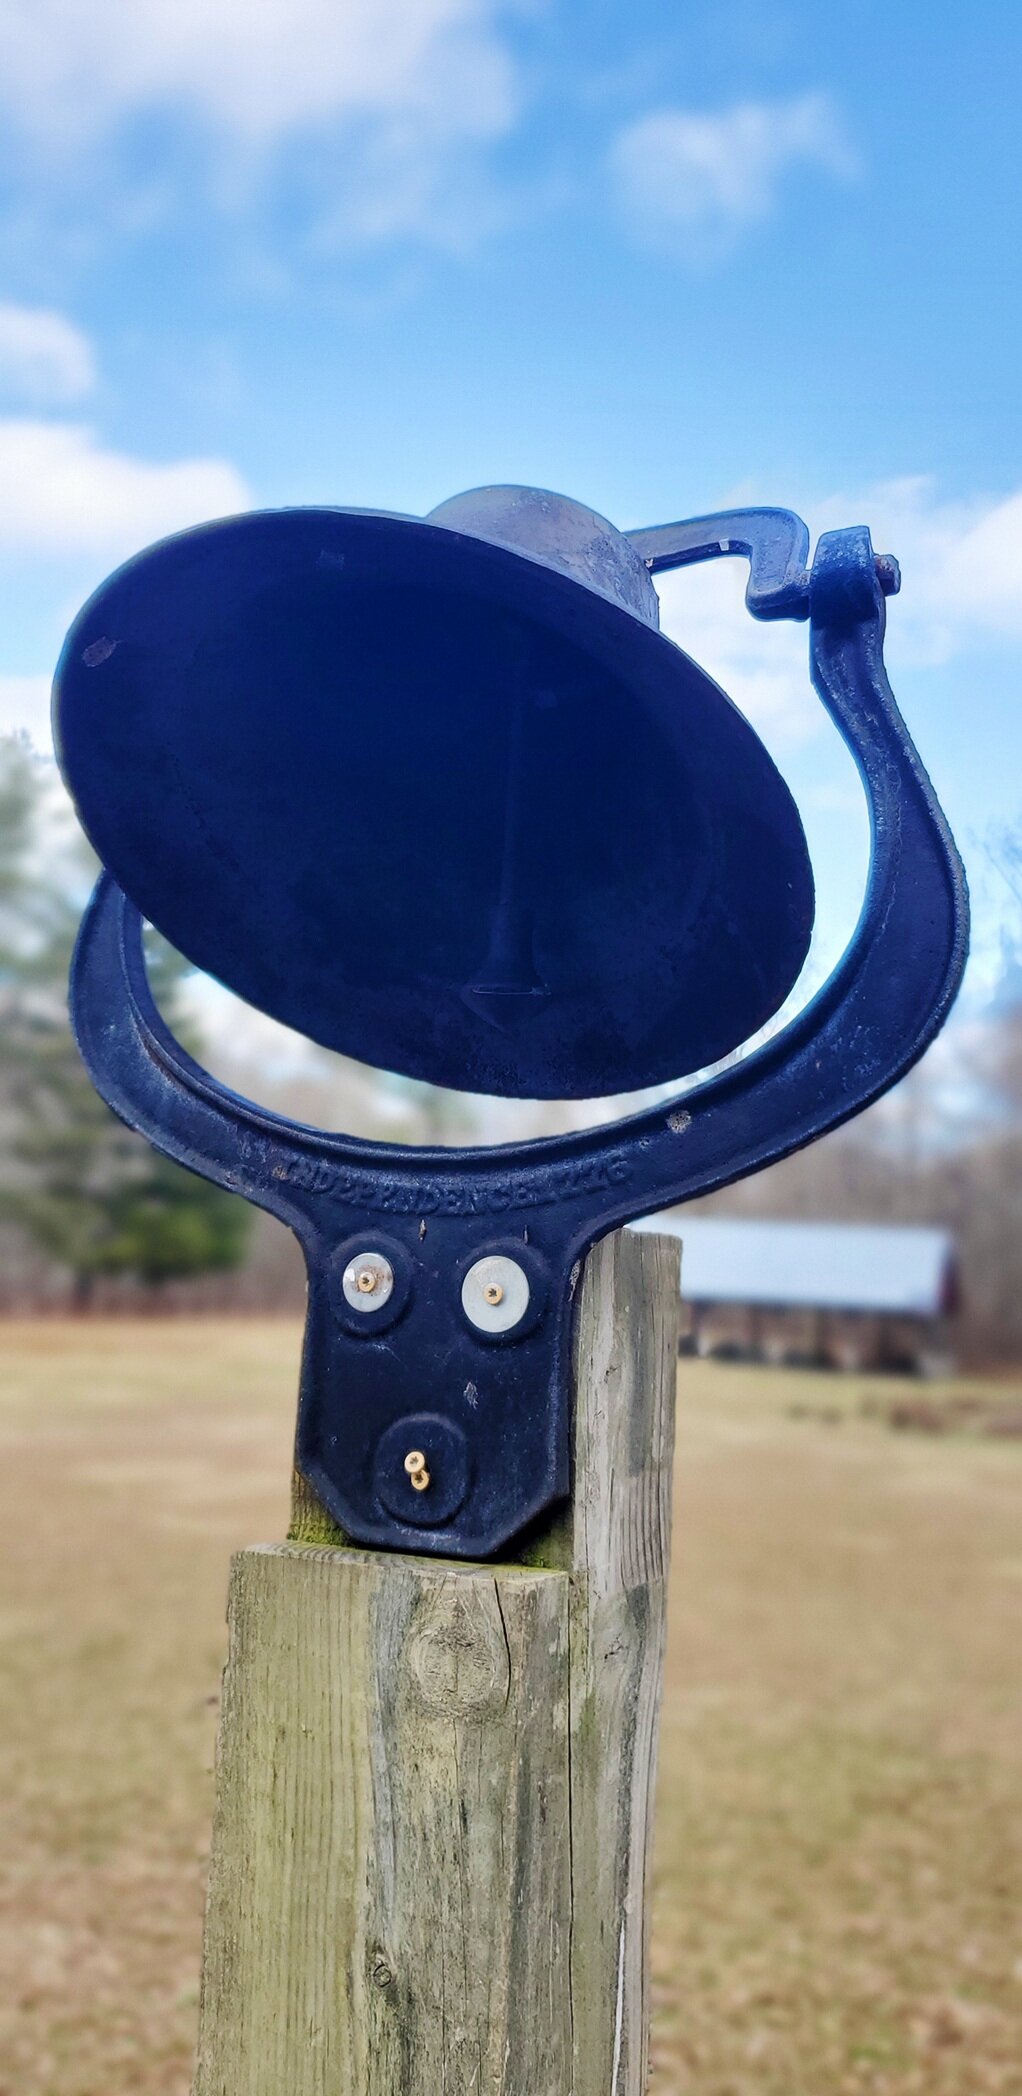
At camp, an emergency gathering drill occurs every Monday and repeated any time important information needs to be shared with the whole camp quickly. It starts with a bell! Here’s what happens at camp:
The camp emergency bell is rung 3 times
All campers and staff immediately come to the flag circle
Unit attendance is taken and reported to the camp directors
Camp directors tell campers and staff important information and what to do next
practice
Do you know how to safely get out of your house or where to meet your family once you have gotten outside in an emergency? As a family, pick a meeting place outside your home. As a family, practice meeting at this location by having everybody go to separate places in your home, ringing a bell three times, and then everybody leaving and meeting at your safety spot.
If your family doesn’t currently have a plan, this website can walk your through the details:
Camping Safety Rules

Camp Safety Rules
Rules at camp help us stay safe while we are having fun! Do you have rules at your school? What do they look like? Are you allowed to run? Can you leave the classroom without telling your teacher? Here are a few rules we use at camp:
Sugar Hollow Day Camp Rules
Vehicles: park in designated lots in reverse
Buddies: all campers should travel with a buddy
Running: only allowed in the field
Dress Code: close-toed shoes, appropriate length shorts, tops that cover shoulders (no tank tops)
Fire Circles: walk on the ground, not the benches
Food: keep food away from tents, and leave no debris on the ground
Leave No Trace: take care of our campsite and surroundings
Teamwork: pitch in and help your fellow campers
Respect: show kindness and respect to all campers and staff
Service: help others whenever you can
As an introduction to what you’re going to learn today, here’s a special message from one of our camp nurses, Bones:
practice
Which three rules do you think are most important? Why?
How can you use these rules at your own home?
Or at school?

Camp Safety Procedures
At camp, we have procedures to help keep everybody safe and prevent bigger problems. Sometimes it’s hard to decide which problems are small and which problems are big. At camp, we group problems into three categories:

Incident
Intruders, vandalism, or property damage; an alleged theft; any situation involving violence or the threat of violence (verbal or physical); an allegation of physical, mental, emotional, or sexual abuse, harassment, or neglect; Girl Scout image or media issues; appearance of illegal drugs or unrecorded prescription drugs, or any time local authorities are called (fire, police, ambulance).
Accident/Injury
Any situation in which someone is injured or becomes suddenly ill for which first aid or treatment is provided by a first-aider or medical professional (doctor, nurse, rescue squad, or medical facility)
Crisis
Any situation including but not limited to any of the following:
A serious injury or illness
A serious behavior problem
A site emergency or evacuation such as a fire, flood, or other natural disaster
A missing person
practice
Every person experiences problems, and it’s important to know how big a problem is so that you know how best to respond to it. Use these situation task cards to discuss how big each problem is and how you would handle it. Discuss your answers with a friend or family member and compare ideas.


Girl Scout Safety Checkpoints
As you get older in Girl Scouting, you get to have more responsibility in planning and leading your trips and activities. Girl Scouts created quick and easy guides called Girl Scout Safety Checkpoints to help us ensure what we are safe during our activities. Each Girl Scout Council has their own safety checkpoints. You can access the one for Girl Scouts of Virginia Skyline Council, where Sugar Hollow Day Camp lives, via the following link:
practice
Using these safety checkpoints, create a list of rules and guidelines for your family for when you all go camping together.
Based on the safety checkpoints, what are two things you and your family should practice before going on a camping trip?


Camp Emergency Procedures
It’s impossible to be 100% prepared for an emergency, but it’s important to think through potential emergencies and be as ready as possible. At camp, we have crisis management procedures. These are designed to think through potential problems and have a plan in place to be ready. Here’s a list of camp procedures:
accident/injury procedures
animal policies & procedures
camp guest/visitor procedures
camp evaluation procedures
camper attendance procedures
earthquake procedures
emergency gathering procedures
fire emergency procedures
lock-down procedures
lost child procedures
severe weather procedures
threat procedures
tornado procedures
vehicle accident procedures
wading procedures

Notice how we have procedures for events that happen regularly at camp, like thunderstorms, wading in the creek, and guests, and events that hardly ever happen in our area of Virginia, like earthquakes or tornadoes. As a camp, it’s important for everybody’s safety to make procedures for your regularly events and your ‘what-if’ events.
practice
Safety procedures are also important for families. Based on where you live, which emergency procedures should your family have? As a family, pick at least three procedures from Sugar Hollow Day Camp’s list and decide what your family procedures will be. Are there any procedures you need that we don’t have?
Weather

Campsite Weather

https://www.weather-us.com/
Sugar Hollow Day Camp meets at Camp Sugar Hollow outside of Charlottesville, VA.
The weather at our camp changes drastically throughout the year. In the winter, the weather regularly drops below freezing, and we regularly see snow between December and March. During the spring and fall, the temperatures are very comfortable during the day, but it gets cold at night.
Our day camp meets in July, and it gets pretty hot at camp. During the day, it’s usually 85 - 95 degrees at camp.

https://www.accuweather.com/
In addition to being hot, the weather is a little unpredictable at camp. We are located in a hollow, so camp is next to a creek at the bottom of a hill with other hills surrounding us on all sides.
Even though weather reports typically say it’s going to be sunny or partly cloudy at camp, we get thunderstorms almost every day. Since we are in the mountains, some thunderstorms don’t reach camp because they are blocked by the hills.
Others come very quickly as the hills block us from seeing storms coming. For this reason, we use weather radar reports to monitor storms in our area closely so that staff and campers know whether activities should occur outside, under shelters, or inside buildings.
practice
Check the weather today in your town. Is it going to be sunny? Rainy? Cool? Mild?
What clothing should you wear today based on the weather?
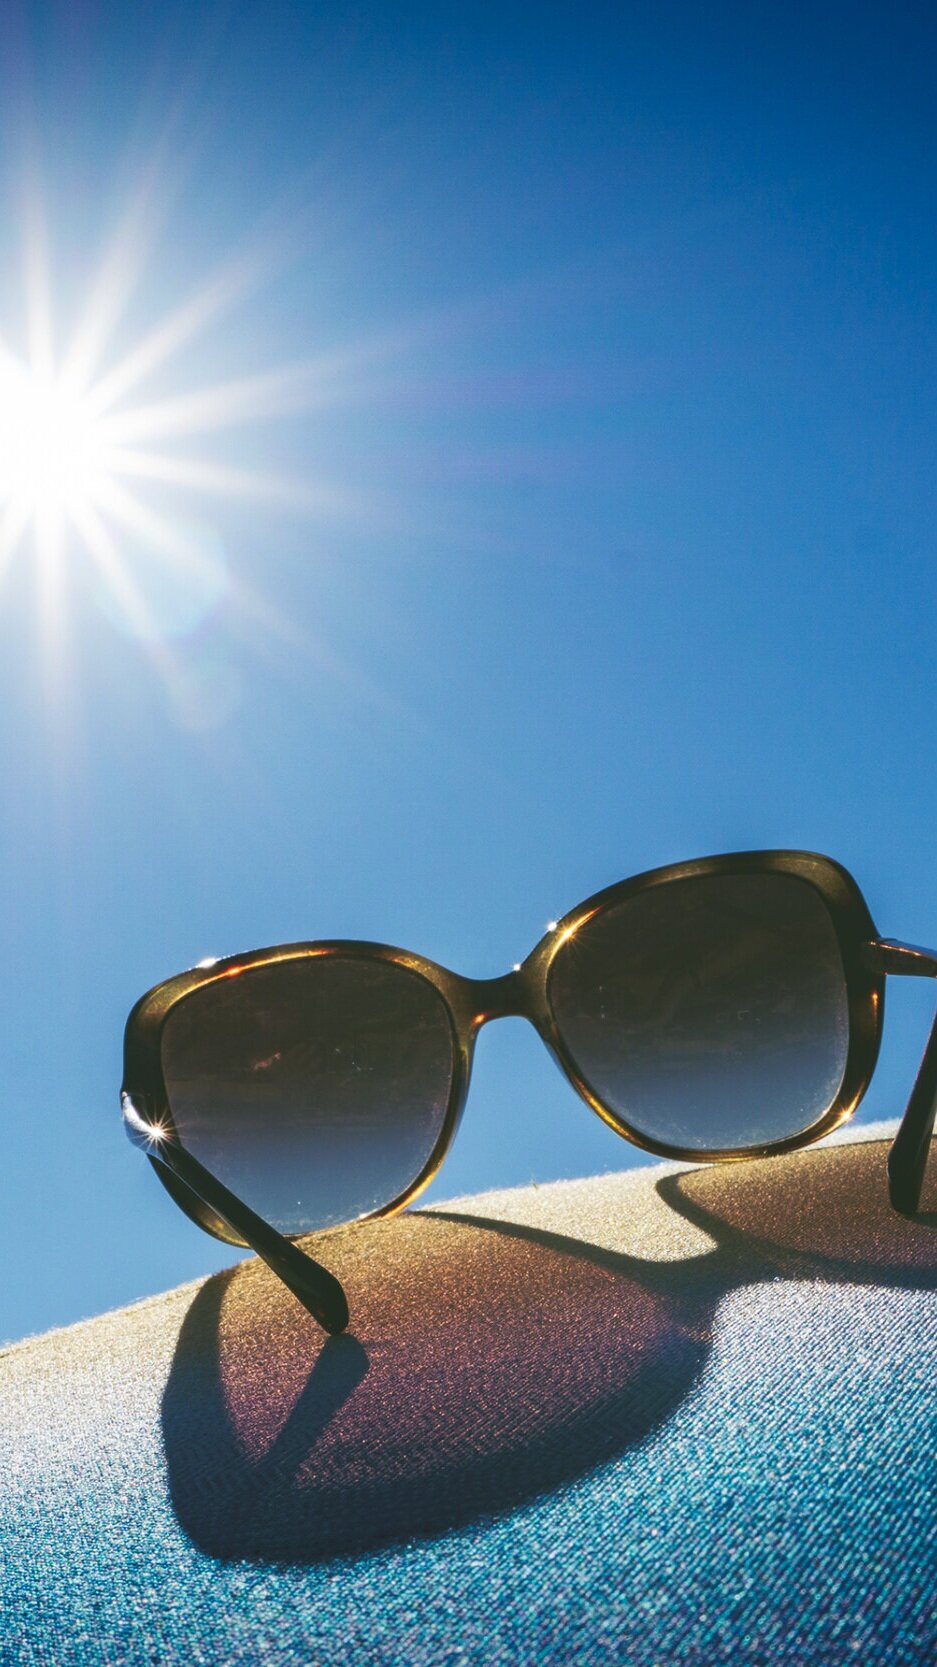
Plan an outfit for each of the following weather conditions. Remember to think about what you need to remain cool, warm, dry, shaded, and protected from the sun or rain. Describe the outfit using words or a draw a picture! What would you wear on a:
Cold, rainy day?
Very hot, very sunny day?
Warm, breezy, sunny day in spring?
Snowy, sunny day in the winter?
What changed with each outfit? Did you forget to include important items for the weather? How about an umbrella or raincoat for the rainy day? Or sunscreen for sunny days? Knowing how to dress for the weather can mean the difference between staying comfortable and safe or staying uncomfortable and at risk.

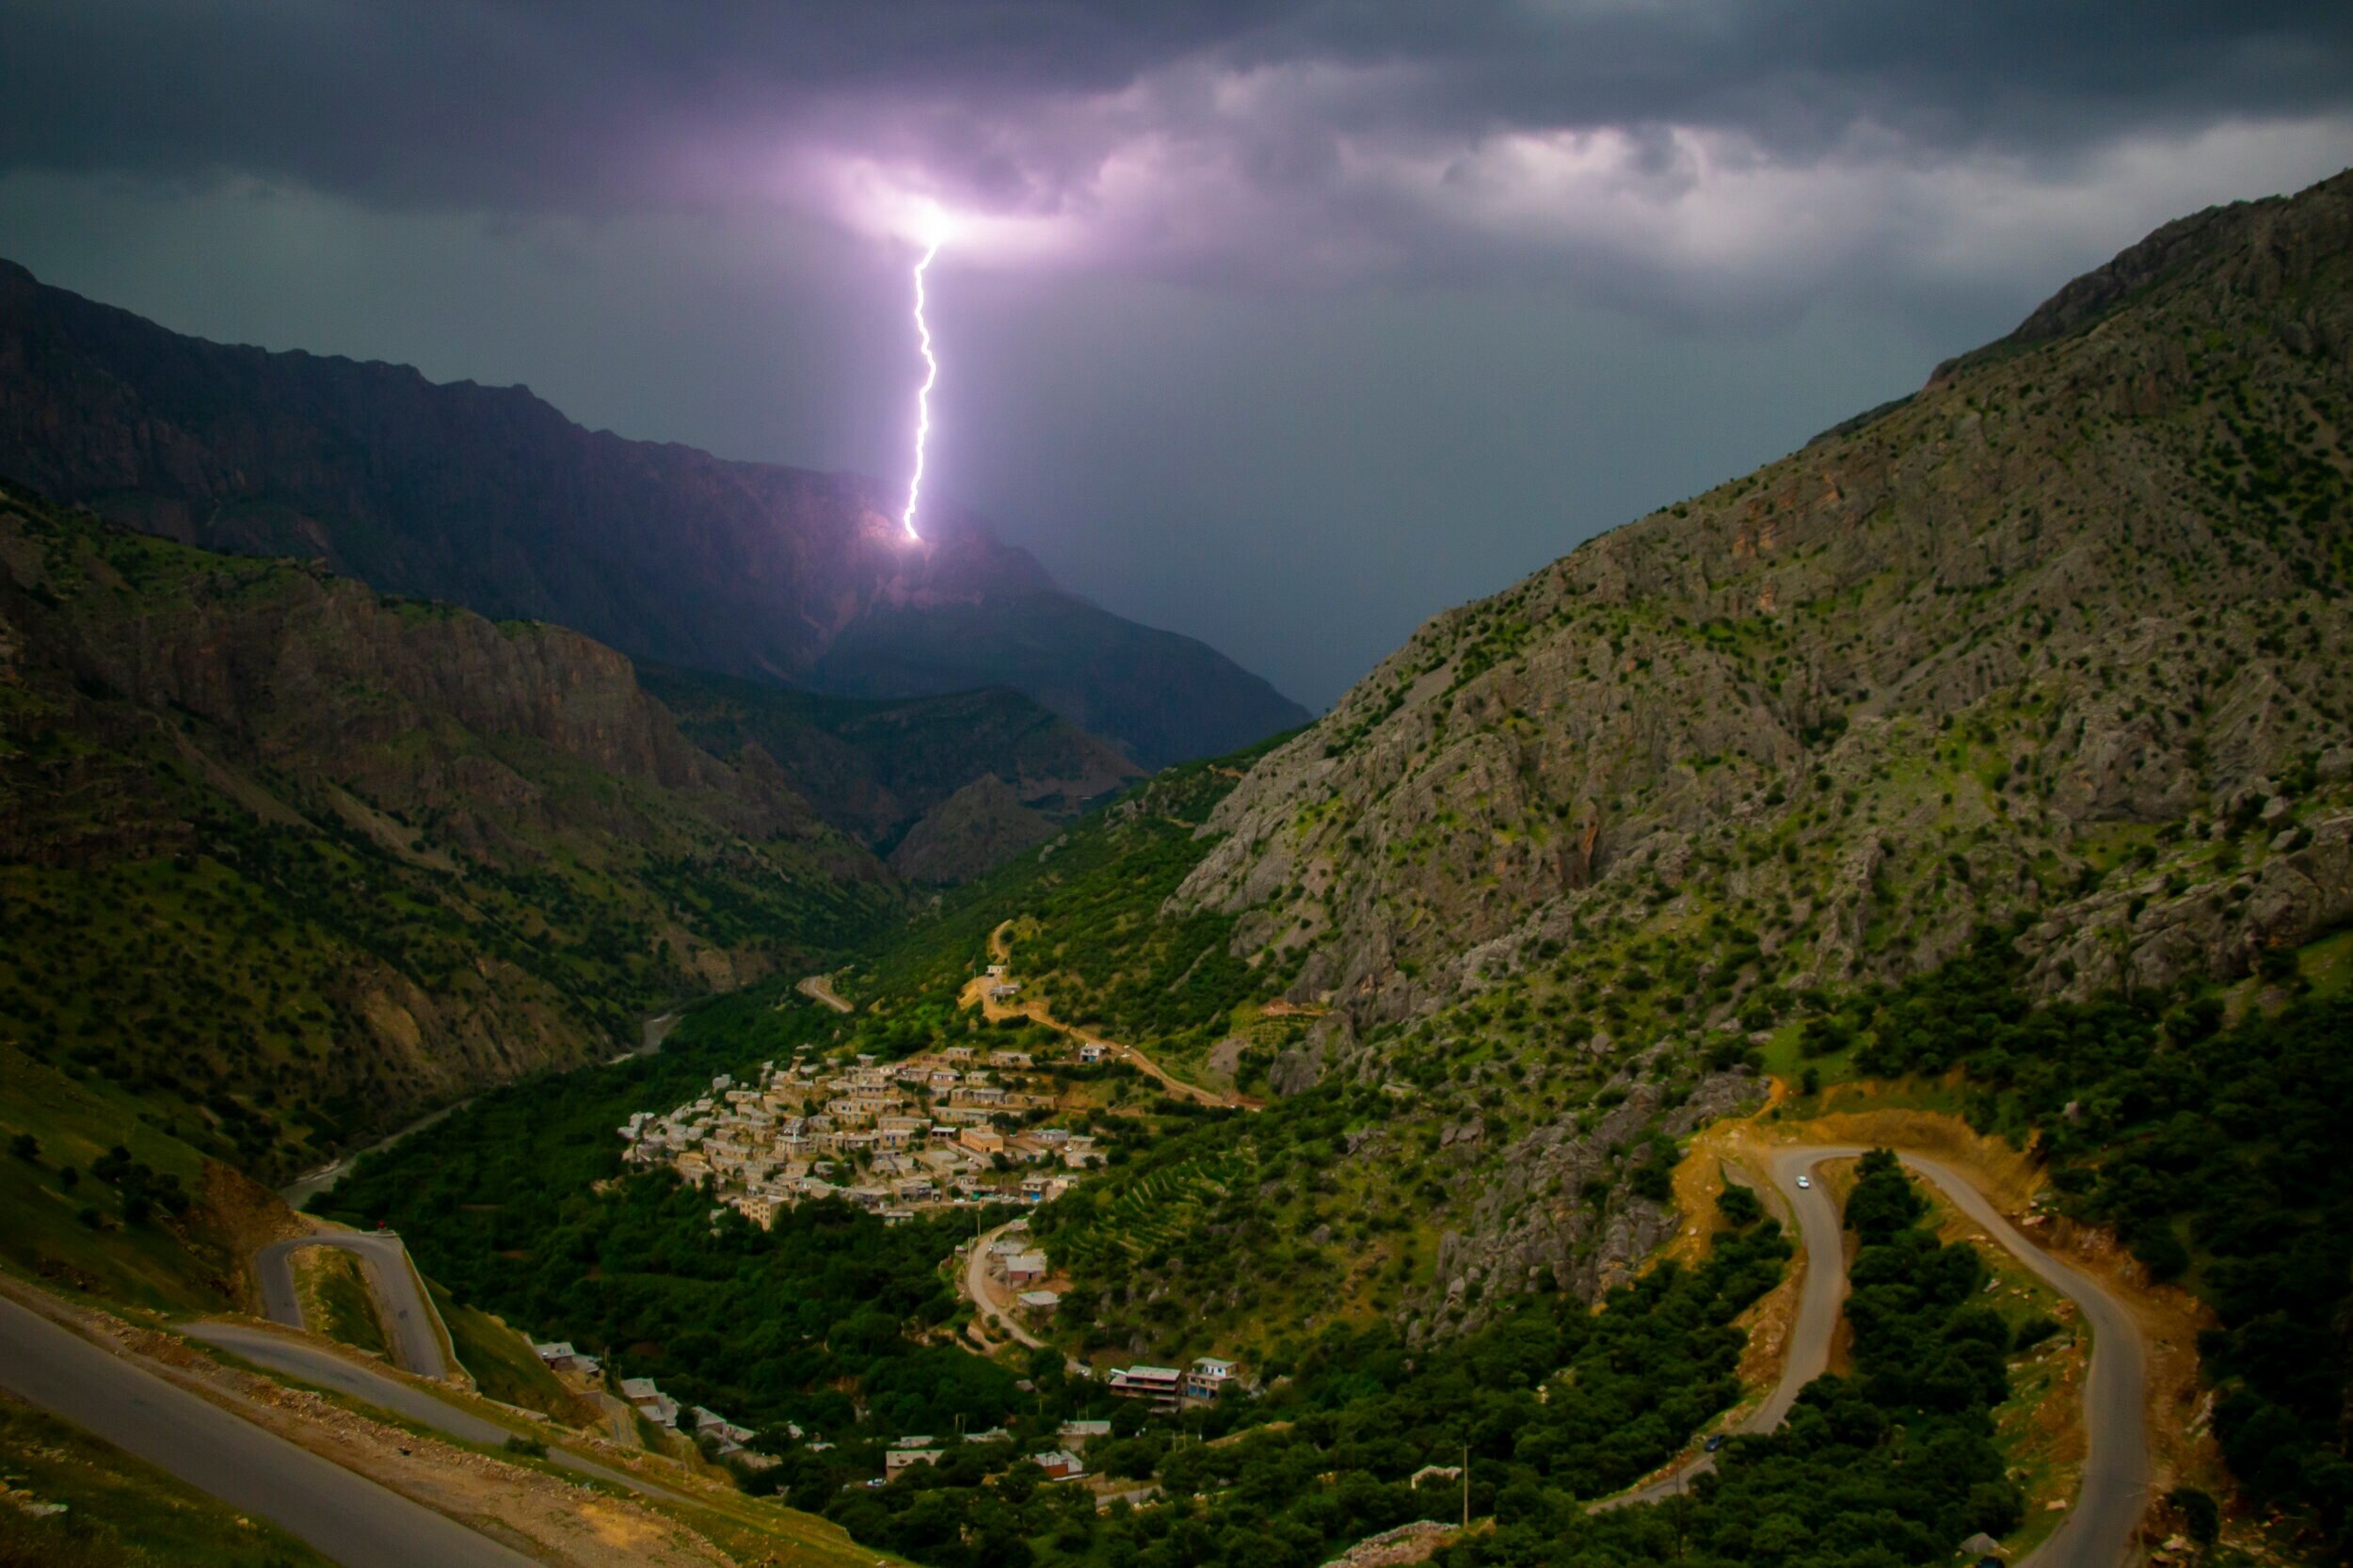
Weather Drills
At Sugar Hollow Day Camp, there are three main weather concerns we watch carefully:
Thunderstorms
We move into enclosed buildings and wait 20 minutes after the last sound of thunder to come back outside.

Forest Fires
We leave the buildings, move to the field, and call 911 for directions and help moving to safety.

Flash Floods
If the creek starts raising, we move up the hill to higher ground, call 911, and do not leave camp until the roads are safe.

practice
When we are at Girl Scout camp, it is important to know how to get to safety if there were ever an emergency. While we are at home, this same rule is important! Do you know what to do in case of a fire at your house? Do you know how to safely get out of your house or where to meet your family once you have gotten outside?
Create a Home Fire Escape Plan using this PDF (or draw one of your own):

Dressing for the Weather
In order to make the outdoor experience a fun and comfortable one for everyone, careful thought and planning should be given to what is worn. Obviously the time of year, the type of activity, and the weather will enter into the decision.
The secret to being comfortable in the out-of-doors is to dress in layers. Each garment traps a layer of air, which acts as extra insulation. Layers can be added as the temperature drops and taken off as the body warms up. It is usually 10-15 degrees cooler in the woods than in town.
practice
Check the weather today in your town. Is it sunny? Rainy? Cool? Mild?
What clothing should you wear today based on the weather?
Sugar Hollow Day Camp meets in Virginia in July. What do we know about the weather in Virginia in July? It is pretty hot!
Plan an outfit for each of the following weather conditions. Remember to think about what you need to remain cool, warm, dry, shaded, and protected from the sun or rain. Describe the outfit using words or a draw a picture! What would you wear on a:
Cold, rainy day?
Very hot, very sunny day?
Warm, breezy, sunny day in spring?
Snowy, sunny day in the winter?
What changed with each outfit? Did you forget to include important items for the weather? How about an umbrella or raincoat for the rainy day? Or sunscreen for sunny days? Knowing how to dress for the weather can mean the difference between staying comfortable and safe or staying uncomfortable and at risk.
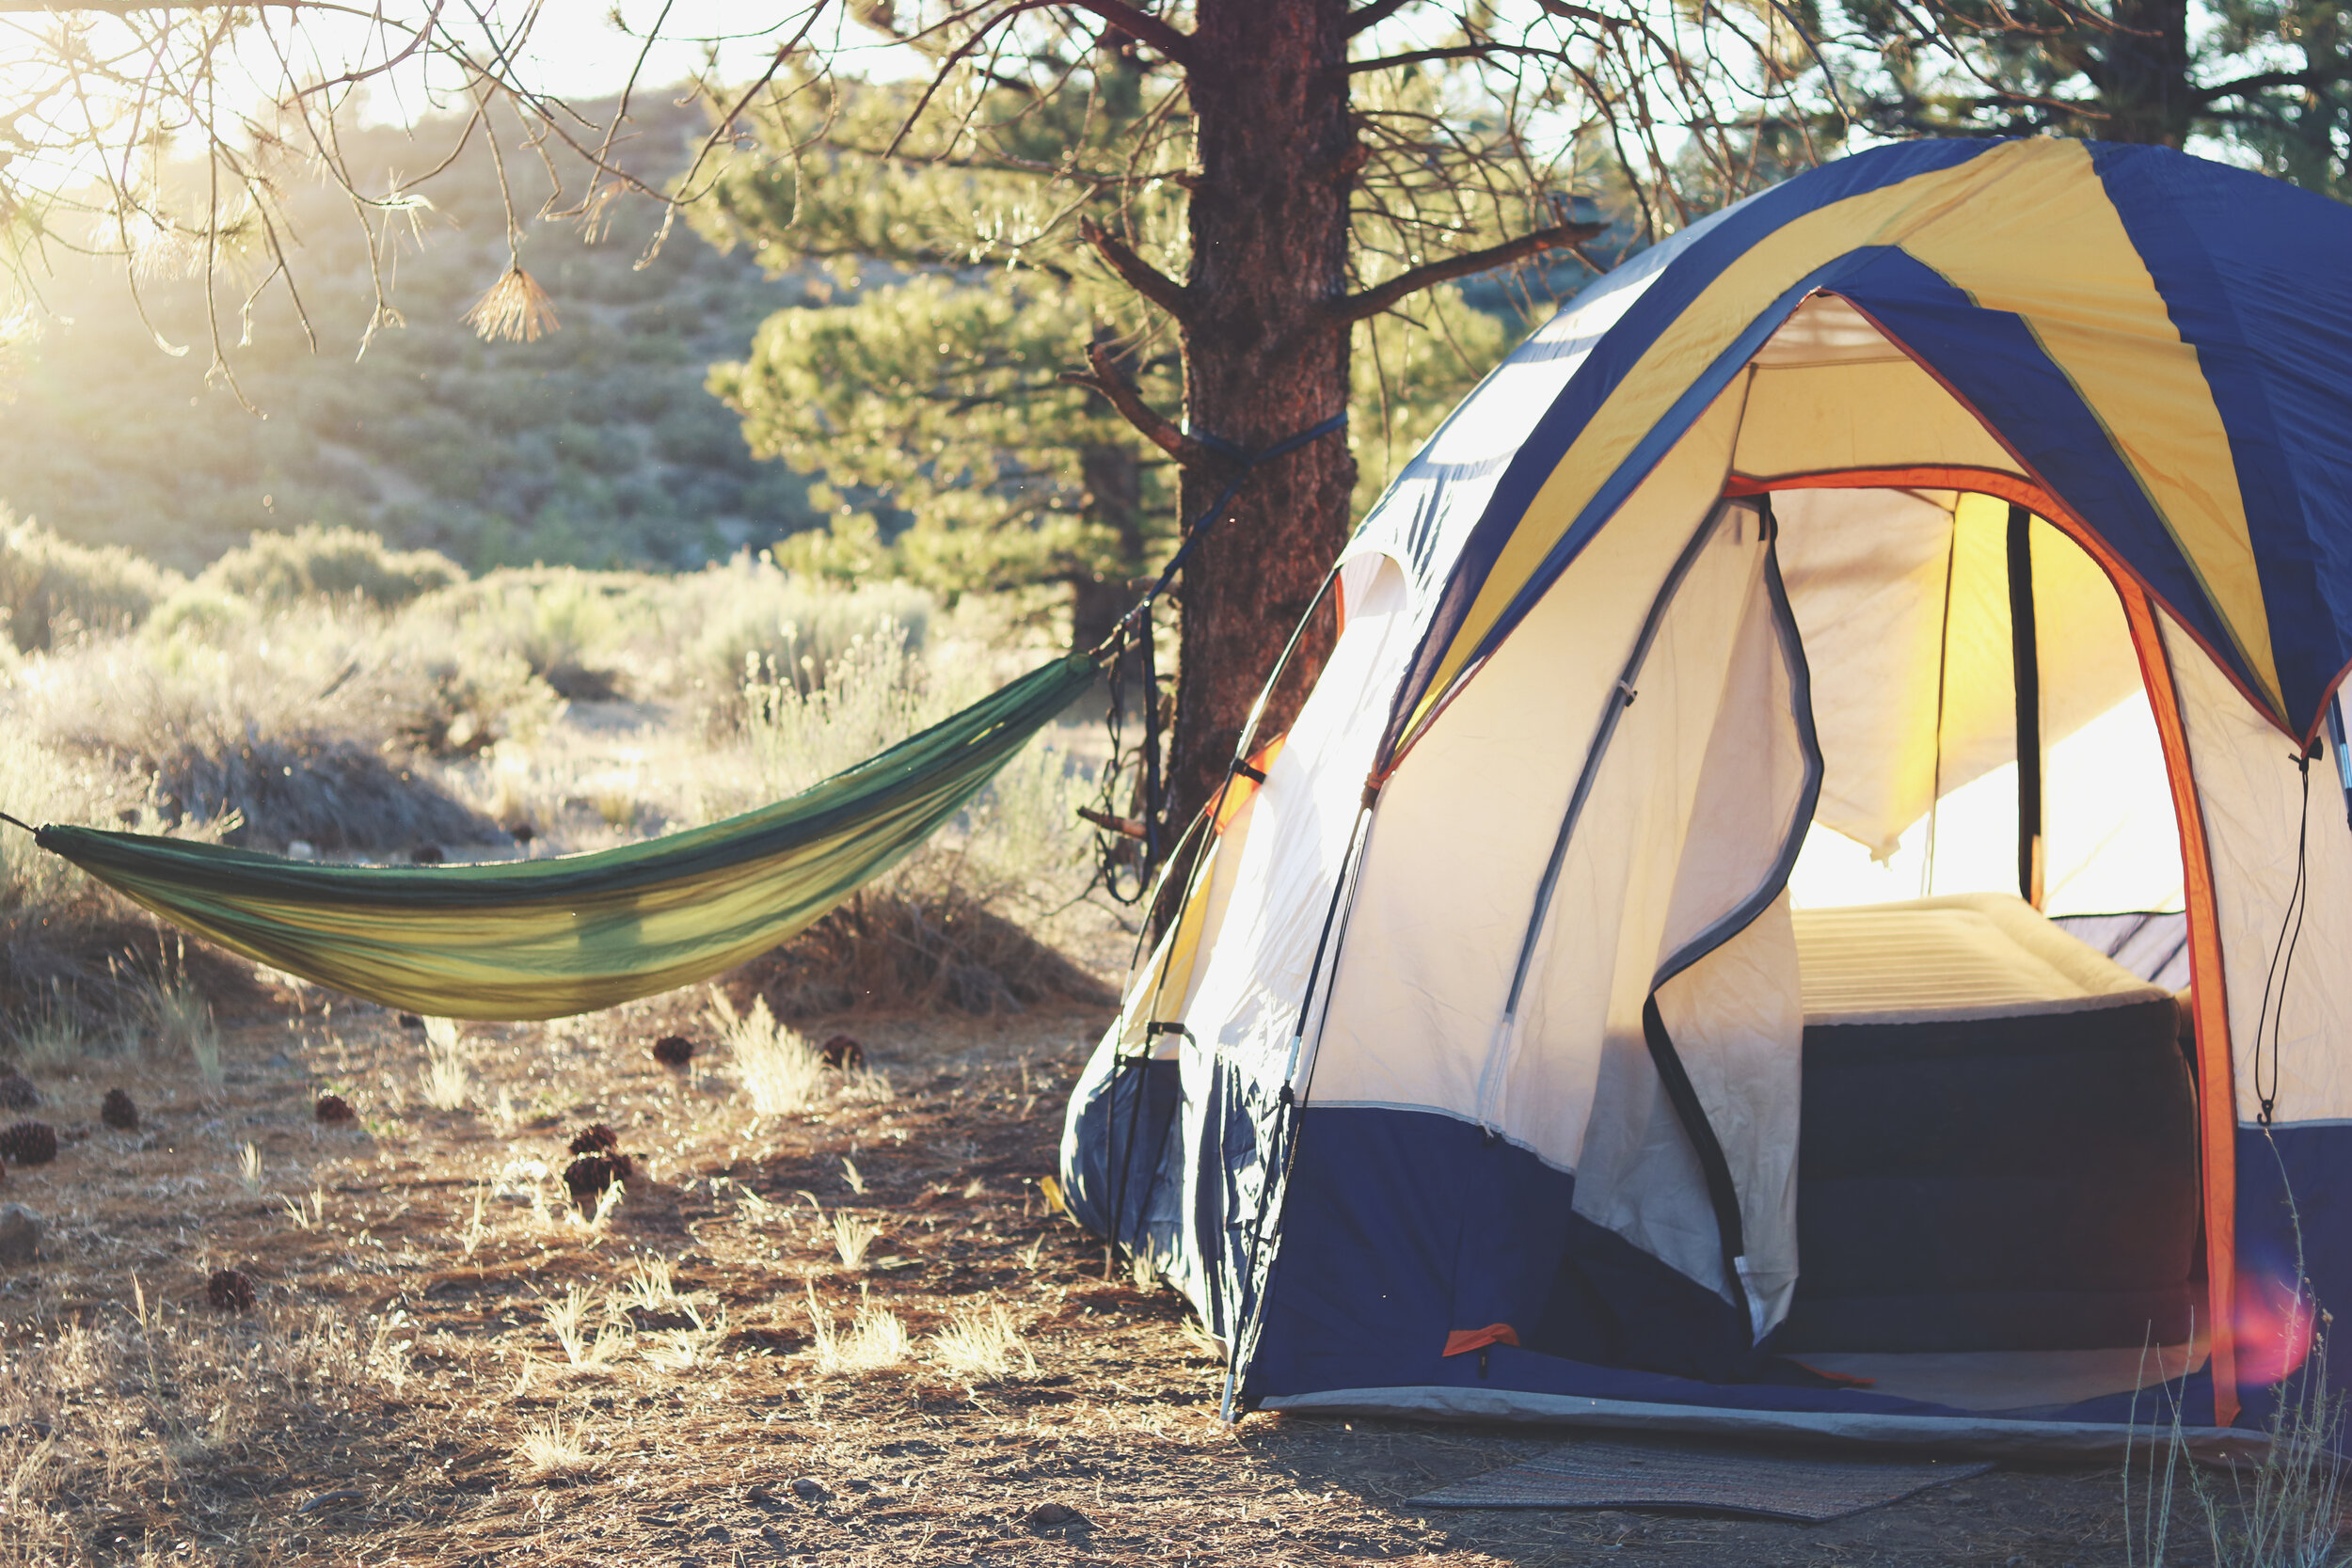
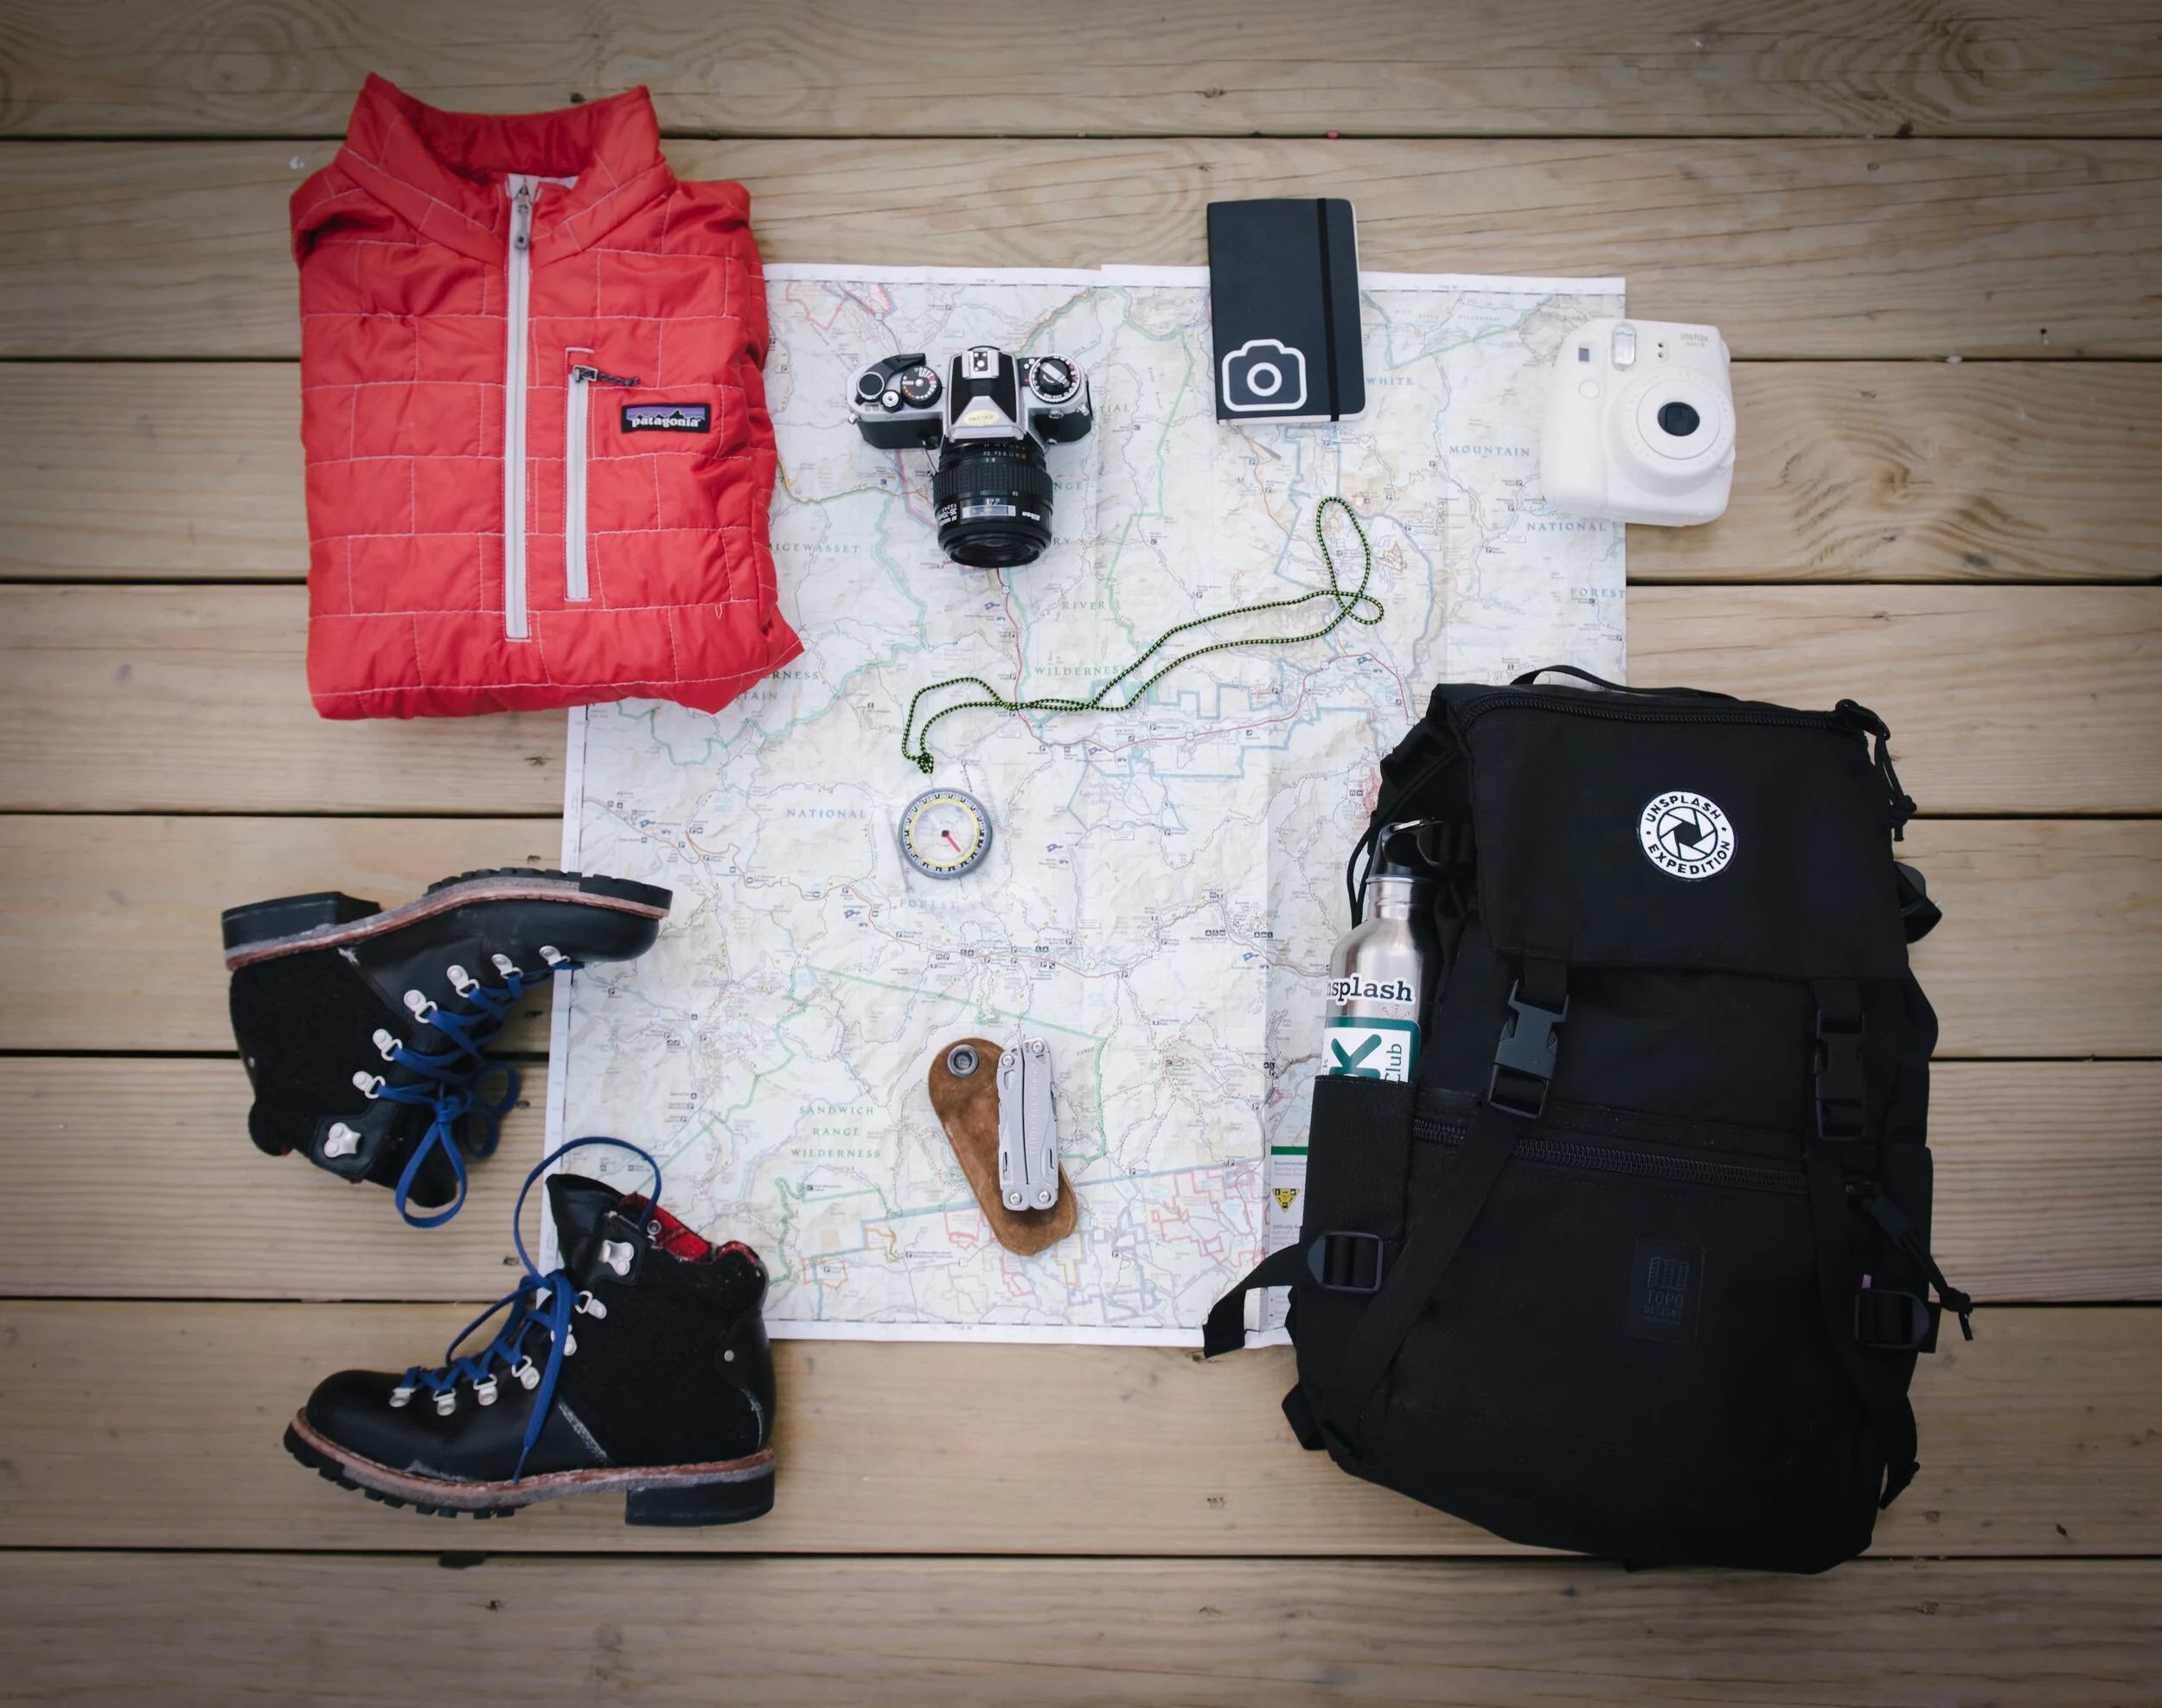
Camping Equipment
Being prepared, also means having the right equipment! Based on your location and the weather, you’ll need different gear. Here are two videos for learning basic gear needed for camping and backpacking:
practice
Using REI’s camping or backpacking checklist, create your own gear list for an upcoming camping event or trip. If you don’t have an event or trip planned for later this summer, plan a backyard or indoor camping event for your family this Friday as part of camp.
First Aid

Natural Hazards
Natural hazards are a part of our everyday life. Whether we are at home, at camp, or in a new environment, like a new hiking trail, it is really important to be aware of our surroundings to help us stay safe. Natural hazards can range from simple things like:
Exposed roots or uneven ground - tripping hazards
Holes/divots in the ground - fall hazard
Streams/lakes/rivers - drowning hazard
Steep embankments or cliffs - slipping/fall hazard
Bad weather - storms, flash flooding

Avoiding Dangers

The best way to stay safe is to take time to follow a few simple rules when we are entering both familiar and new places:
Survey the area - take notice of potential tripping, fall or safety hazards
Stay on the path - staying on the blazed path or natural surface helps ensure the ground is safe for walking and practices Leave No Trace principles
Look where you’re going - stay alert and aware while you’re walking
Watch the weather - know if it is safe to be out and prepared by knowing what to do if unexpected weather strikes
Evaluate how you feel - be aware of whether you are getting tired, dizzy, dehydrated and take action to stay safe
If you take time to prepare before you leave, stay aware while you’re hiking, and continuously evaluate your surroundings, you are sure to have a safe, fantastic time while you are outdoors!

Minor Injuries
Many injuries or medical situations can be treated safely at home. Here are four common injuries and how to treat them:
Always remember, call 911 right away for medical emergencies!
Cuts
Nose Bleeds
Bruises
Sunburn
practice
With an adult, pretend that you have each of these injuries and practice treating them.

First Aid Kits
A good first aid kit can be just what you need in an emergency! First aid kits come in all shapes and sizes. At camp, we have three. Each camper unit has a small first aid kit, our camp medics have a full first aid station, and we have an emergency bag with medical equipment for severe injuries. If you are going camping, you will need a first aid kit, too!
The first question to ask is who is going camping? Kids may need different first aid supplies than adults. And people with allergies may need different medications than people with no medical conditions.
Next, ask where you are going? Backyard camping will need fewer supplies as your home first aid kit is close by. Camping far from home will need more supplies while back country backpacking will need fewer but more specialized tools. You may also want different supplies for the summer versus the winter.
Here’s a basic first aid kit to get you started:
practice
Where is somewhere your family is going this summer? This week, you’ll be going on a hike as part of camp. What kind of first aid kit will you need? Use your home first aid kit to pack a small kit for hikes and short trips.

Urgent First Aid
Many injuries or medical situations require professional medical help, but the sick or injured person will need help while you call for help or get them to a doctor’s office. Here are five ways you can help people who need urgent first aid:
Always remember, call 911 right away for medical emergencies!
Burns
Fainting
Heat Exhaustion
Asthma Attack
Allergic Reaction
practice
Ask a family member to be a pretend patient for you. Pick at least three techniques and practice treating their injuries and conditions.
Camp First Aid Station
Our camp first aid station is set up like a mini doctor’s office and staffed by professional camp medics. At our camp, that means licensed nurses or doctors.
Our first aid station has a lot of equipment! Some will be very familiar as you probably have them at home. These include bandages (in all shapes and sizes) and basic medications. You’d be amazed at how many band-aids and ice packs we go through in a week of camp! We also have equipment you’ve probably seen at the doctor’s office, like a stethoscope for listening to people’s hearts and a blood pressure cuff.
While this isn’t our kit, this video represents a lot of what we keep at camp:
practice
With an adult, see what first aid supplies you have at home, organize them into an easy-to-use kit, and make a list of anything you may need but don’t already have. No two first aid kits are the same, so think about what your family is likely to need to stay healthy.

Wilderness First Aid
When camping in the wilderness, it may take a long time to get professional medical help if somebody gets hurt. This makes it very important to know how to quickly treat injuries and get help. Sometimes, this means treating the injury and leaving the person to go get help. Other times, this means treating the injury and helping the person get to a safer, more accessible location. Here are few techniques you should know:
Always remember, call 911 right away for medical emergencies!
Upper Body Injuries
Lower Body Injuries
Severe Bleeding
CPR
When you’re out in the woods, you won’t always have the gear you need or a big first aid kit. Here are some simple ways to improvise:
practice
Using common household objects, create a sling or brace for somebody in your family.
Poison Ivy

Poison Ivy
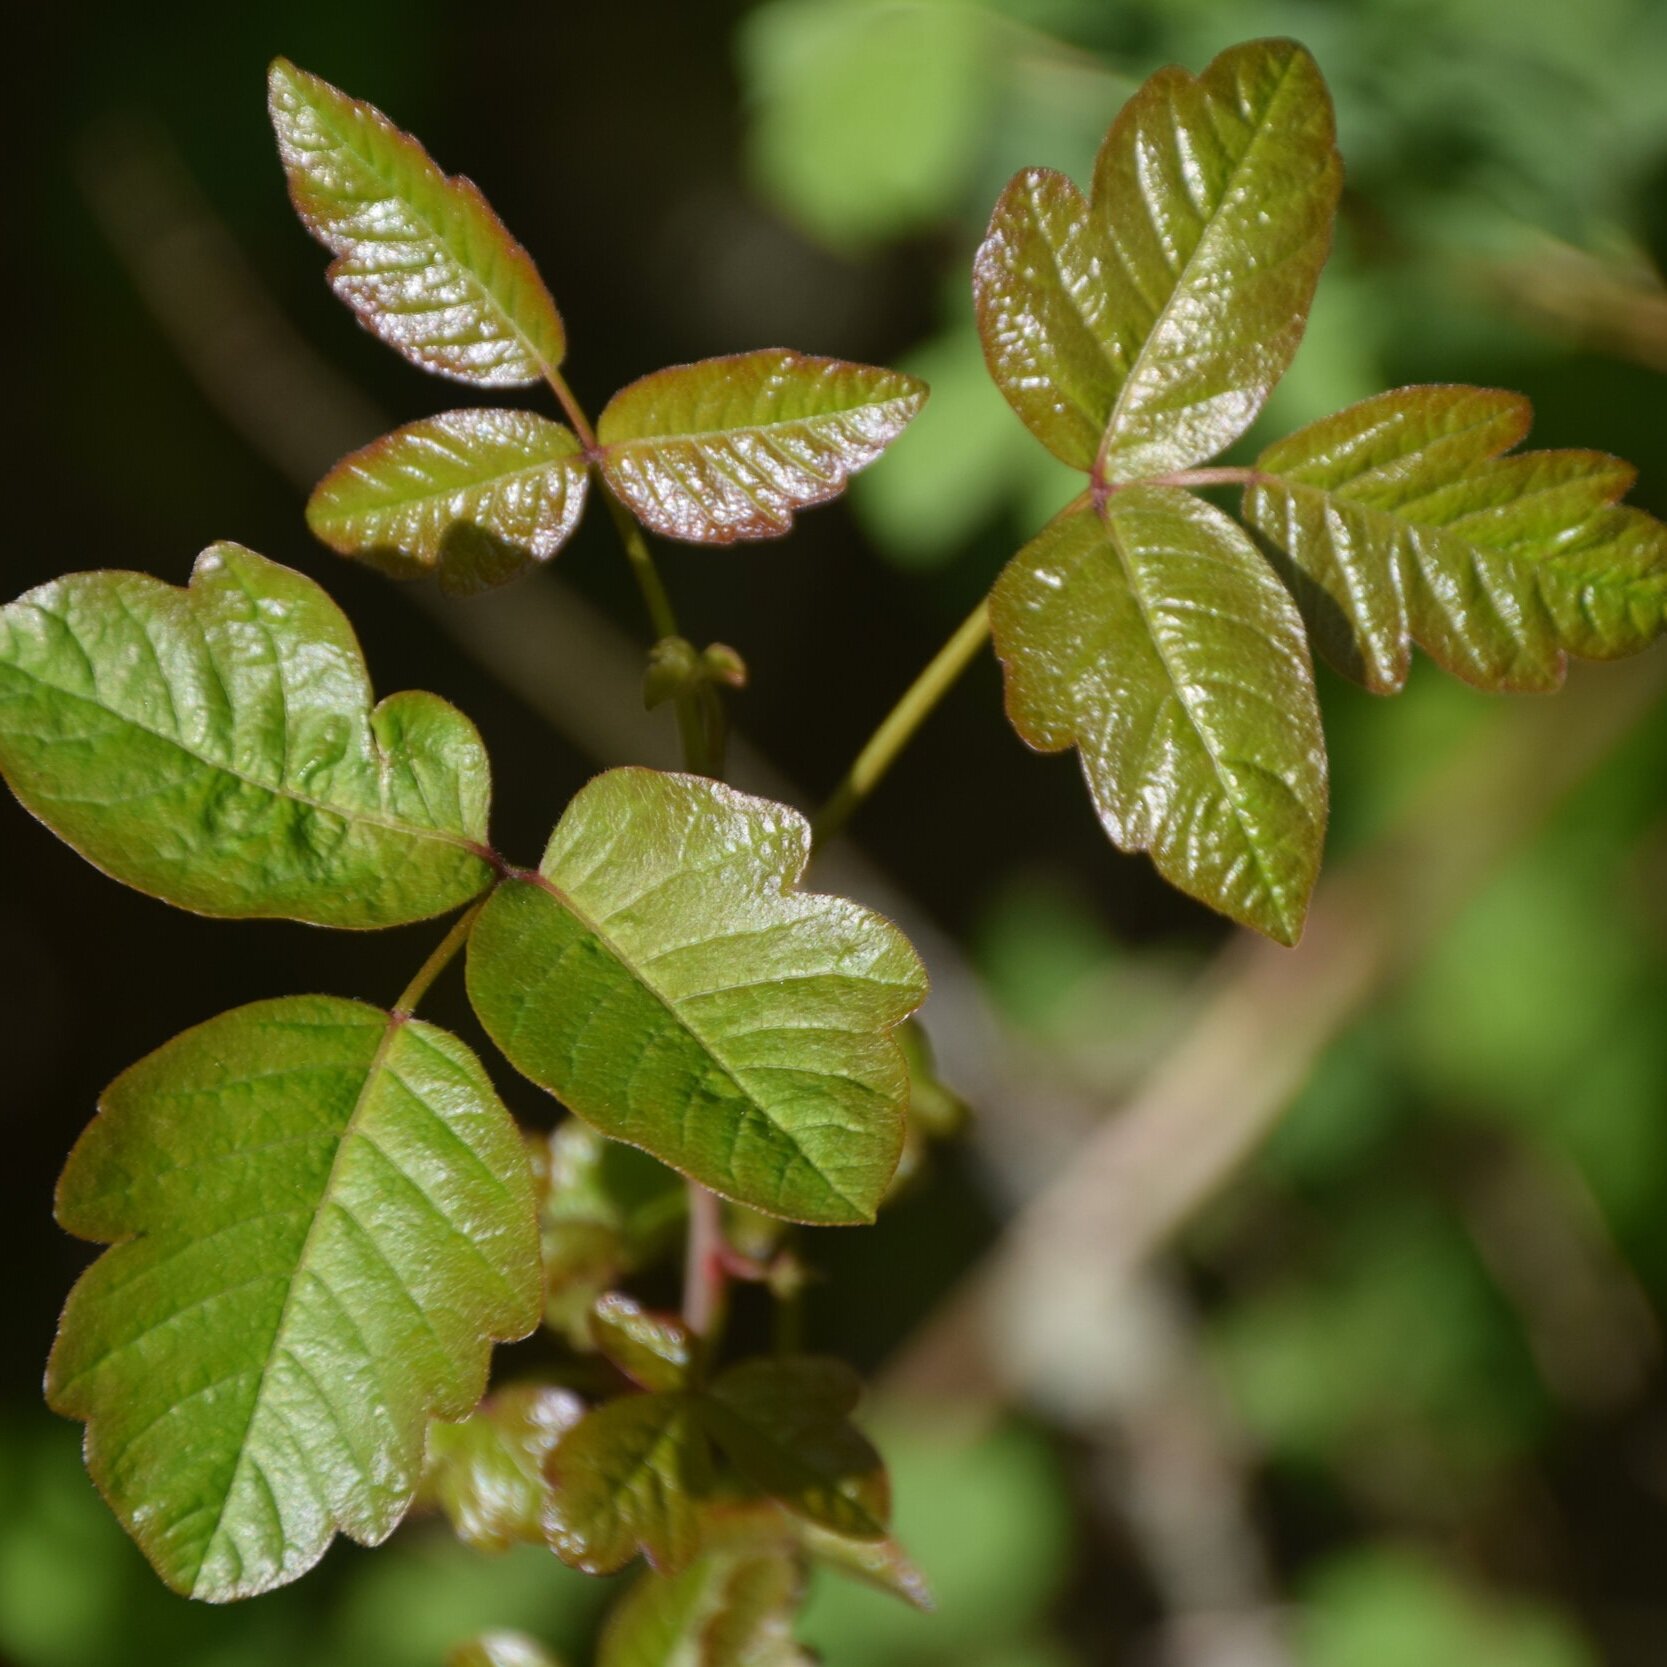
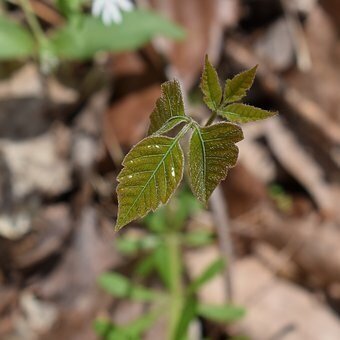
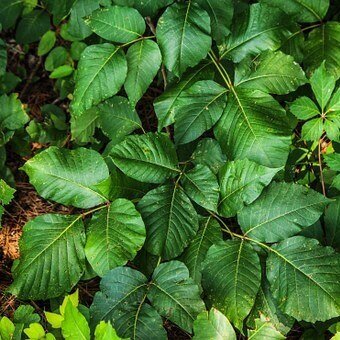
Have you ever heard the saying Leaves of three, leave them be? What about One, two, three. Don’t touch me? These helpful little rhymes help teach you not to touch poison ivy. Poison ivy is a three-leafed plant that, when you touch it, causes your skin to get really itchy and form a rash.
The reason why you can get a rash is because these plants have a substance called urushiol (pronounced yoo-ROO-shee-ol). Another word for this oily chemical, which has no color or smell, is resin. Poison ivy leaves release urushiol when the plant gets “injured;” meaning that you may have torn or bumped it. When the oil is released, it can make the plant look shiny or speckled with black dots. When the oil comes in contact with your skin, it usually causes the allergic reaction that gives you an itchy rash.
What’s even more amazing is that you can get this rash without actually touching the plant. Urushiol can be transferred from one person to another. Even your family dog or cat can bring the substance back when it goes outside and get it on your skin. Urushiol can even move through the air if, for example, someone burns it while clearing away brush.

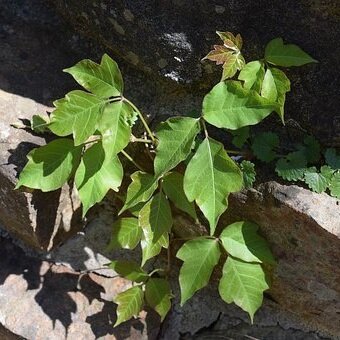
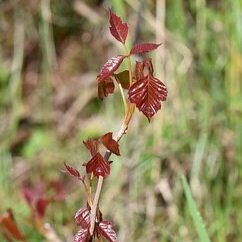
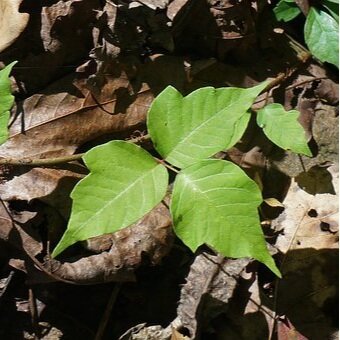
Poison Ivy
“Leaves of three, let it be.” This plant has solid-green pointed leaves that have a smooth and shiny surface and usually grow in groups of three. It can grow as a vine or have more of a shrub-like appearance. The exact look of poison ivy will change depending on the season, displaying yellow flowers in spring and yellow/red leaves in autumn.

Poison Oak
This itchy plant also grows in threes, but may also be found in groups of five or seven. Its leaves are similar in shape to oak tree leaves, but not as defined, and they have a hairy texture. Poison oak usually resembles a shrub, but it may also look like a vine.

Poison Sumac
This rash-inducing troublemaker thrives in the water, so you are more likely to find it in swampy areas. The green leaves grow in groups of sevens to thirteen. Beware!
Tips for protection:
Keep covered. Long sleeves and pants are a great way to protect your skin from accidental contact with poison plants when camping or hiking.
Wash, wash, wash! If you think you came into contact with one of the above plants, wash with soap and water as soon as possible. No soap and water available? Alcohol wipes are also a great option and fit easily in a pocket for on-the-go needs.
If a rash develops, do not scratch it! Scratching only spreads the rash.
Practice
Poison Ivy looks lots of different ways. Using the pictures below as inspiration, draw a picture of poison ivy. How many leaves does it have? What color should it be?
Rising Kinder/1st Graders: Draw one example of poison ivy.
Rising 2nd/3rd Graders: Draw three examples of poison ivy.


Purifying Water

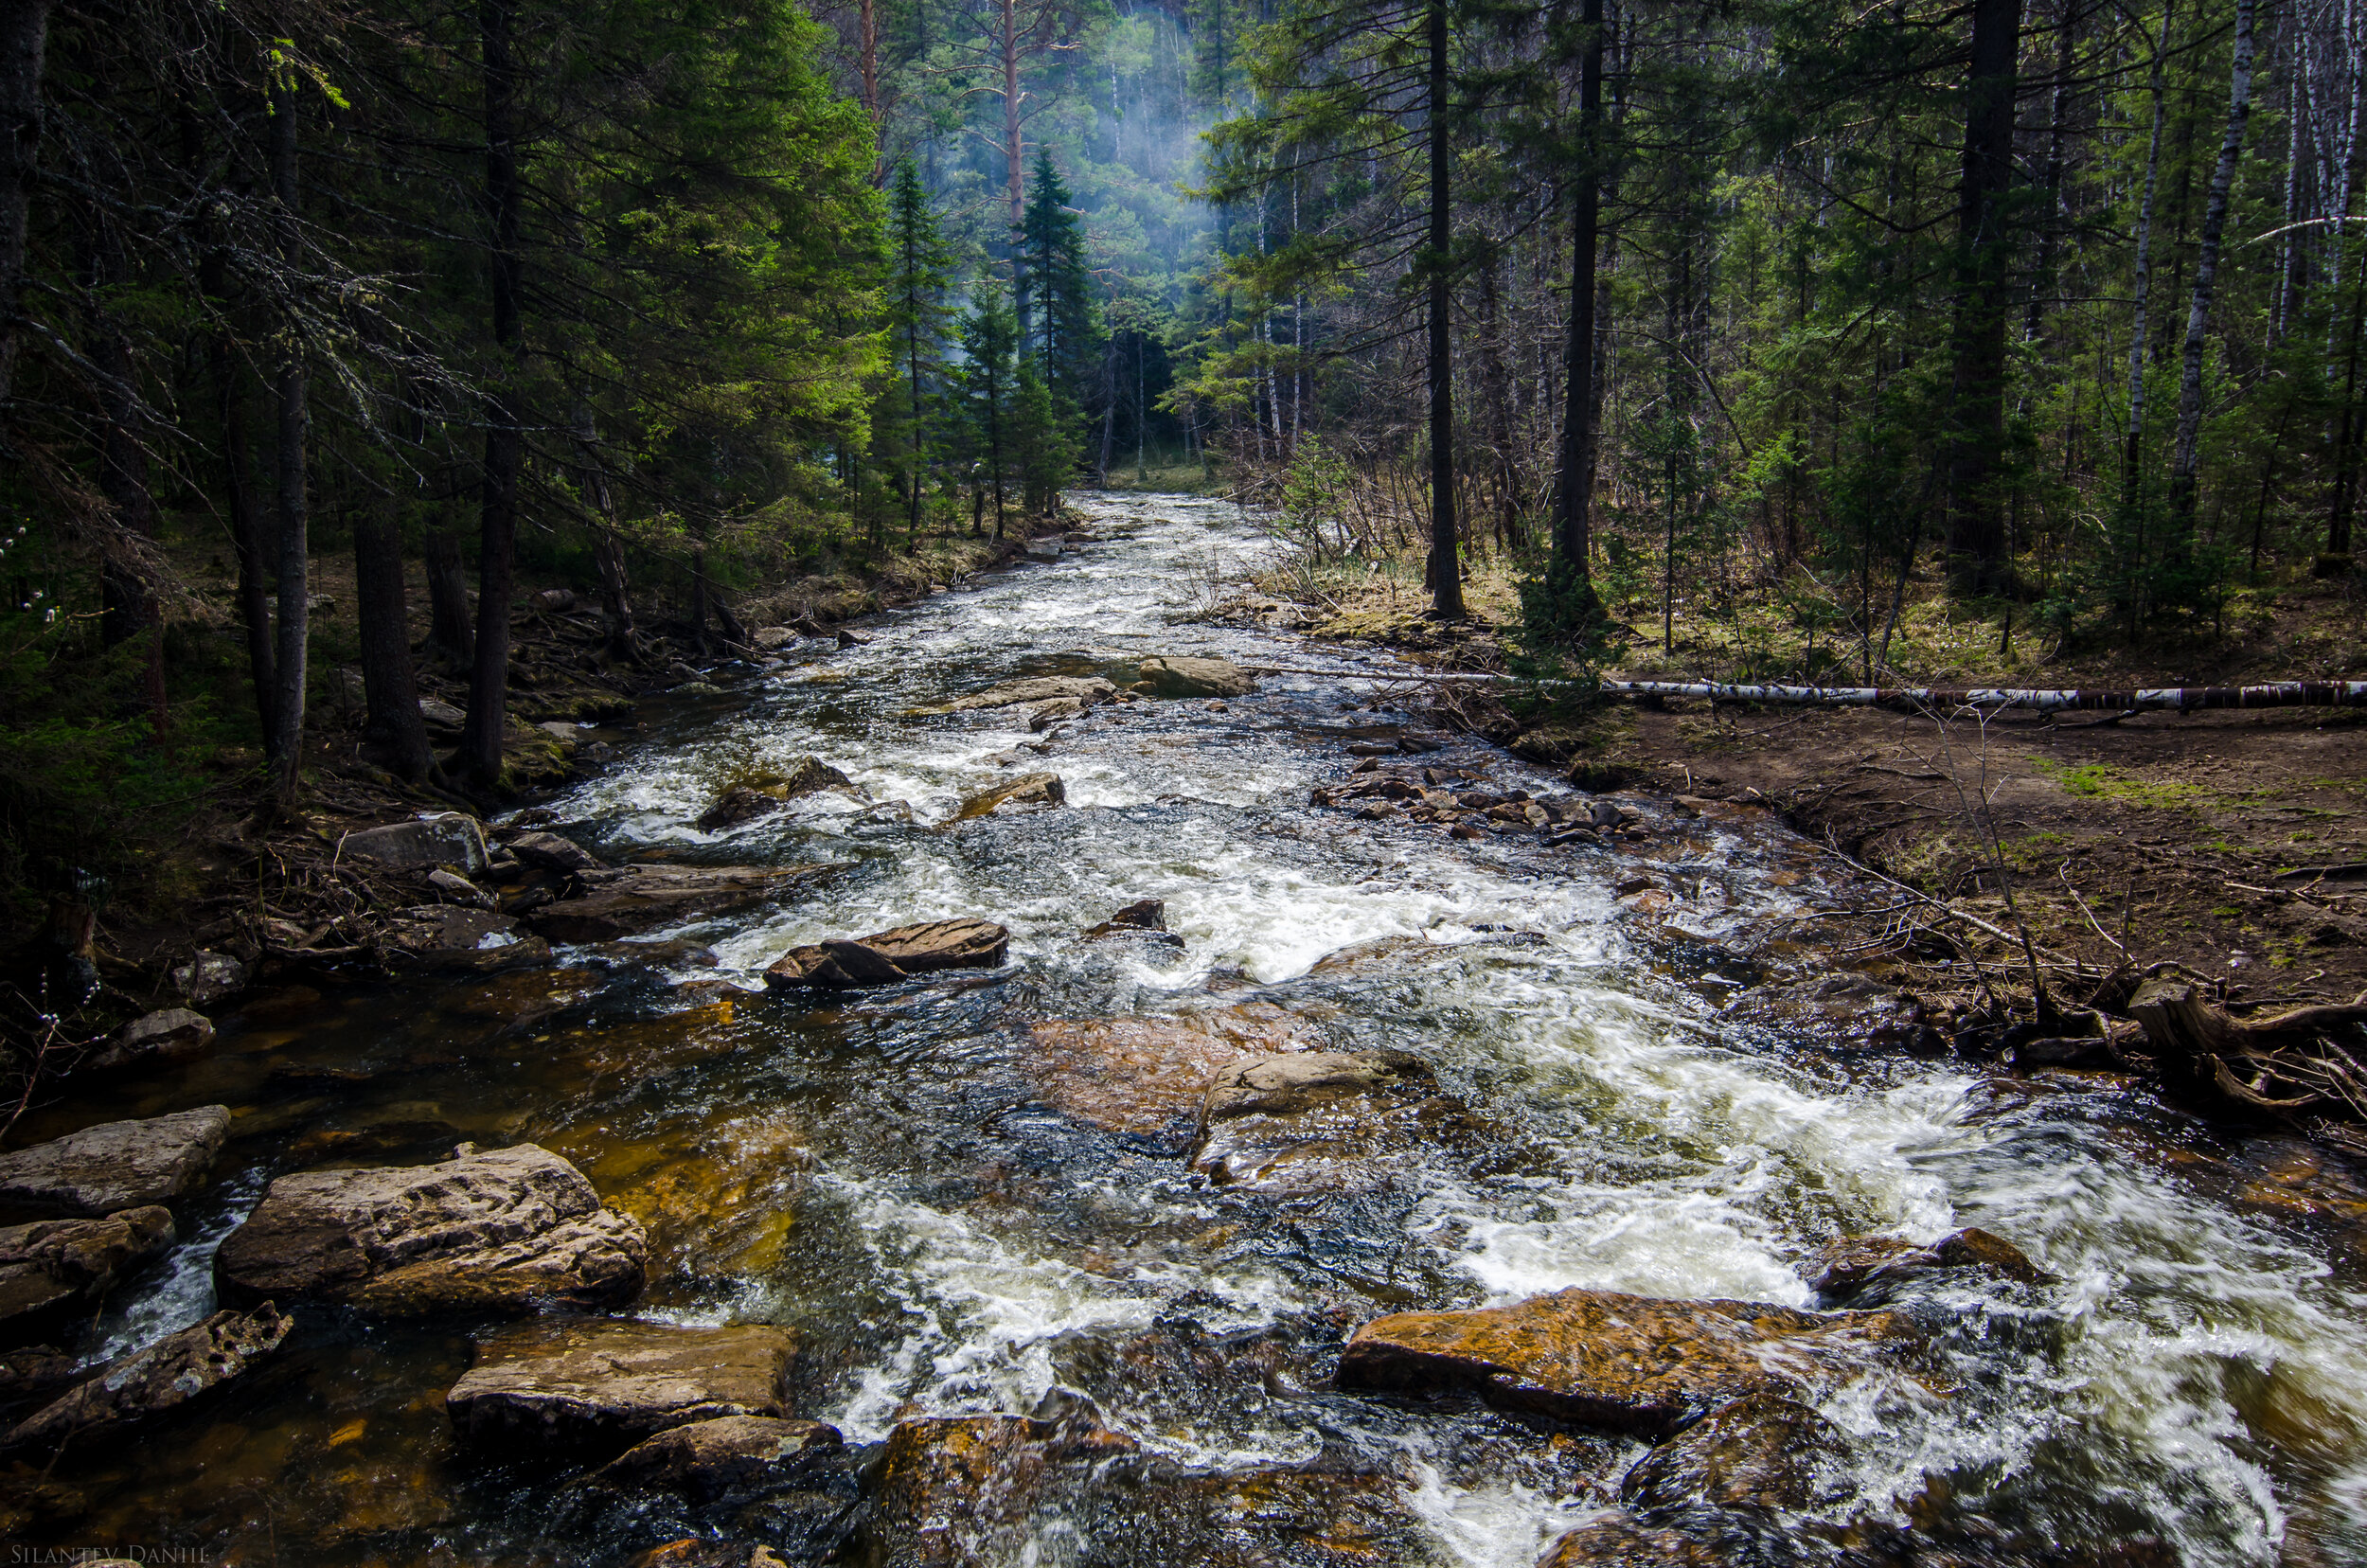
Purifying Water
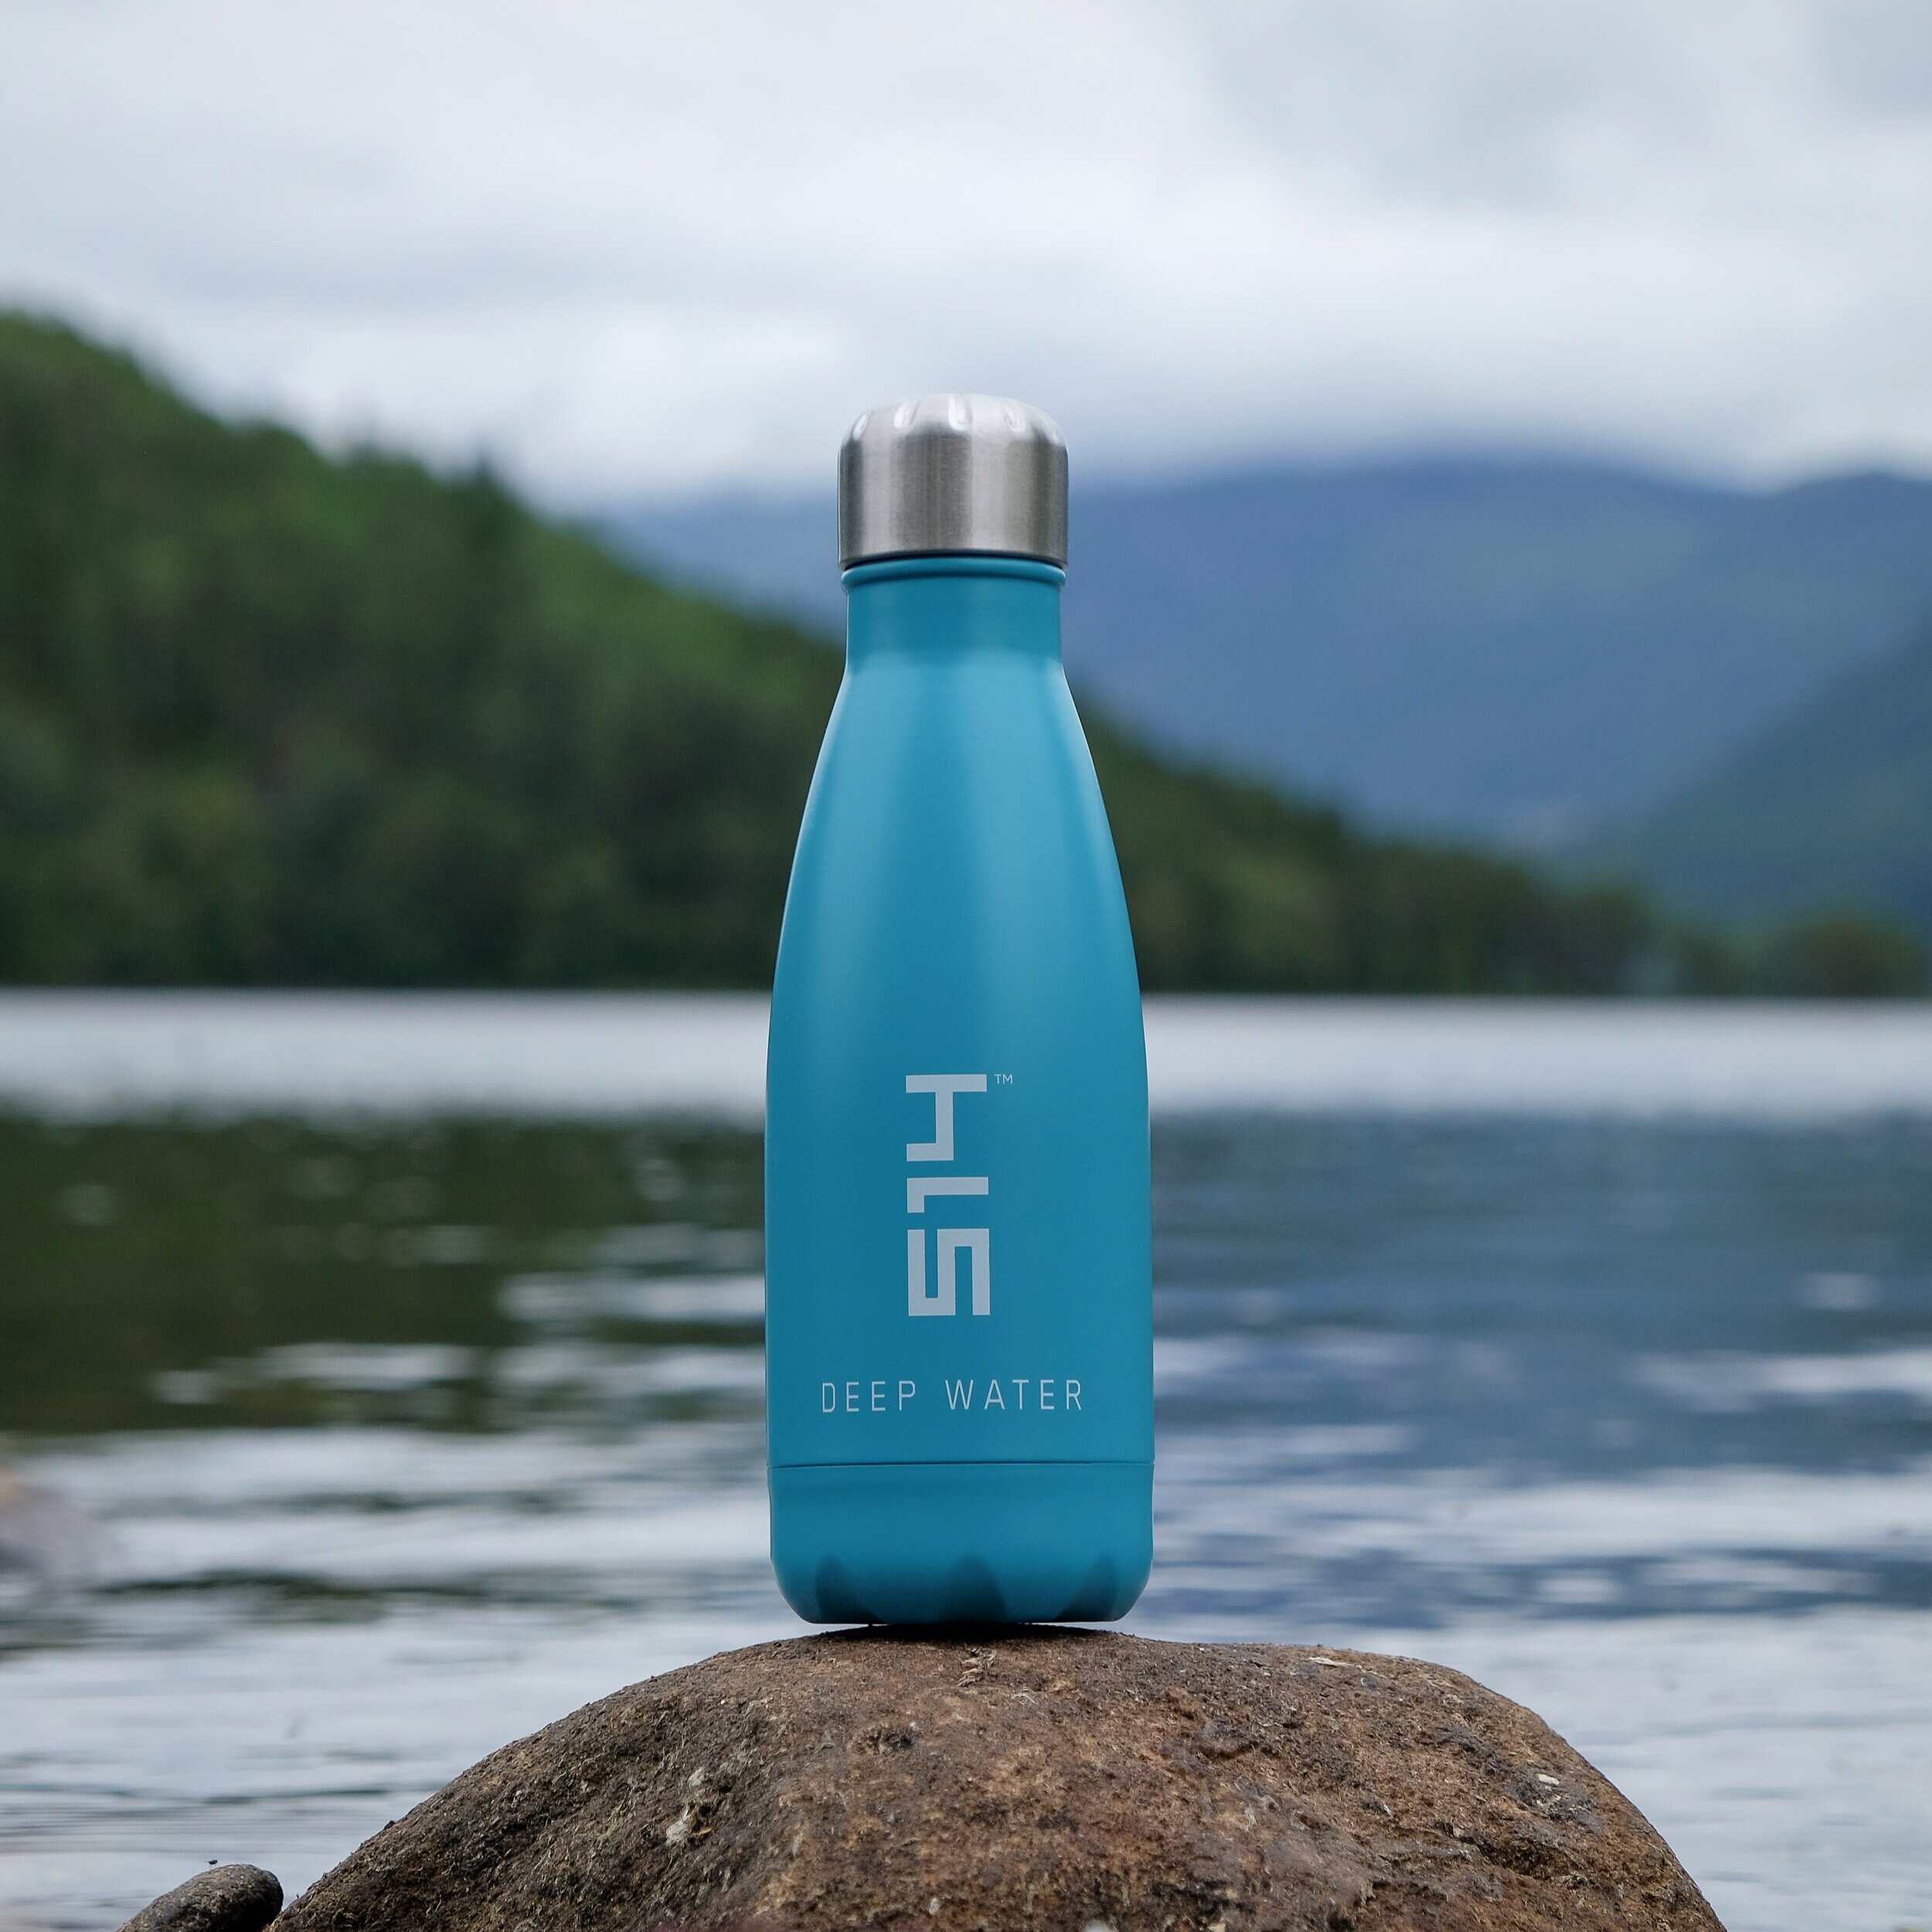
There are few places in North America where you can safely drink water from a lake or stream. So unless you camp where safe drinking water is readily available, it’s best to bring your own. But at about 8 pounds per gallon, water can be a real drag if you have to carry it far. The alternative is to go light and purify what you need. Examine the methods described here and determine the best option for the type of trip, the geographic area you will be visiting, and the number of people in your group.
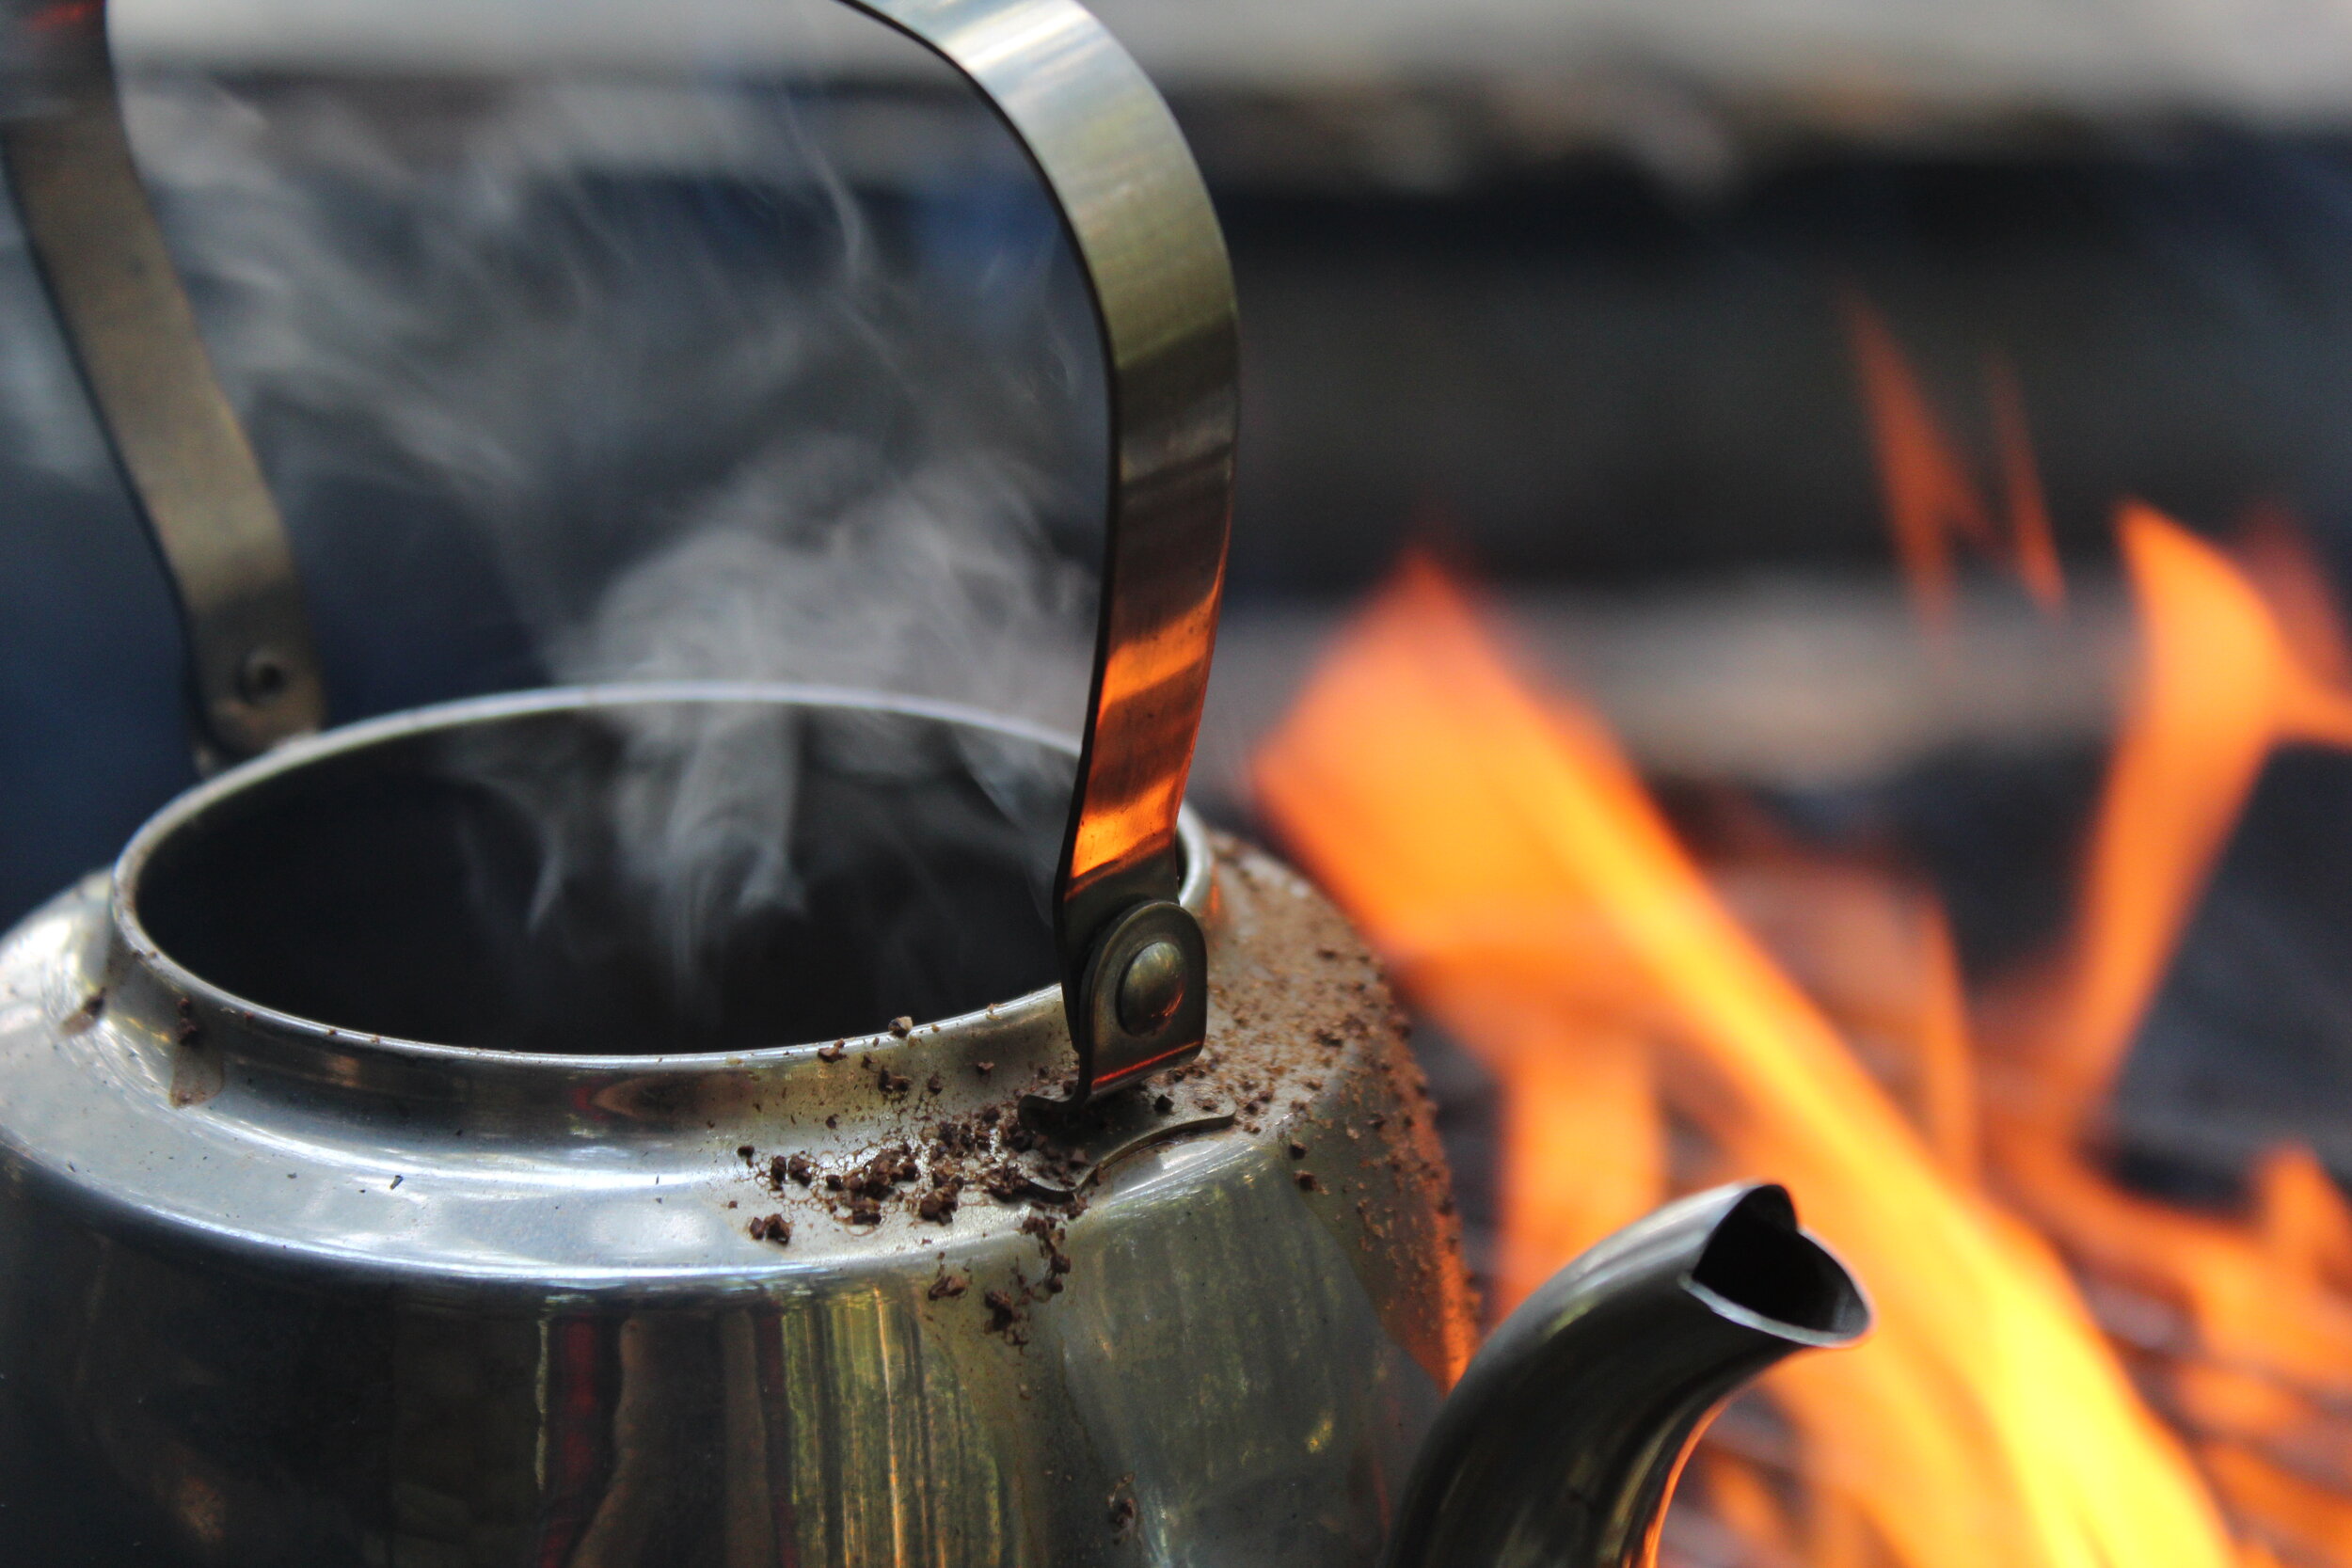
Boiling
Boiling water from an in-the-wild water source will kill almost everything, even parasites like giardia and cryptosporidium that can survive long exposure to iodine and chlorine. The Environmental Protection Agency recommends a one-minute rolling boil for elevations less than 6,600 feet and three minutes for higher elevations.
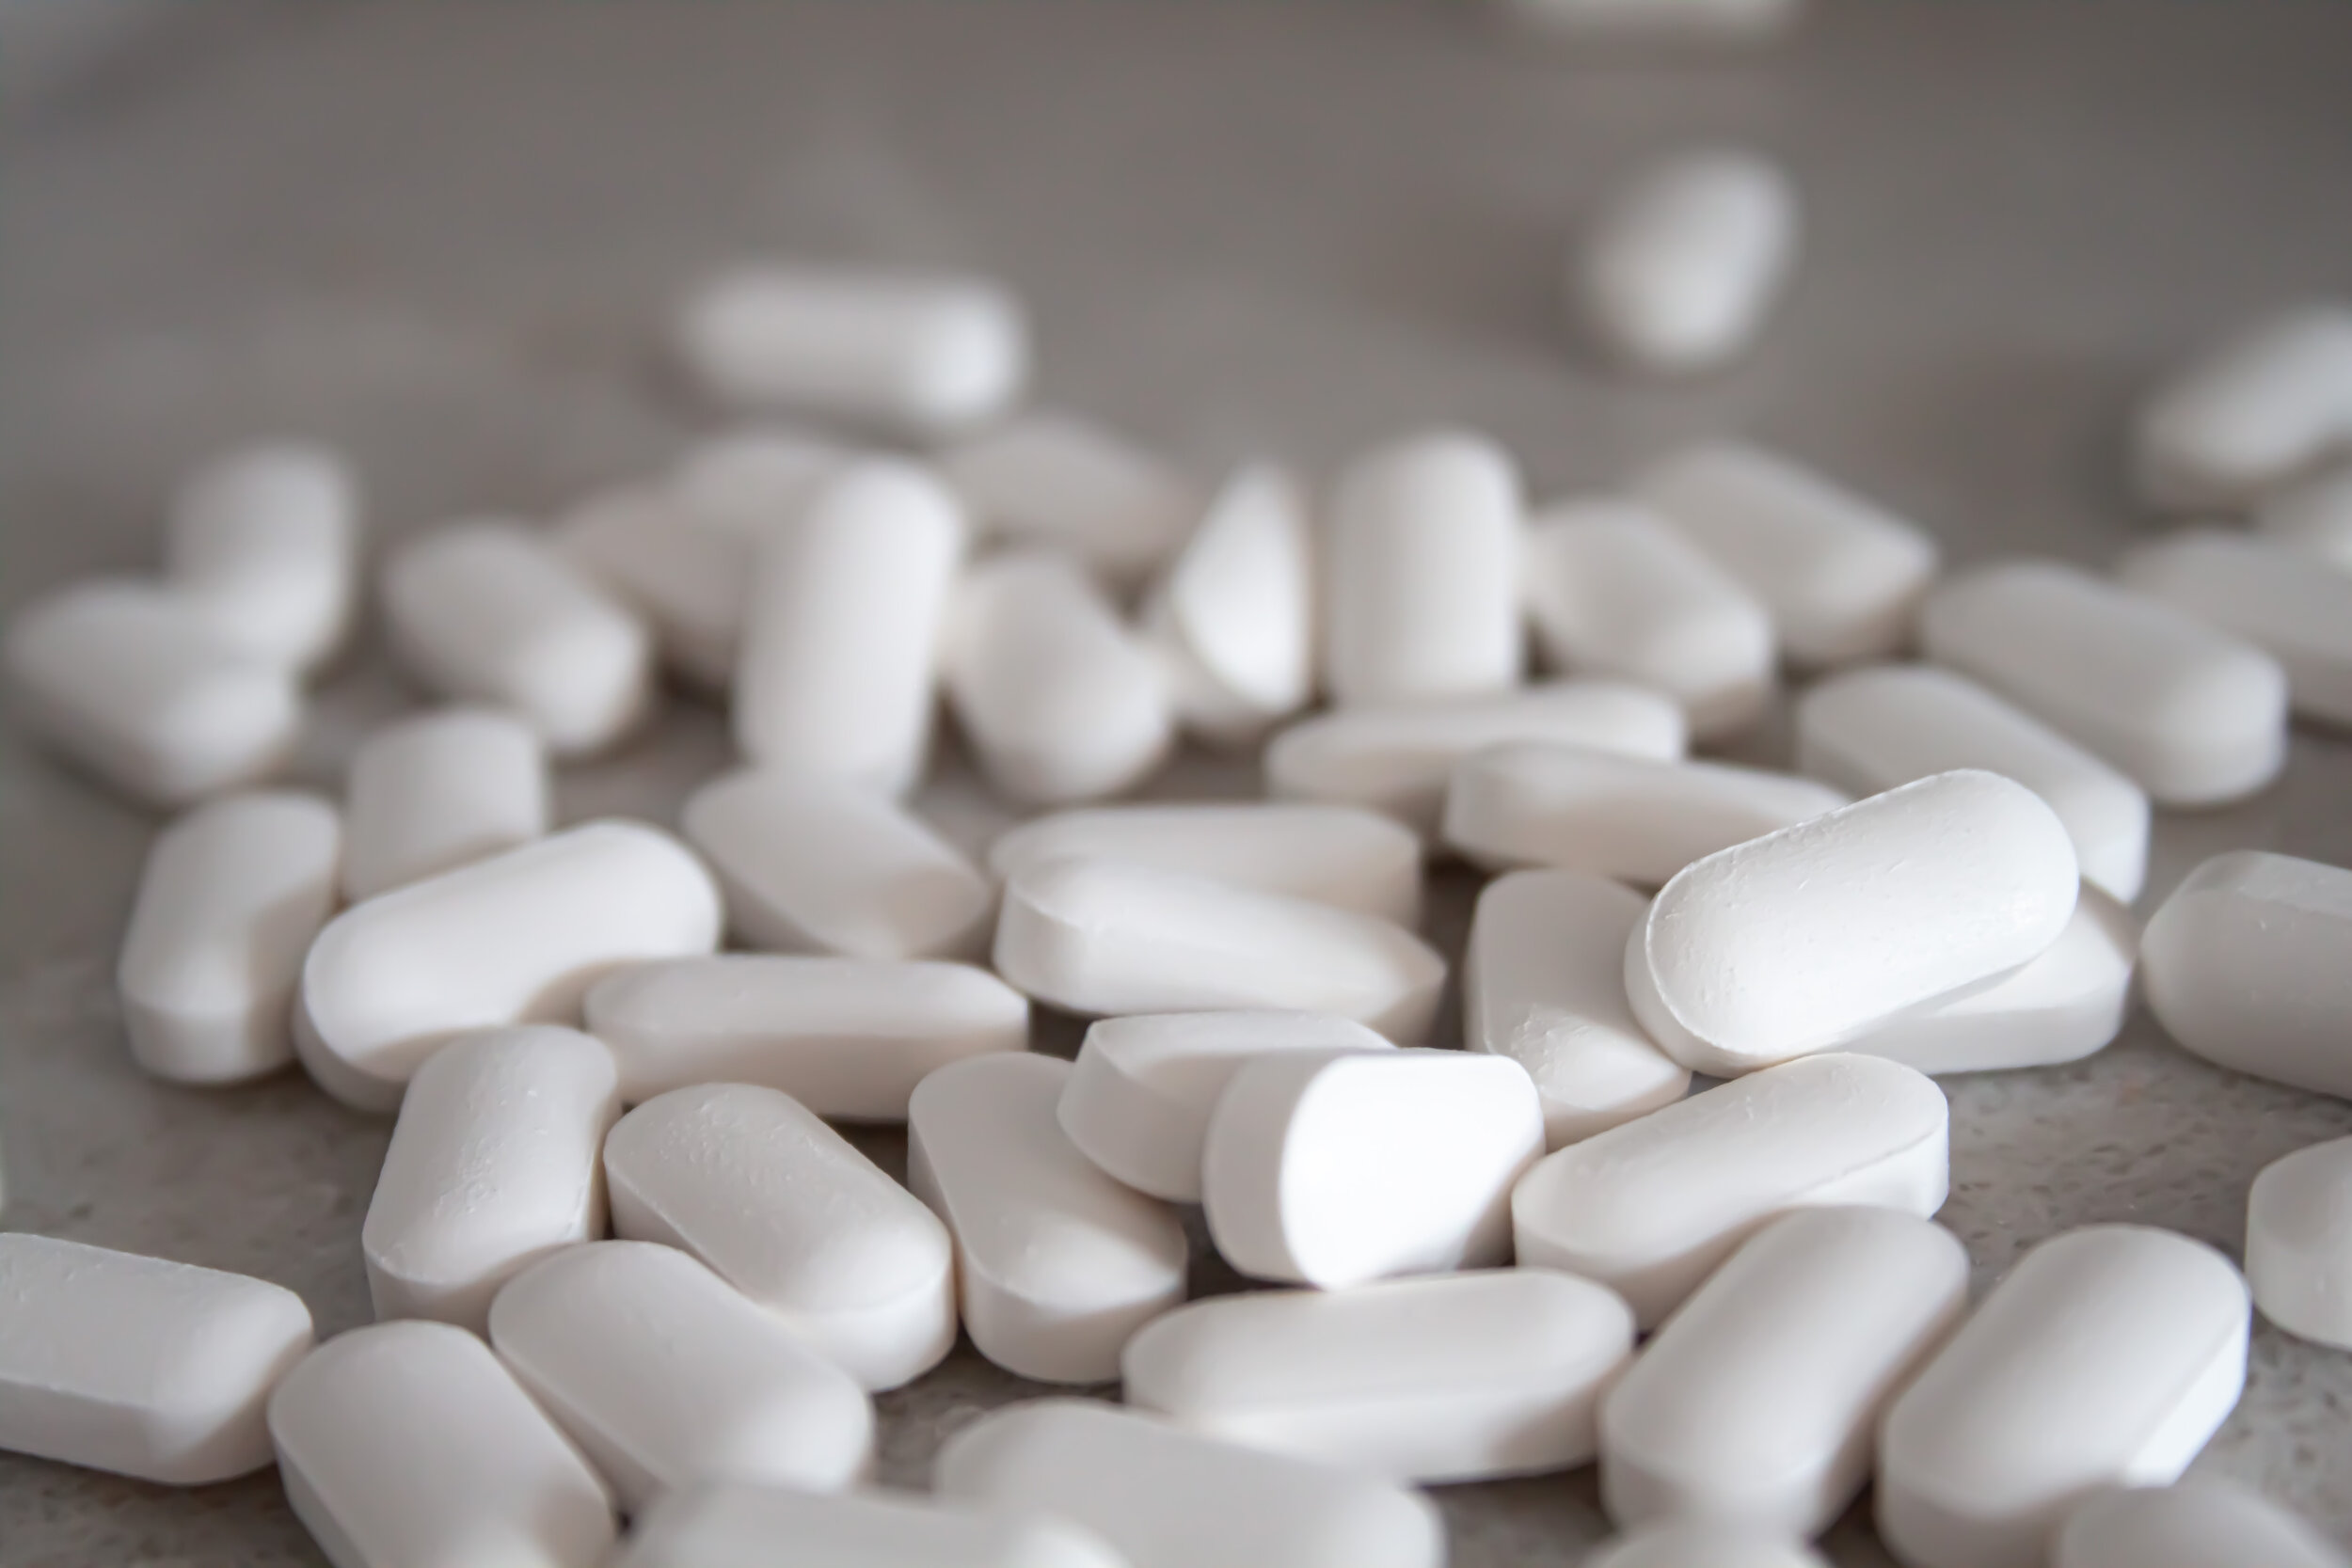
Chemical Treatment
Chlorine bleach or iodine will kill most waterborne pathogens, but if you get the dosage wrong, they can be dangerous. Water treatment tablets are safer and easier to use. Chlorine dioxide and sodium dichloroisocyanurate tablets are more effective against giardia than chlorine or iodine tabs. However, water treatment tablets will not reliably kill cryptosporidium, which, fortunately, is uncommon in surface waters.
Some negatives about using water treatment tablets: They require at least 30 minutes to work if the water temperature is above 68 degrees. Much more time is needed for cold or cloudy water. Heat speeds chemical reactions, so you’ll shorten the purification time if you set your water in the sun while the tablets work. Tablets lose potency over time; fresh ones work faster. And to reduce the bitter taste after treatment, aerate your water by pouring it back and forth between two canteens.

A Filter or Purifier?
Filters strain out microorganisms, but they don’t kill them. If hiking in the U.S., filtration is typically considered to be sufficient.
A filter should remove the smallest infectious agents. For instance, a filter with a 1-micron absolute pore size will trap giardia and cryptosporidium. Viruses fly through the smallest pores, but they can be killed with water- treatment tablets after filtering. Fortunately, harmful viruses are extremely rare in surface waters.
Because the “bugs” become trapped inside the filter, this can eventually become clogged and must be cleaned or replaced.
Filters may have pumps or be gravity-fed. Gravity- fed units are bulky, but they’re as effective as pumps and are easier to use — particularly with groups of Scouts. They’re great if you need to filter a lot of water fast and don’t want to labor with a pump.
Purifiers, on the other hand, typically use microfiltration and either chemical treatment or ultraviolet light to kill microorganisms, including viruses. This higher level of water purification is necessary when traveling outside of the U.S. in regions where viral contaminants are a risk.

Ultraviolet Purifiers
People who live near bodies of freshwater have long relied on ultraviolet light to kill microorganisms. The popular SteriPen was among the first to harness this technology for use in the wilderness. Just insert the UV bulb into a water bottle and activate the light. When the light turns off (after about a minute) the water is safe to drink. UV purifiers will destroy giardia, cryptosporidium and viruses. But they won’t remove sediment or work in cloudy water. And they can purify only small amounts (usually one liter or less) of water at a time.
Don’t buy more protection than you need. Talk to park rangers or other hikers or campers who are experienced in the area where you’re traveling. Once you find out more about the types of water sources available, you’ll be able to choose the best system for your needs. What’s best for you depends on the microbes you expect to encounter, how light you want to travel and the volume of water you will treat.
Tips for Treating H2O
Use a cotton cloth or coffee filter to strain out sediment before you filter/purify.
Greenish water contains algae that harbor microorganisms. Algae can clog water filters and reduce the effectiveness of chemicals.
Brownish water contains organic tree tannins that are typically safe to drink.
Beavers are the favored host of Giardia. Don’t take water from beaver streams or near beaver lodges.
Don’t draw water from shallows or near campsites.
Avoid clear water that’s tumbling over sunny rocks. While UV light does kill microbes, moving water mixes them and increases the chance they’ll get into your water sample.
Take water from near the surface of a calm, sunlit pool. Harmful organisms tend to lurk just out of reach of sunlight.


Celebrate! Send us a picture or video of you completing a health & safety activity.
Let us know what you loved about the health & safety activities and what we can improve.
Return to the main Virtual Camp page to complete Monday’s closing activity.